The birth of the Land Crusher

This is a work in progress. 

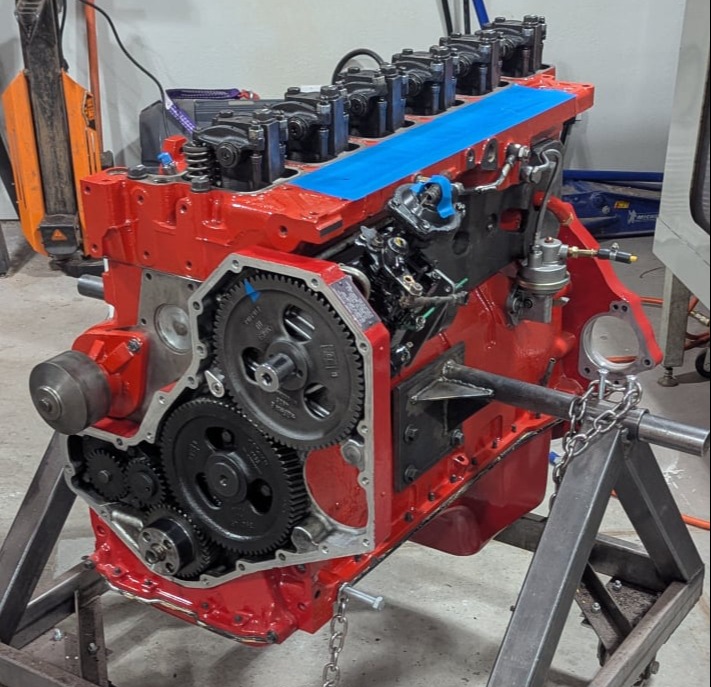
I have enjoyed land cruisers for many years, owning 80, 100 and 200 series cruisers with the 80 being my favorite.  Ever since I got a 200, I wanted more power for my 80 so, I decided to put in a Cummins diesel engine.  This is my story. 


Where am I at today

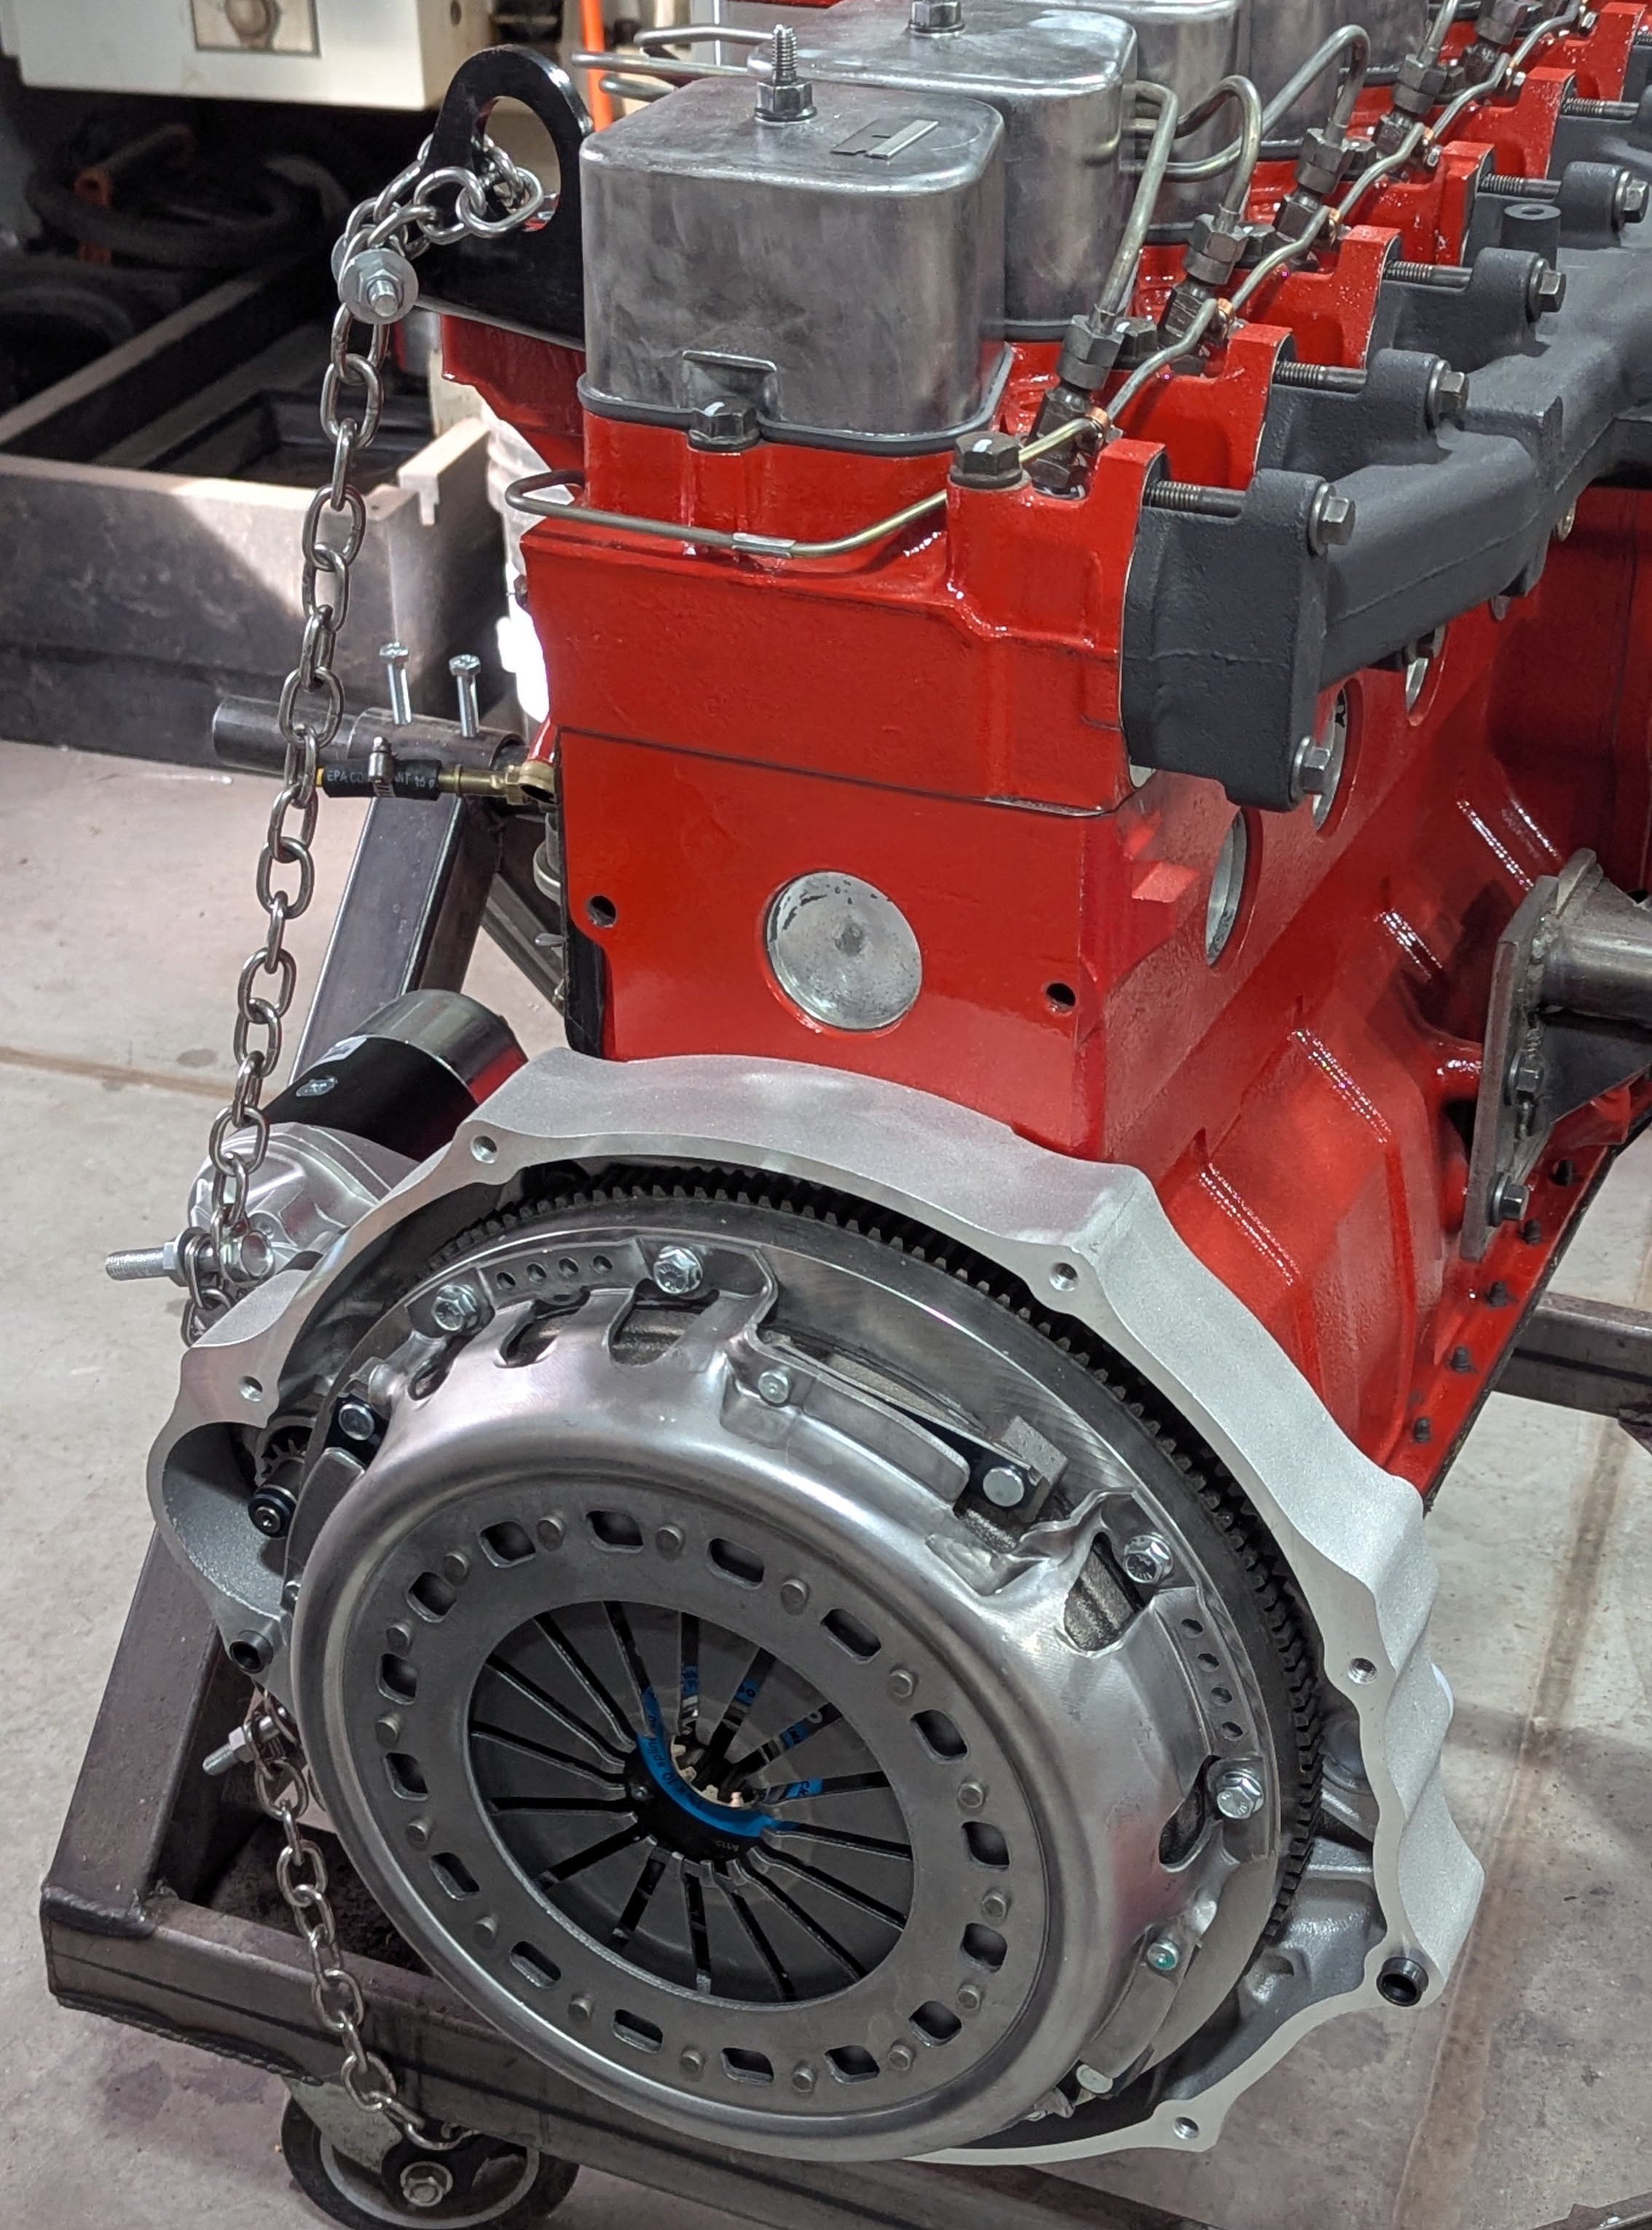
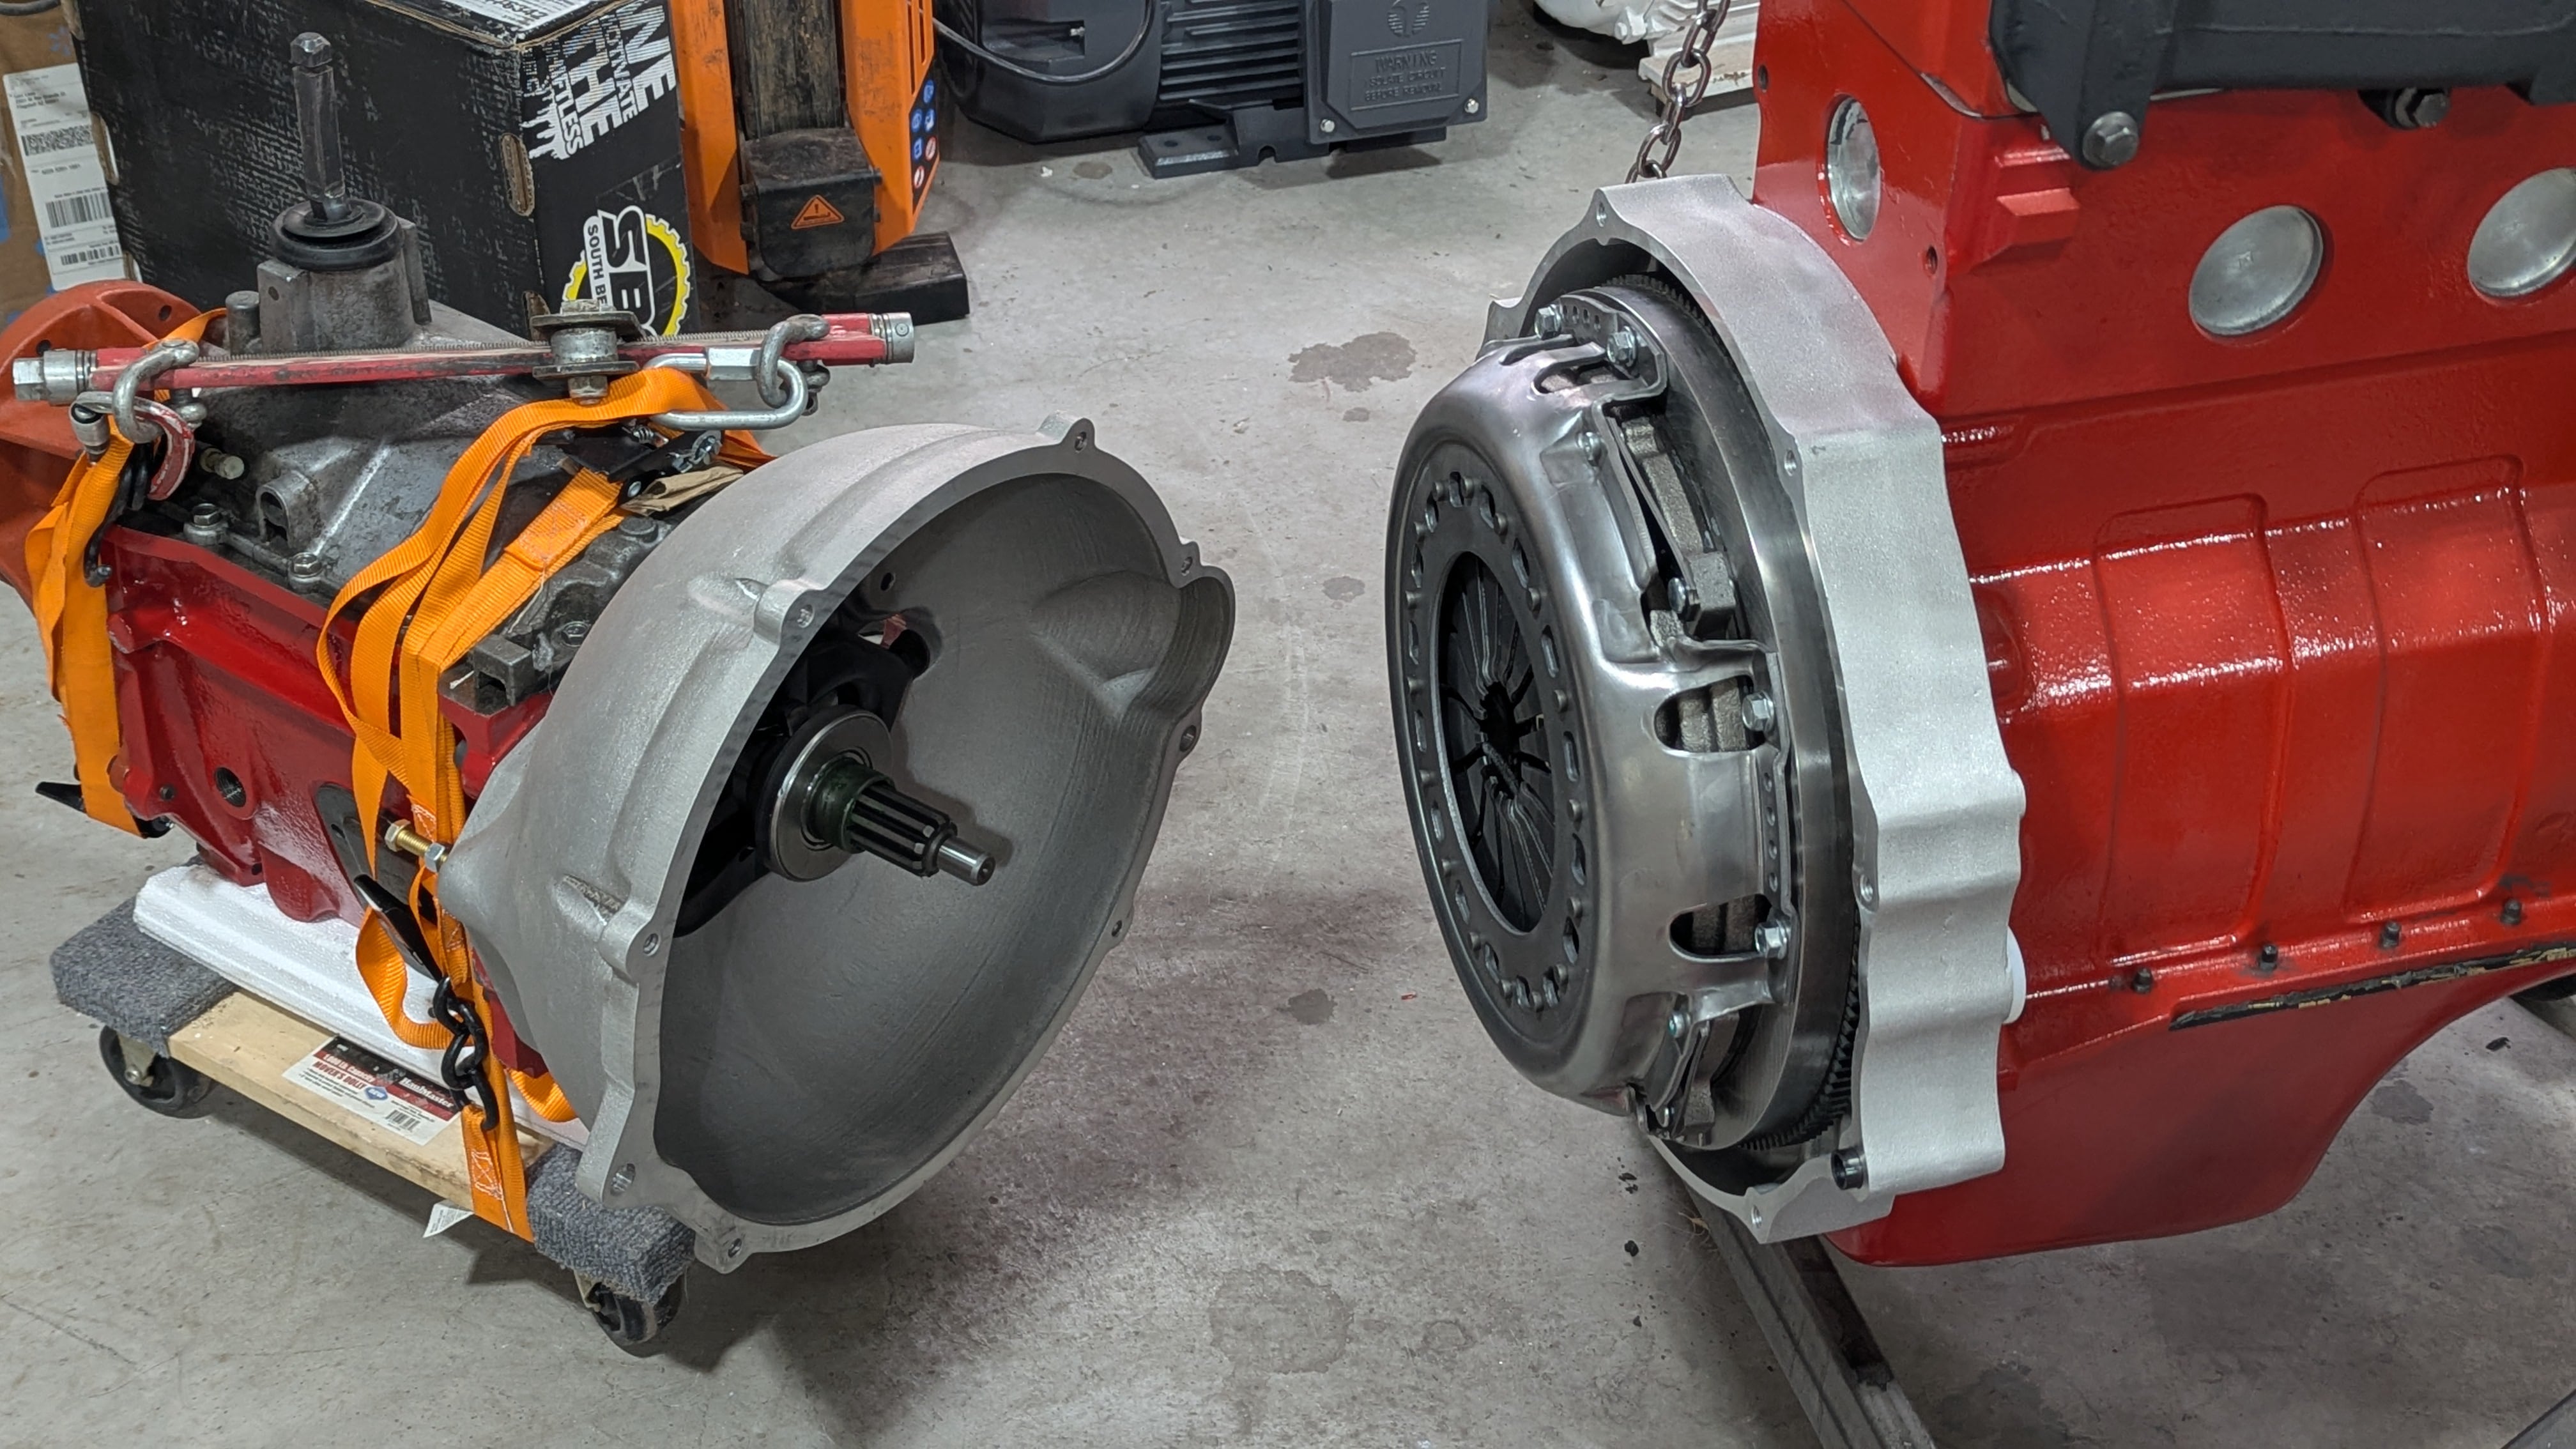
3/29/26.  Engine is almost finished.  Installed the clutch and need to bolt the transmission up.  Time to start thinking about when to stop driving the car.


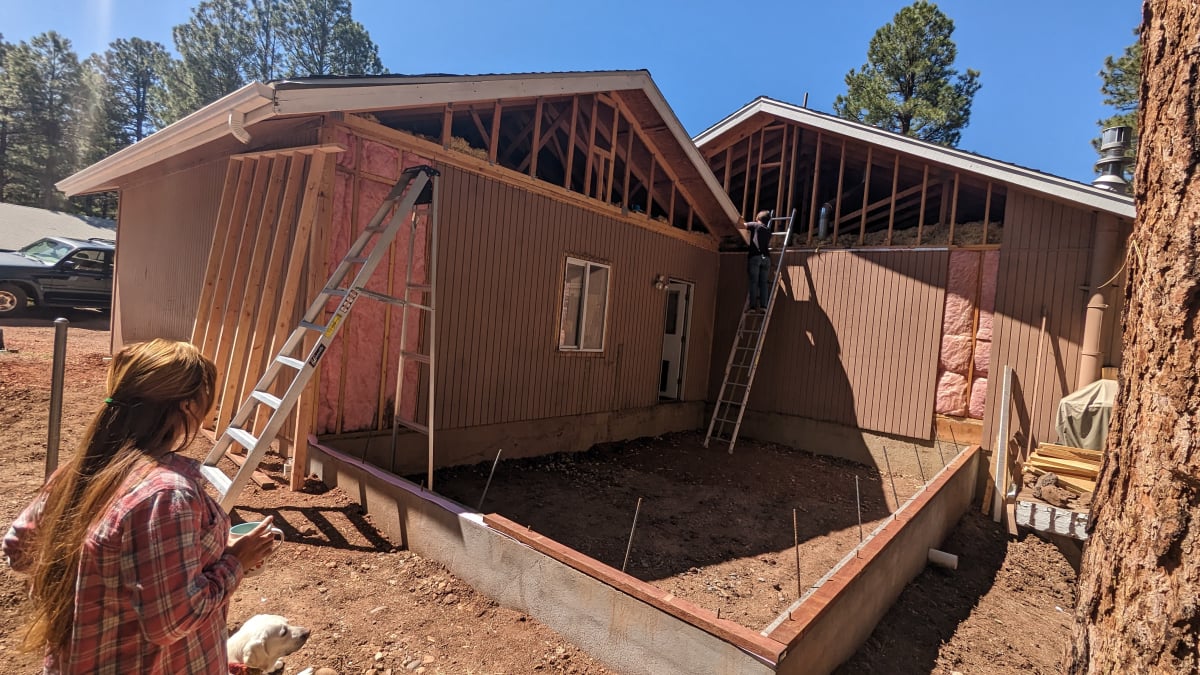
More Garage

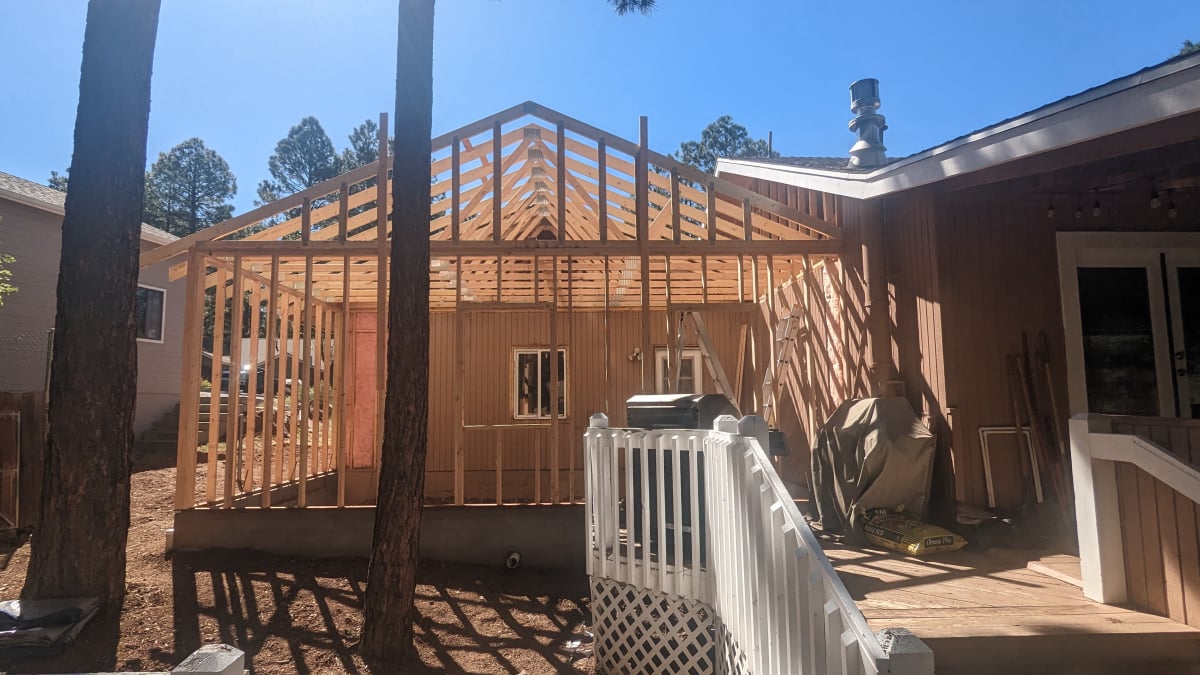
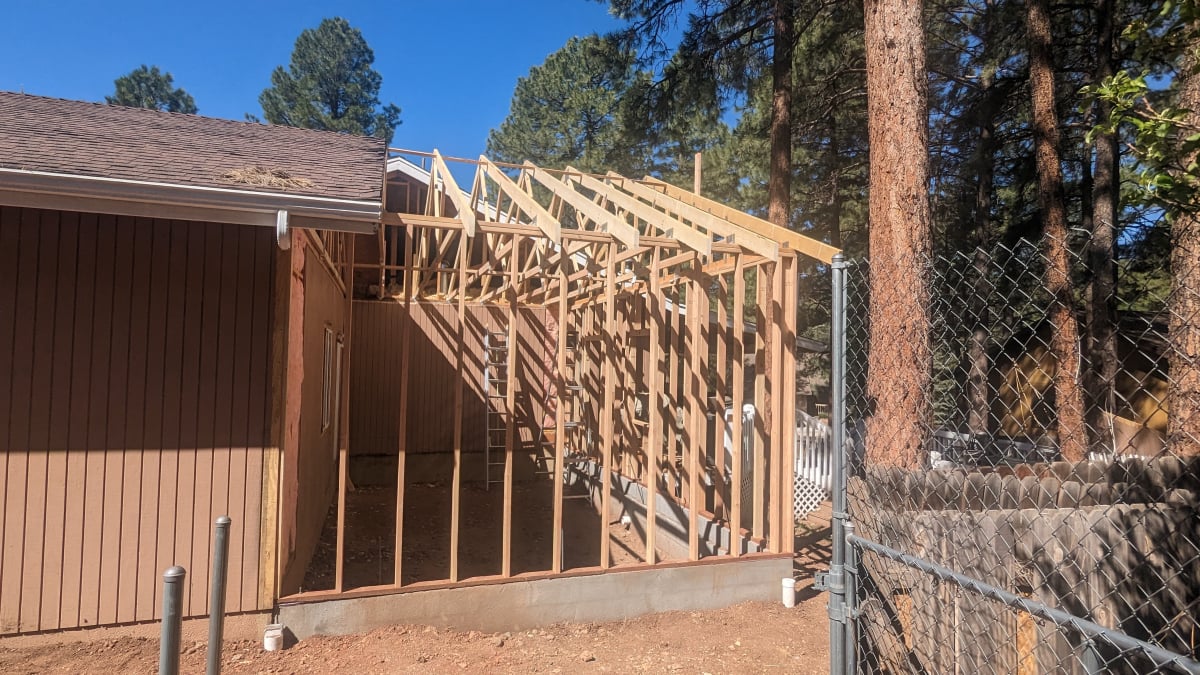
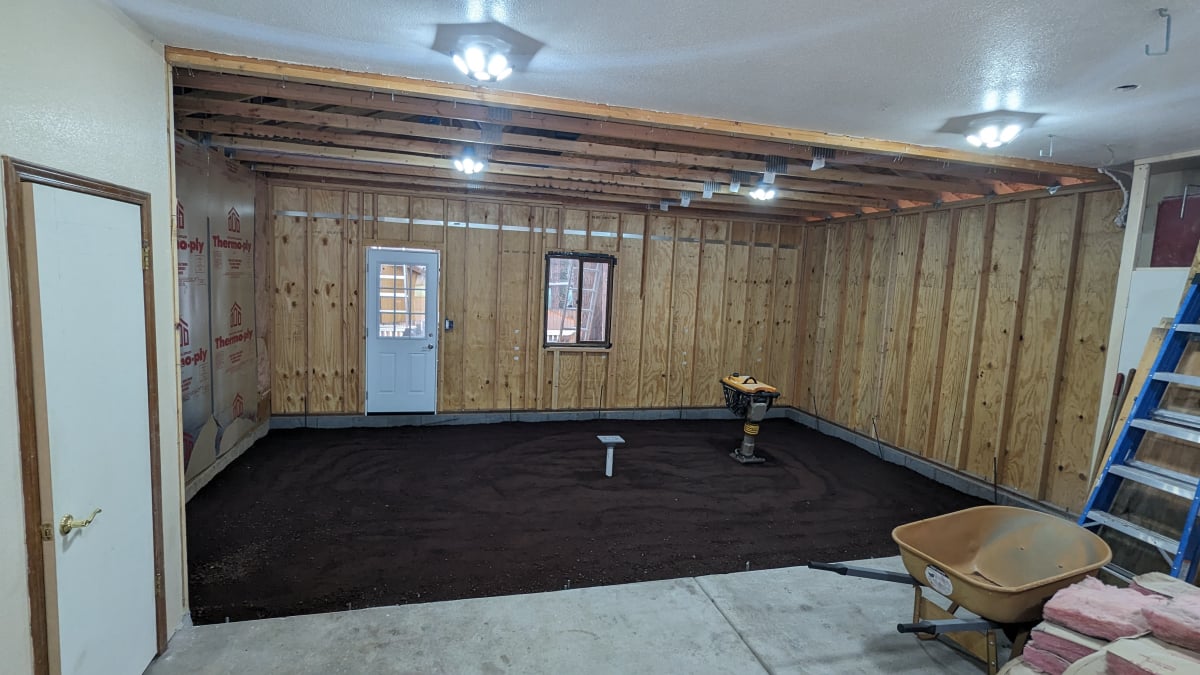
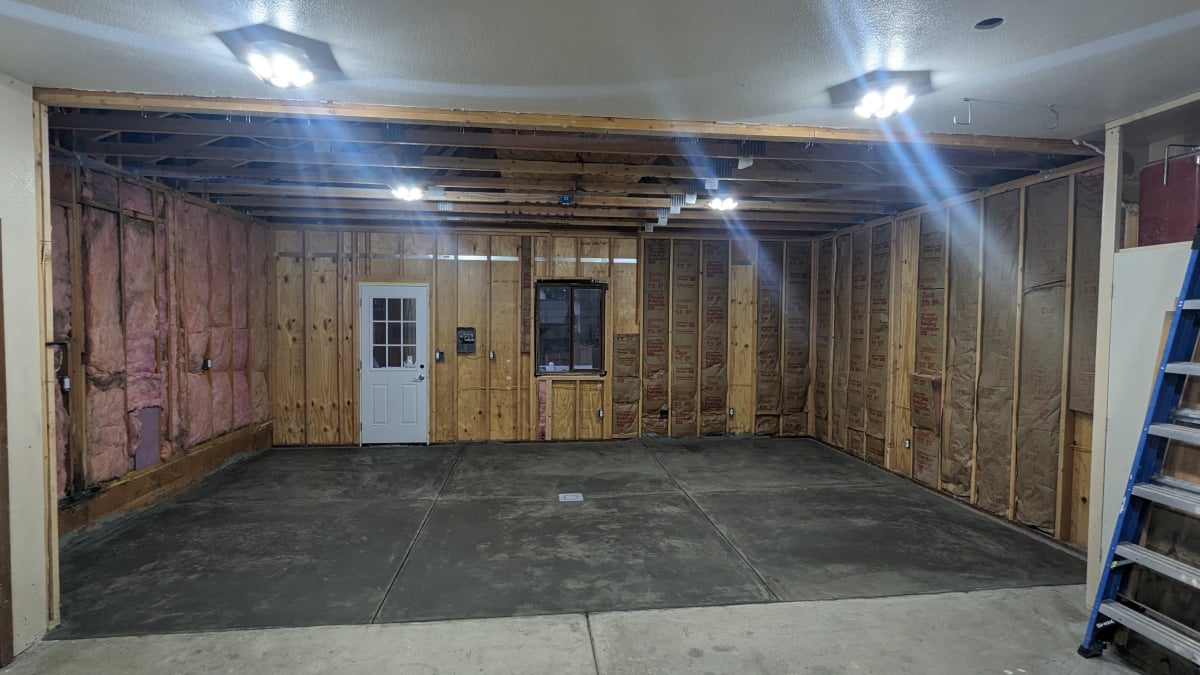
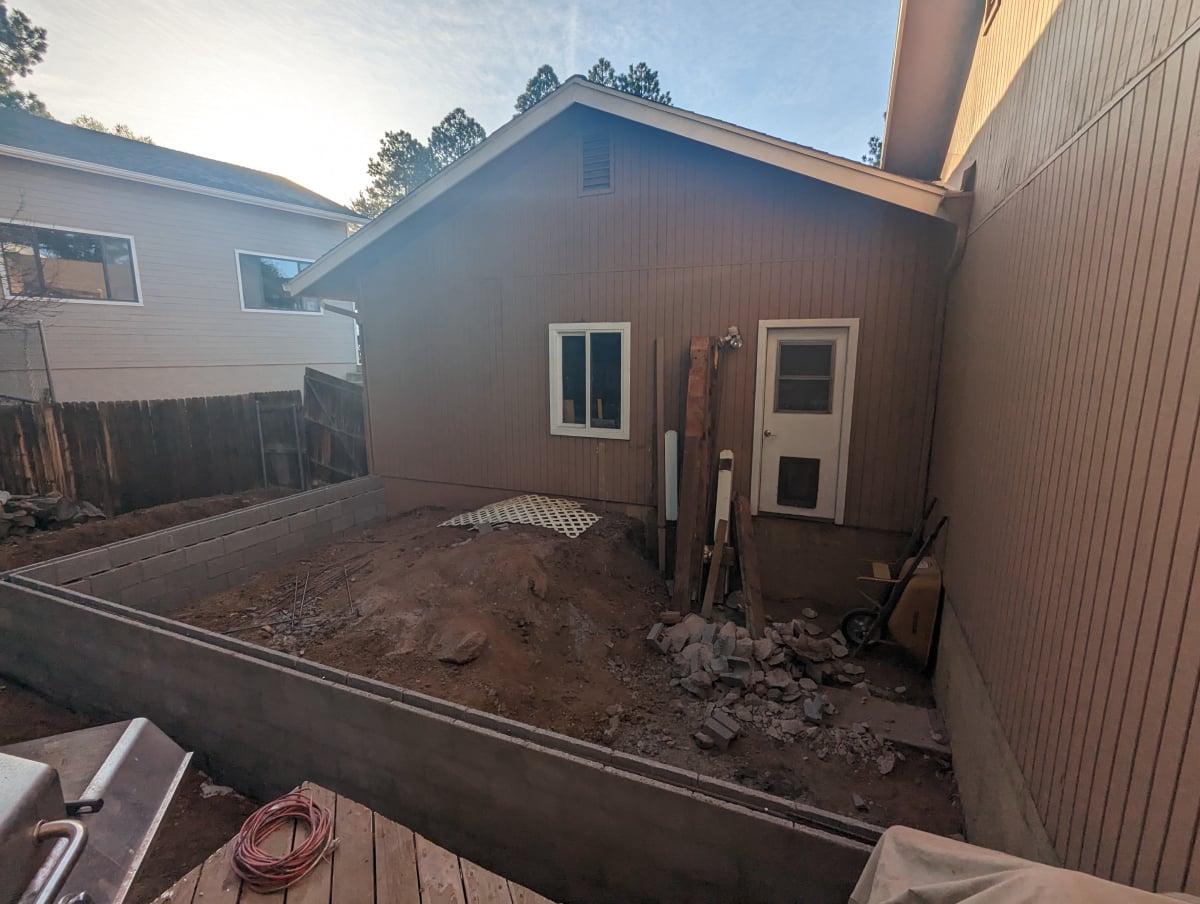
Before I could really get going on my project, I needed more space. So the first step was to add room in the back of the garage. I was able to add 14 feet to the depth. One can never have enough garage but it's a lot more than what I had.
The extra space felt huge and was what I needed. 
The birth of the Land Crusher

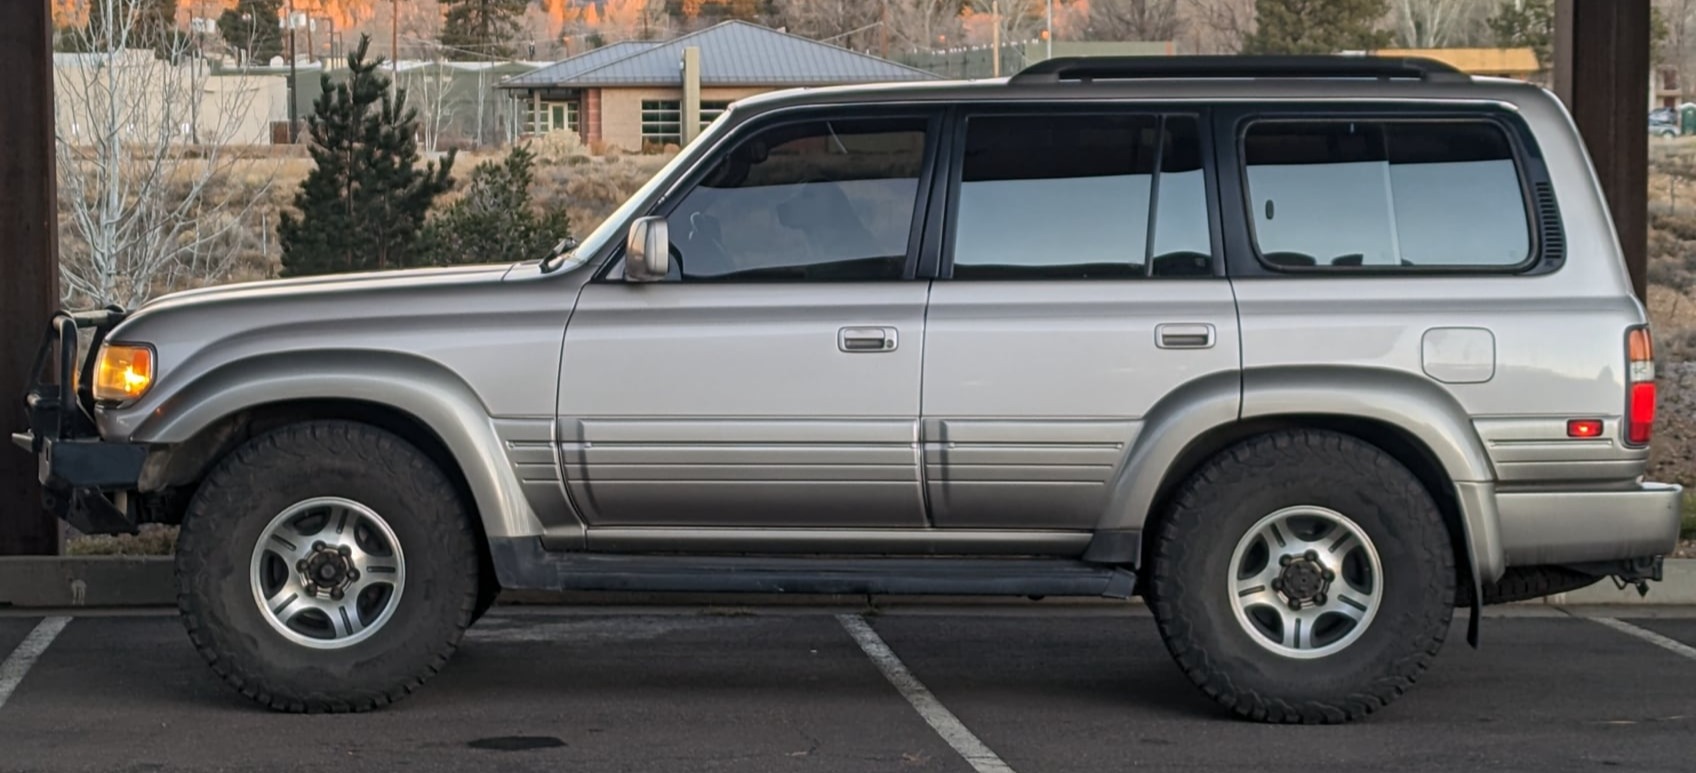
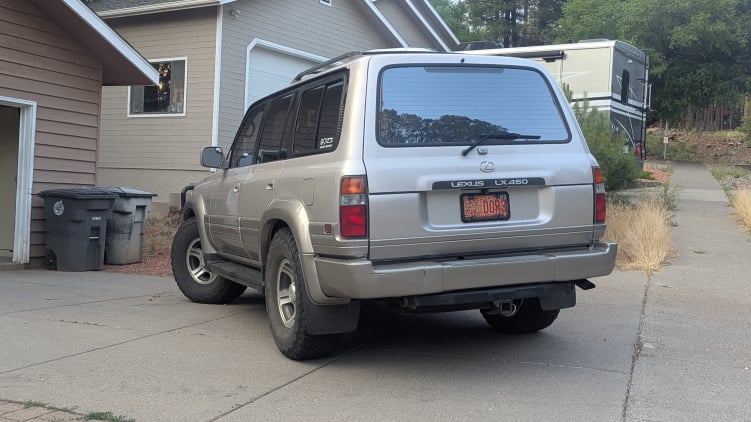
1997 Lexus LX450
Purchased August 2020.  253,000 miles.
Unmodified, Stock.  Pictured with 35s

Bought in Phoenix from a gent that got it from an auction in LA.  He never drove it and finally decided he needed a newer car.

Look closely and you can see my dog Mochi in the front seat.

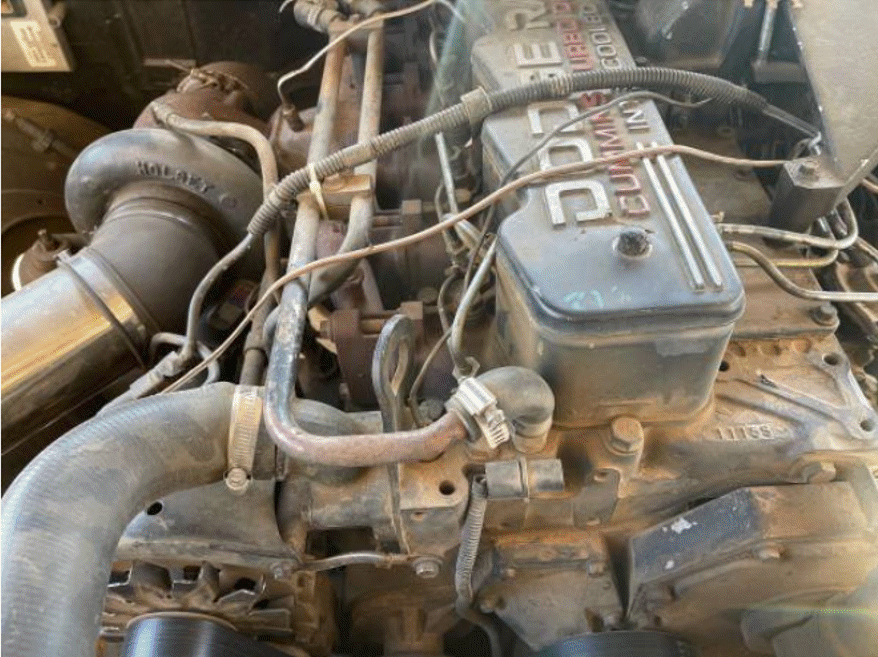
12V Cummins with a VE pump
Purchased May 2022.

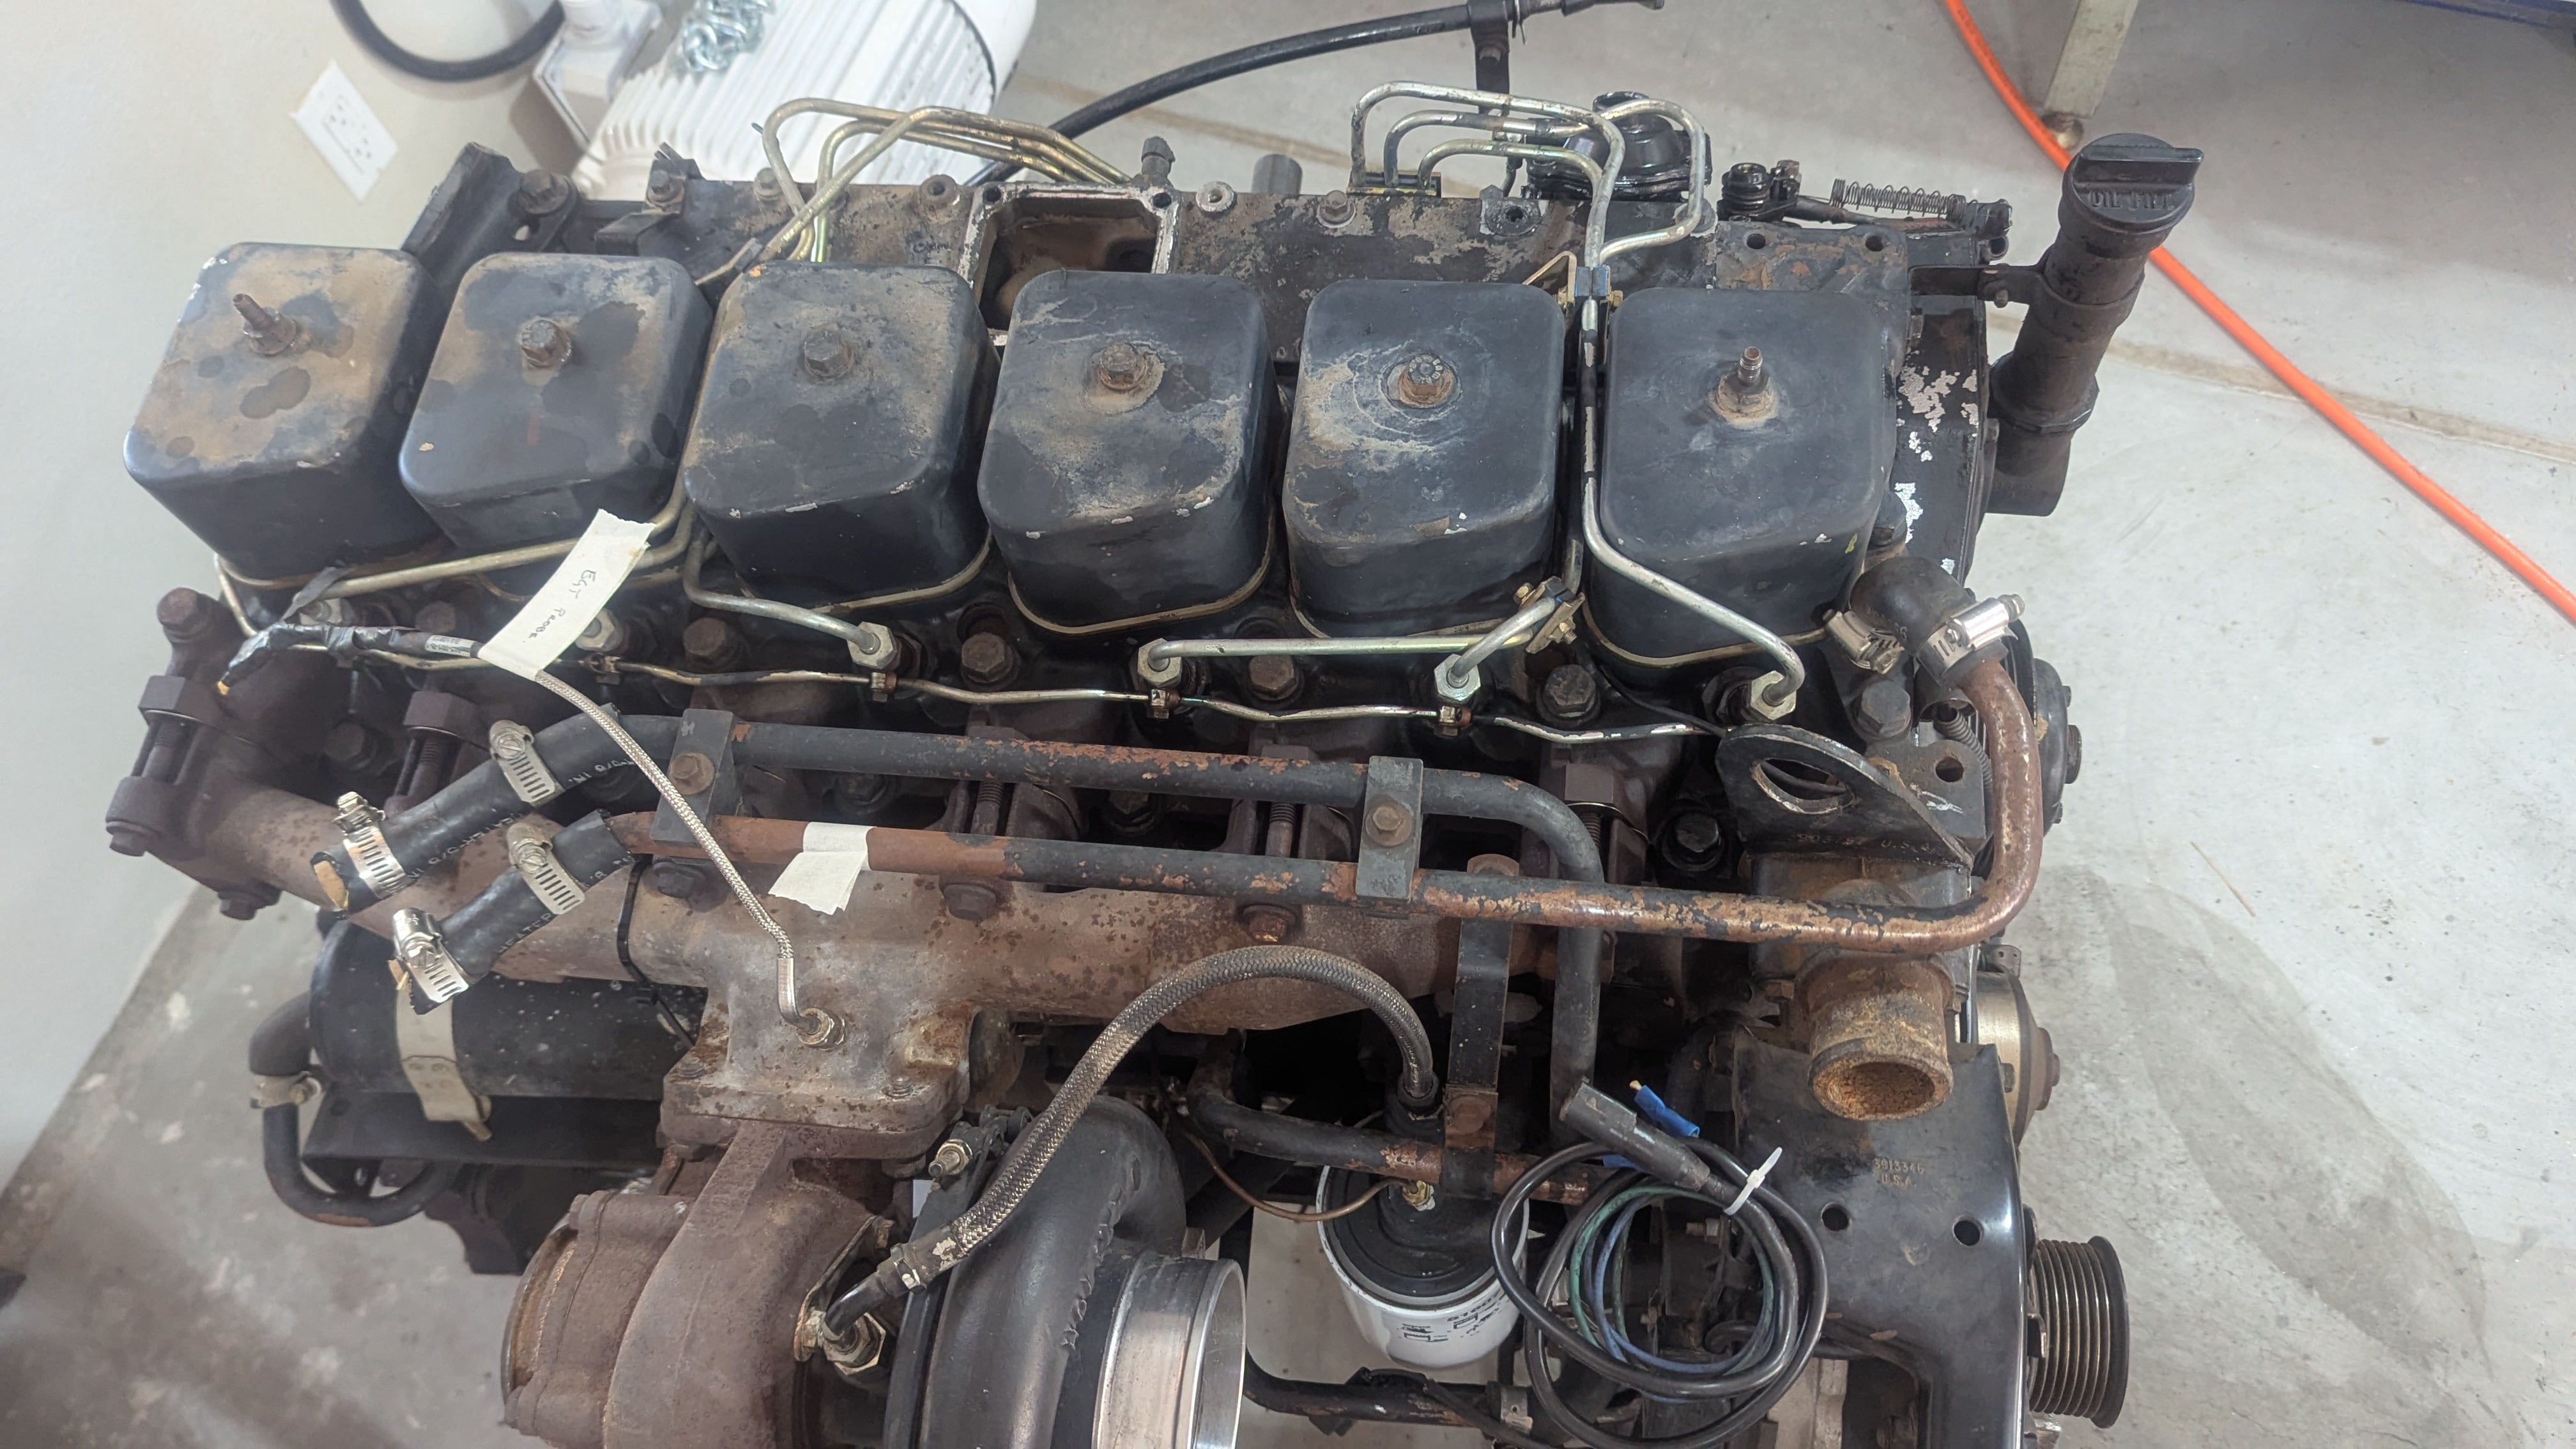
Pulled from a 1989 Dodge D250.  It was a city of Phoenix work truck that wasn't used much.   It was roughly 210,000 miles when I bought it and was modified slightly with a larger turbo and an intercooler.

Definitely dirty and in need of some cleaning. 
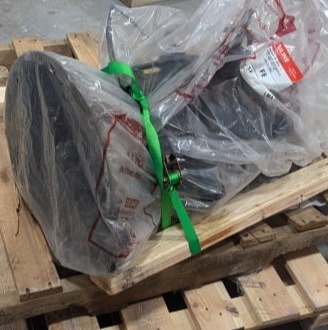
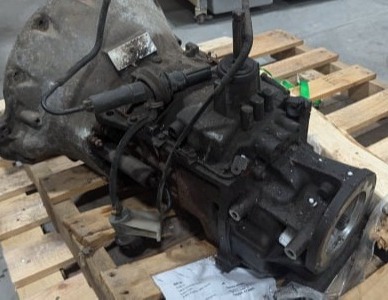
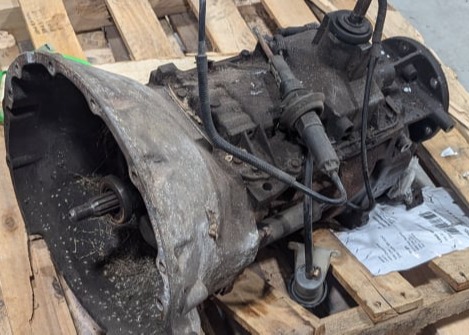
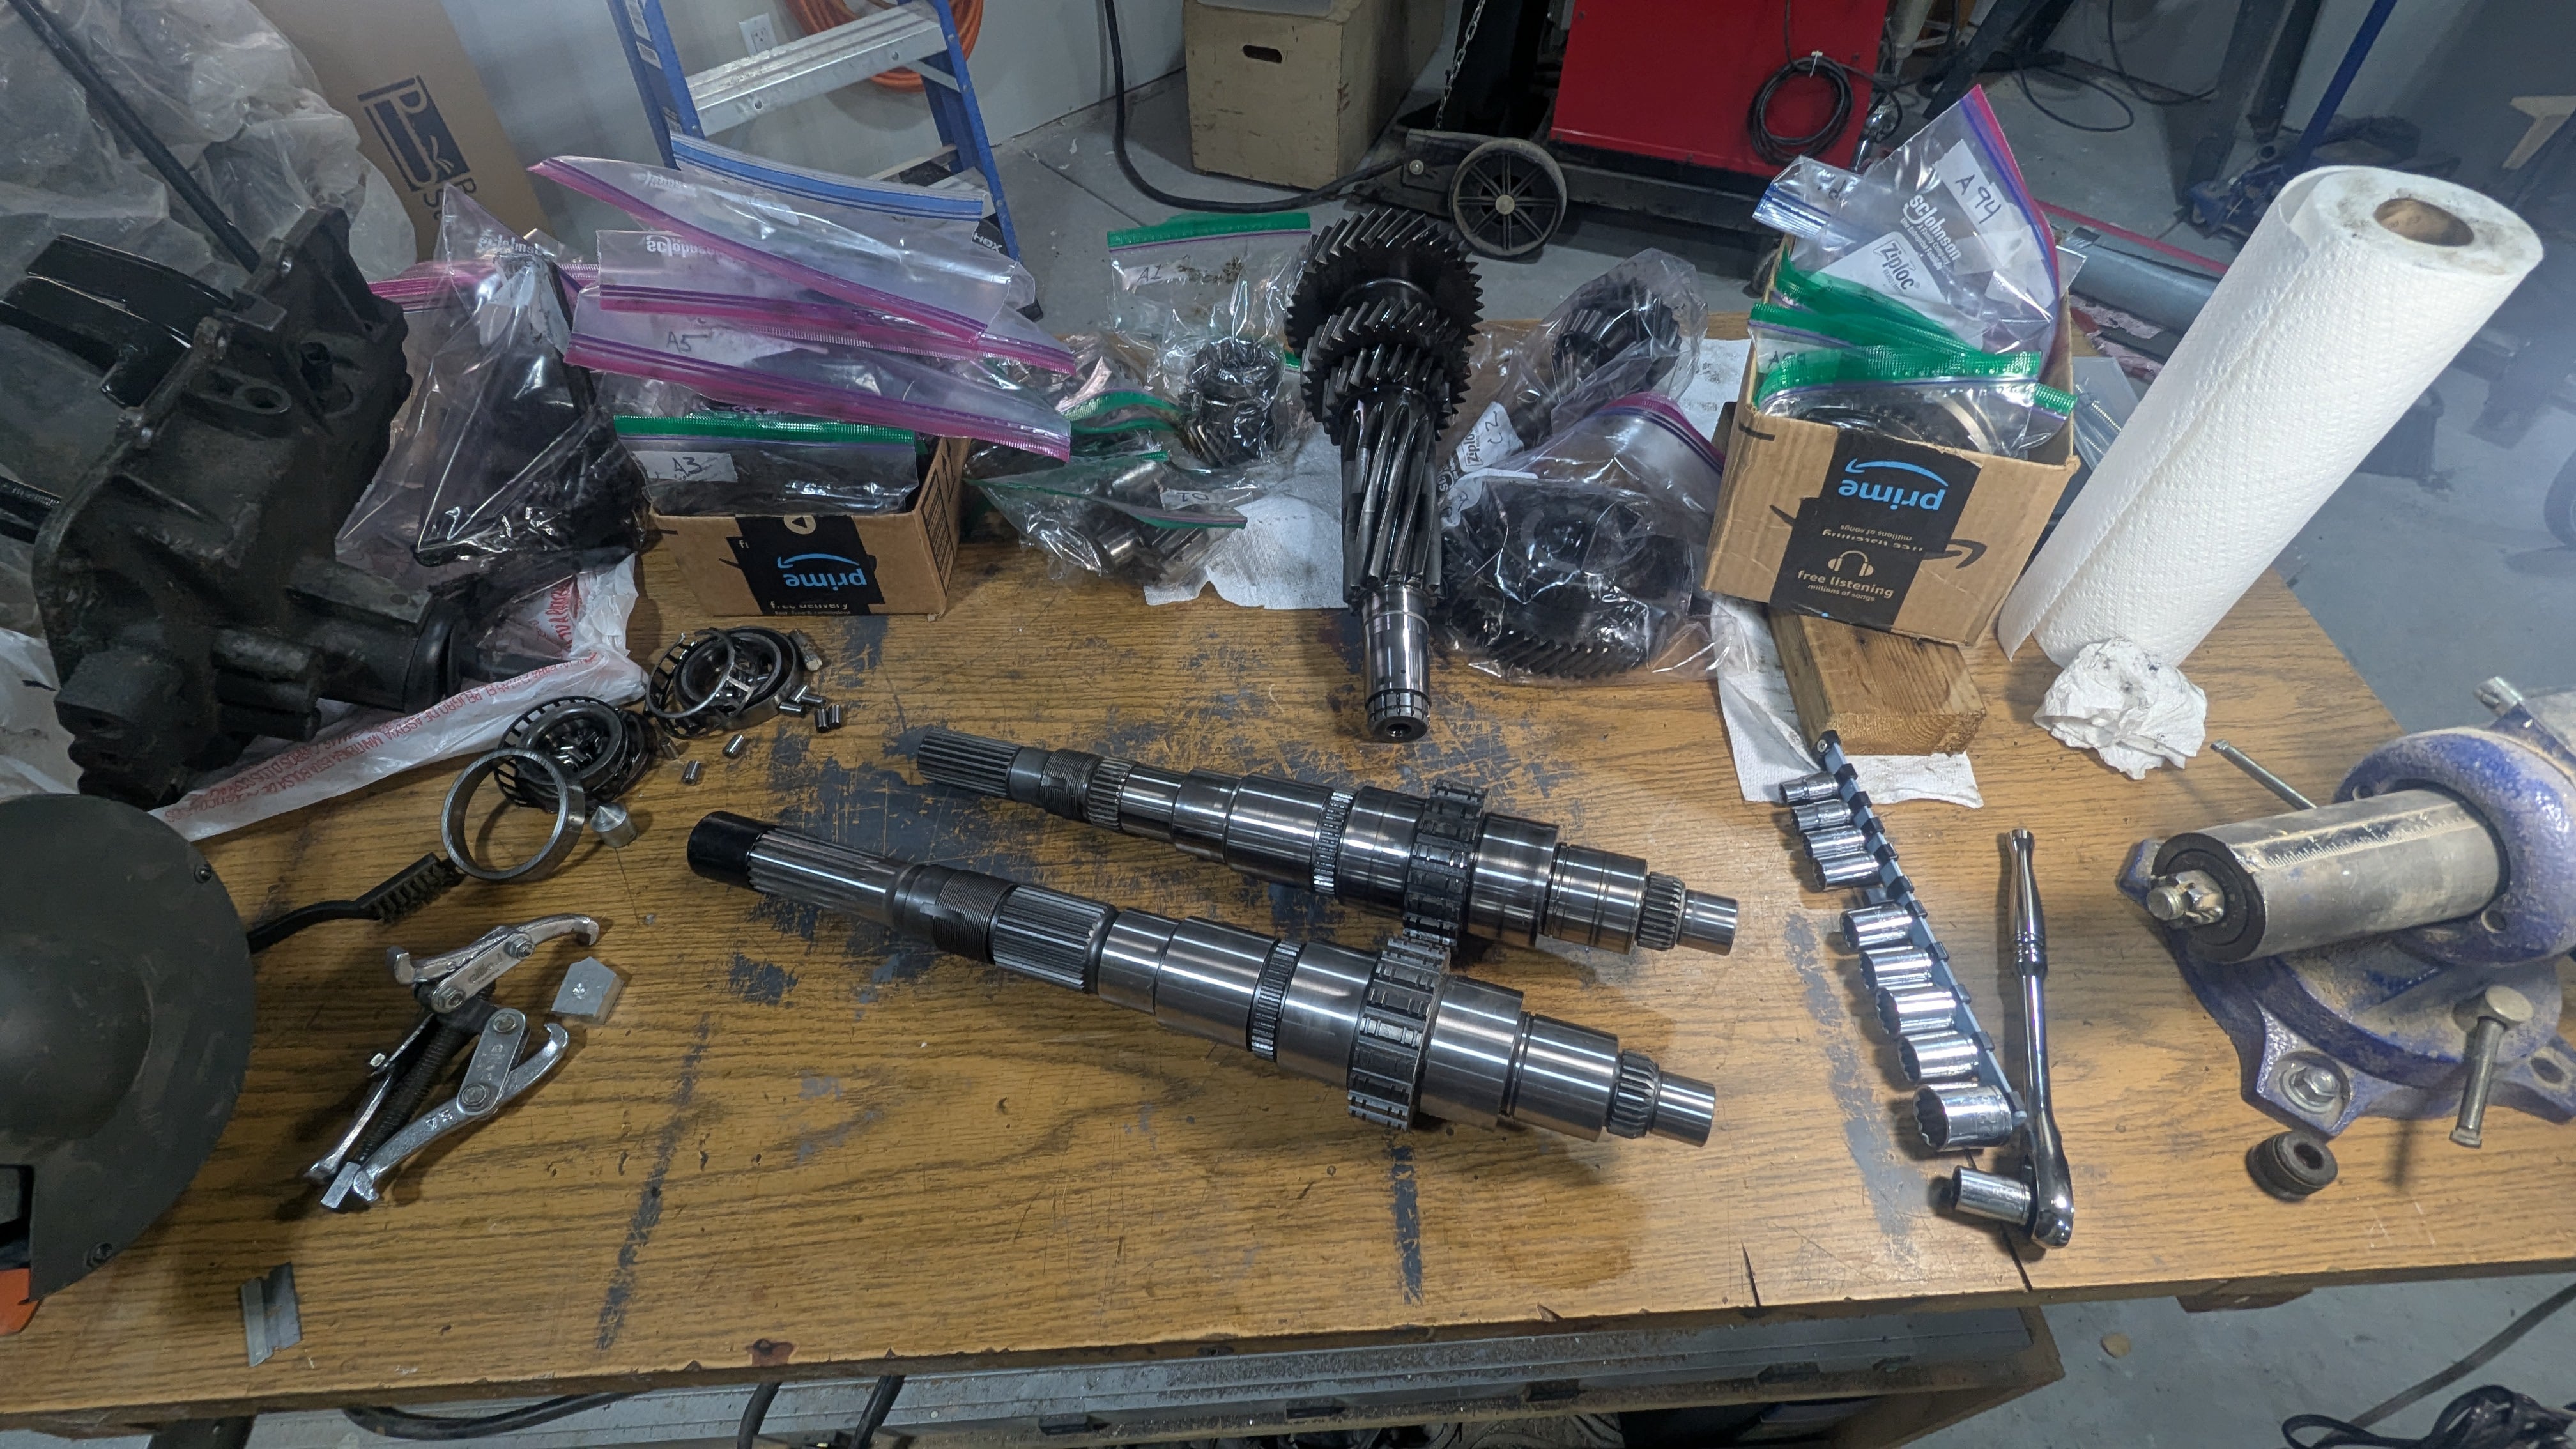
Rebuilding the Transmission 
I had a lot to do to the transmission.

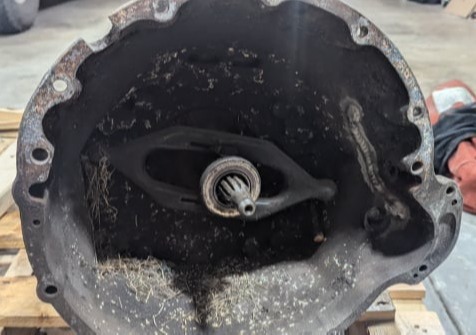
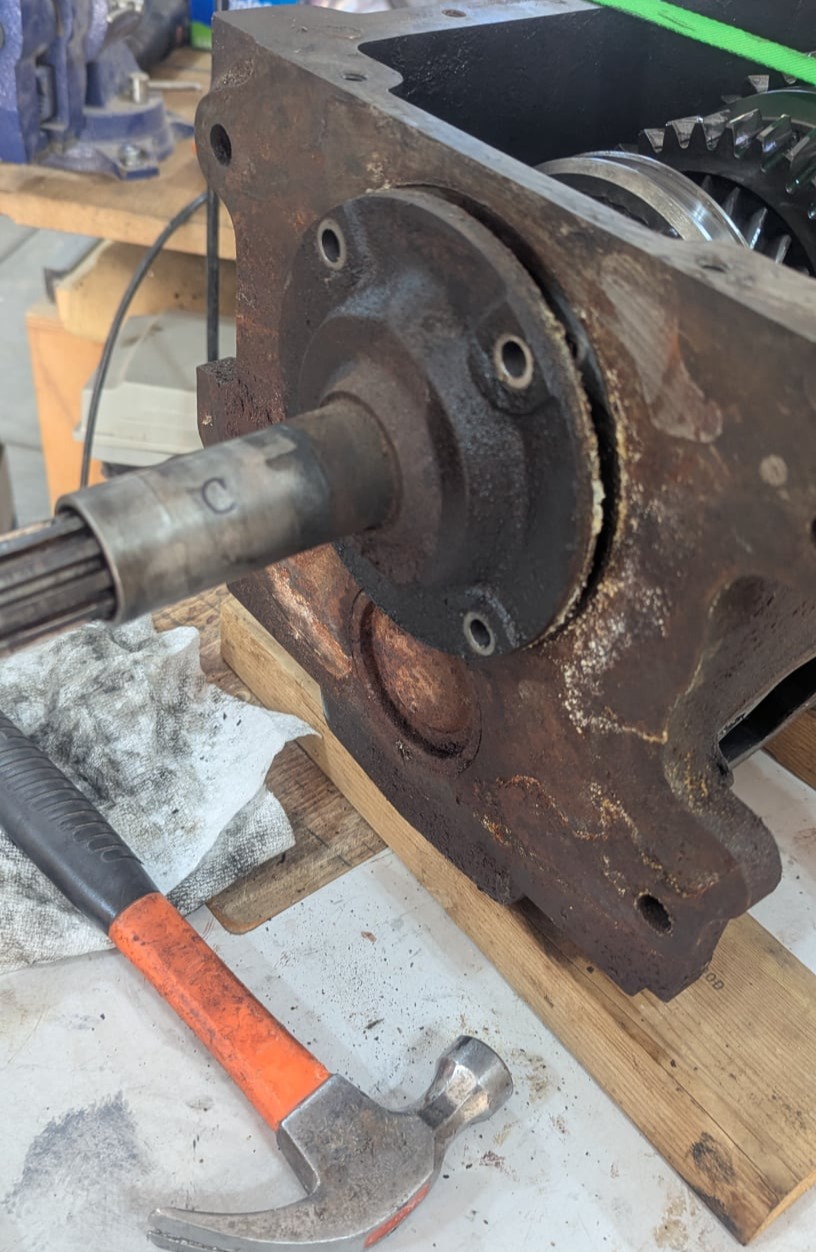
• Because it was made for a gas engine, the bell housing and input shaft are not correct. I need to get new ones.
• I also need to replace the main shaft so the transmission will mate to the transfer case. The main shaft came in a kit from Adventure Vehicles NW.
• I don't know the age or condition so the entire transmission needs to be gone through. At minimum, I should replace the bearings and synchros.
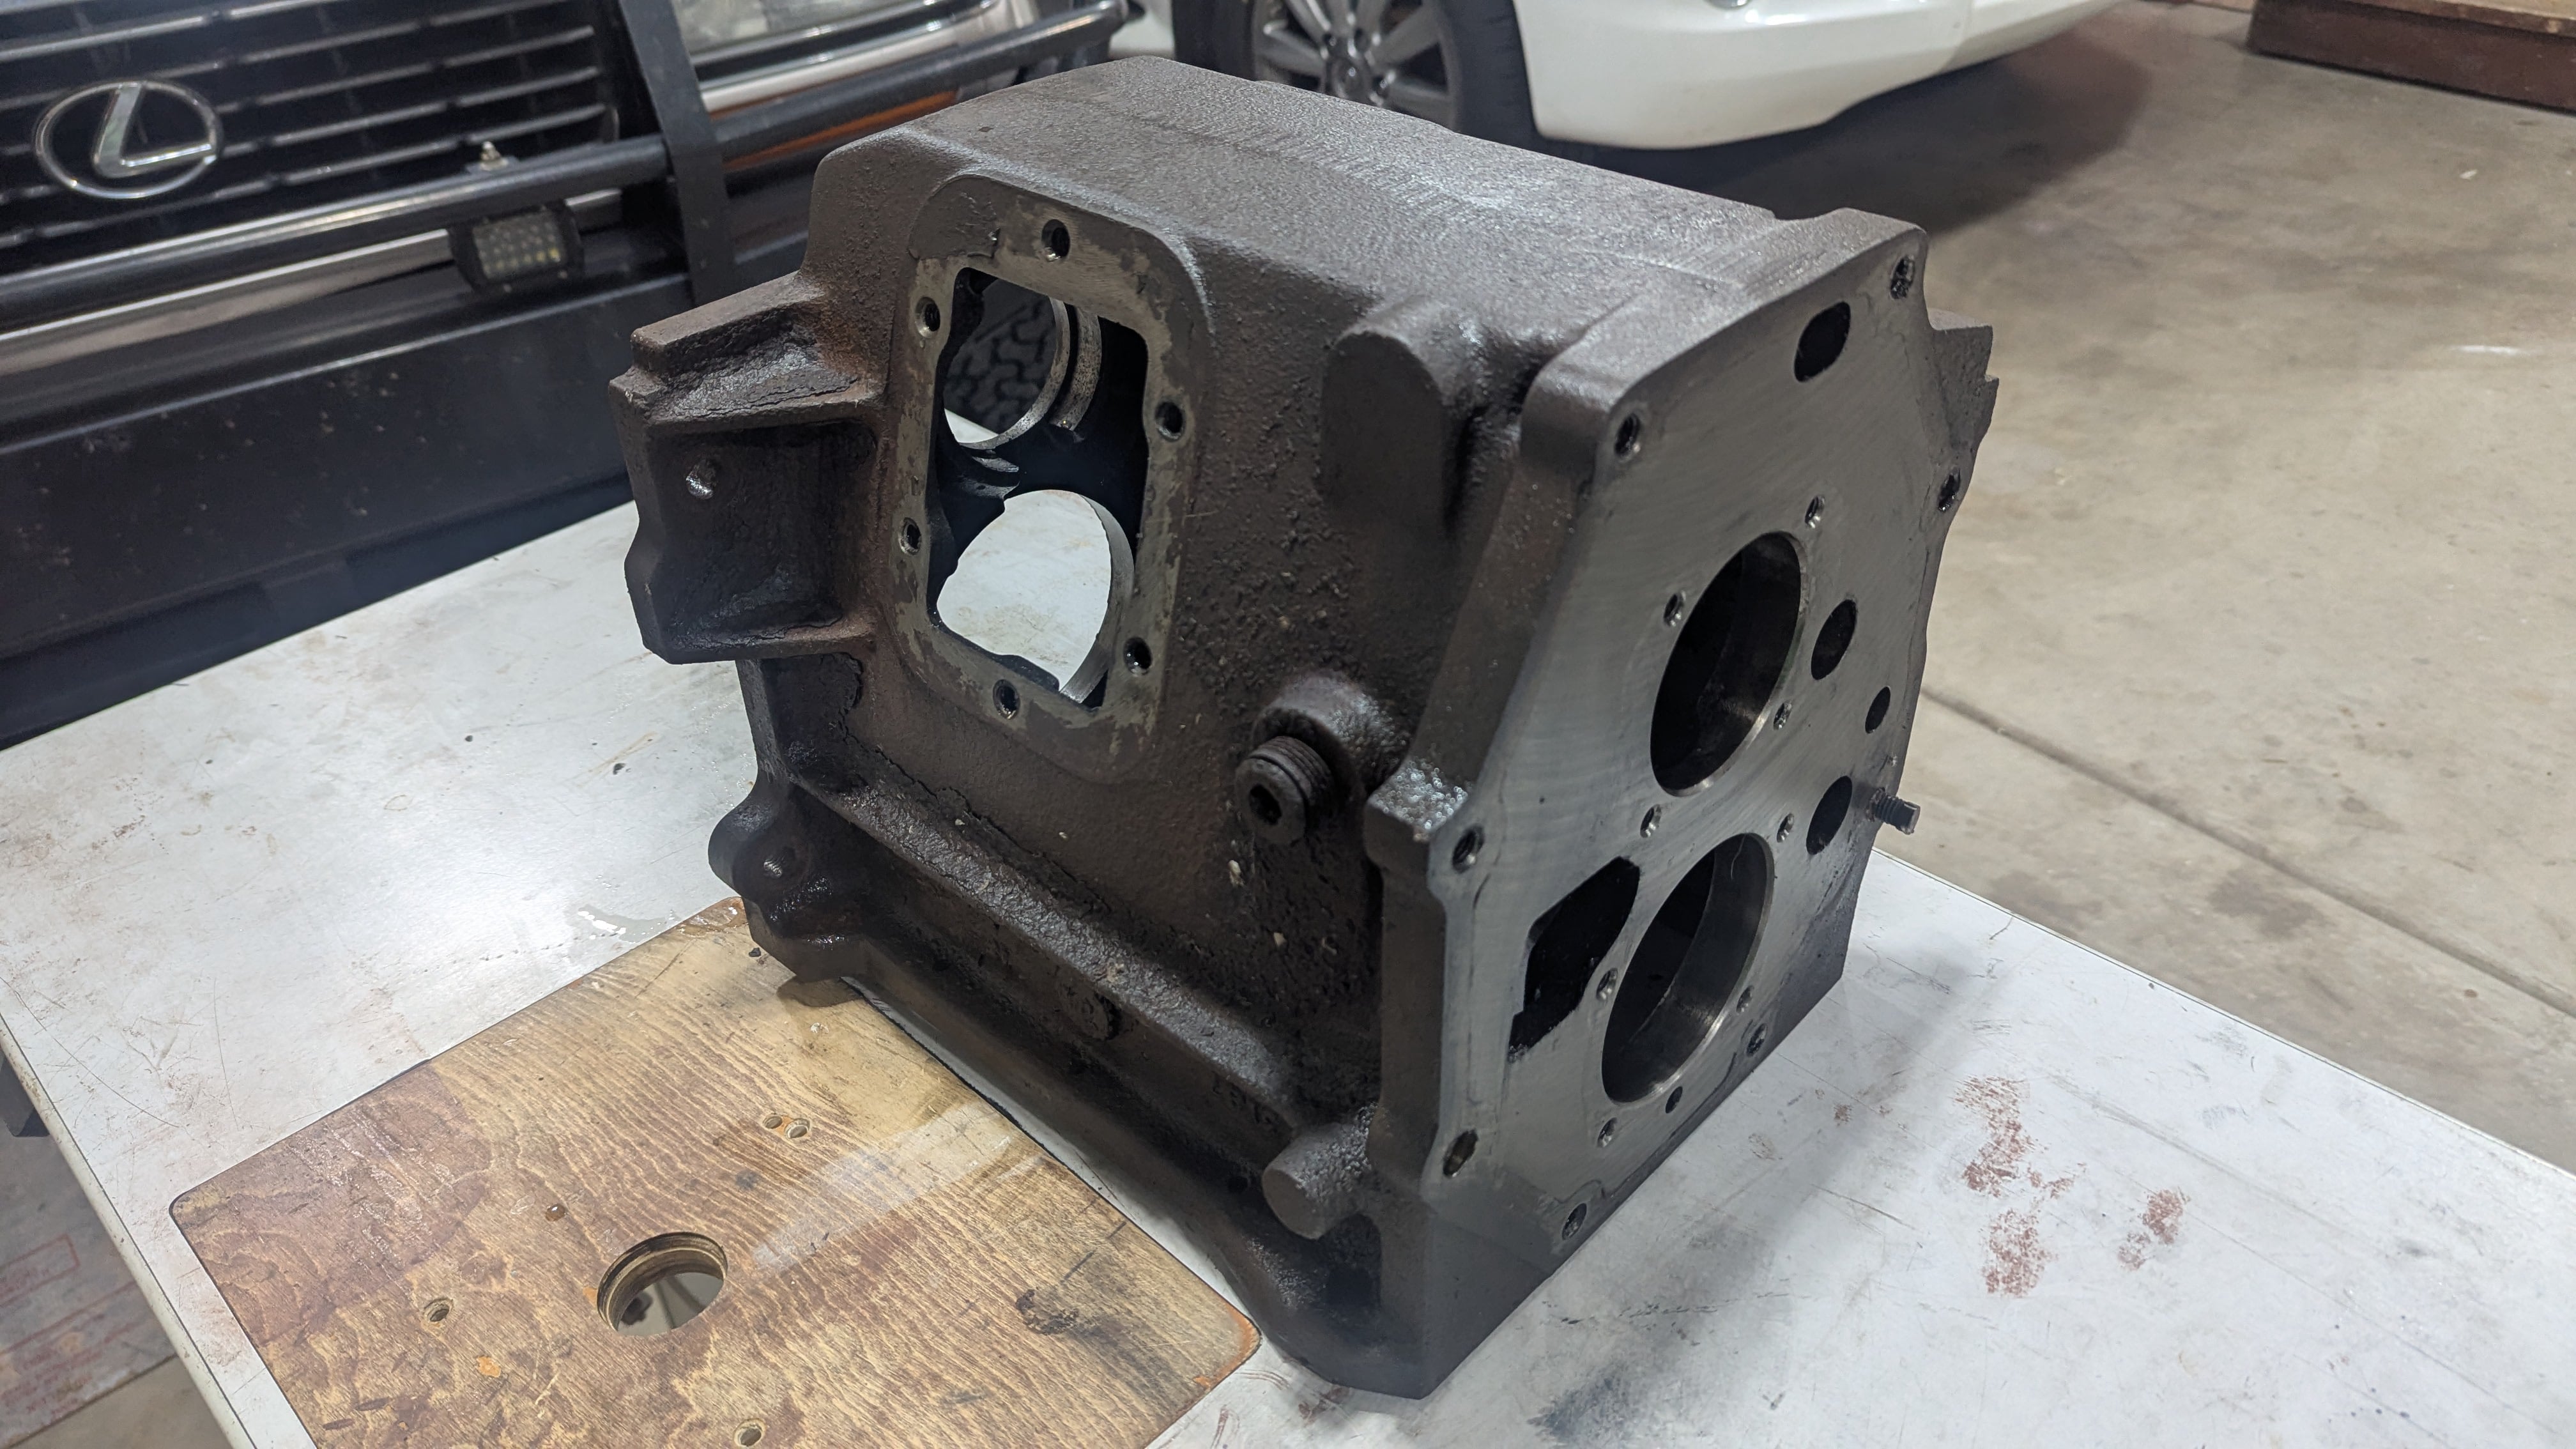
• While I'm at it, I need to remove the rust and paint it.

• List of replaced parts:
     • Main shaft to mate to the HF2AV
     • Cast iron tail extension housing
     • Heavy duty input upgrade kit
     • Needle bearing kit
     • Countershaft bearing kit
     • Main shaft shim kit
     • Bell housing
     • 5th gear nut


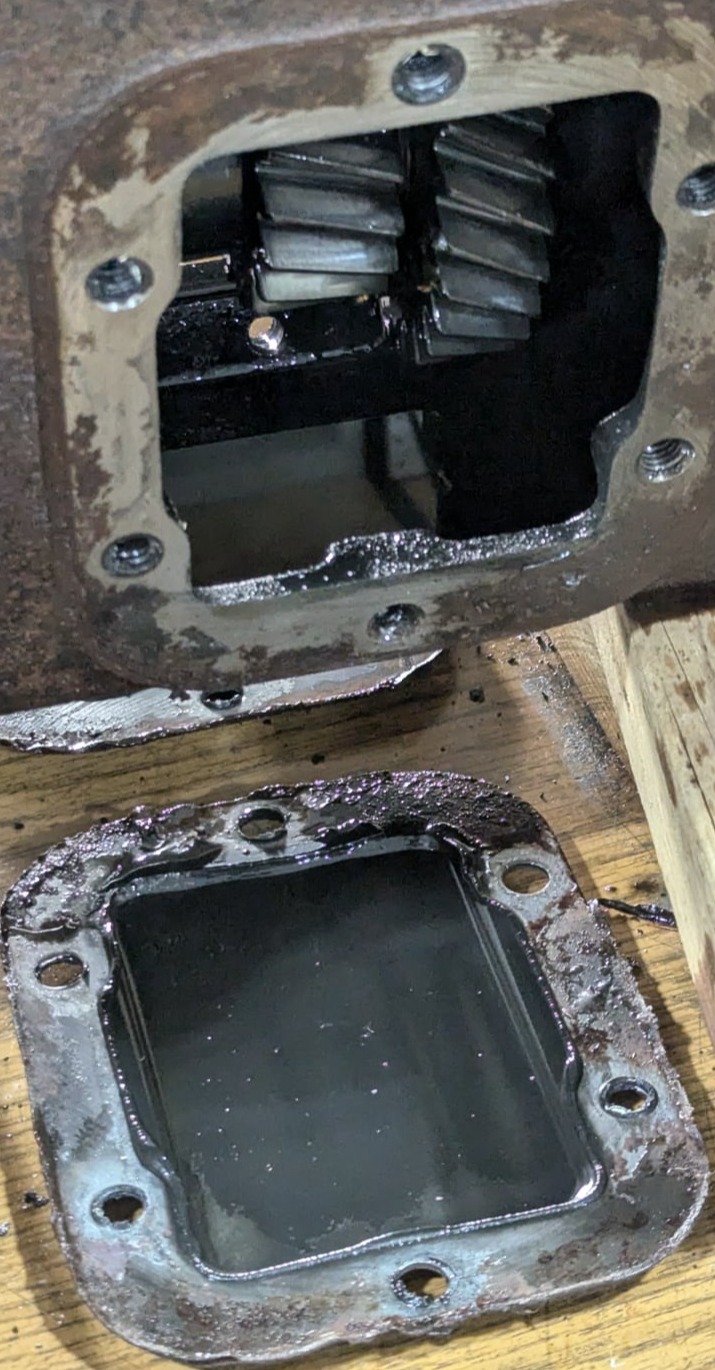
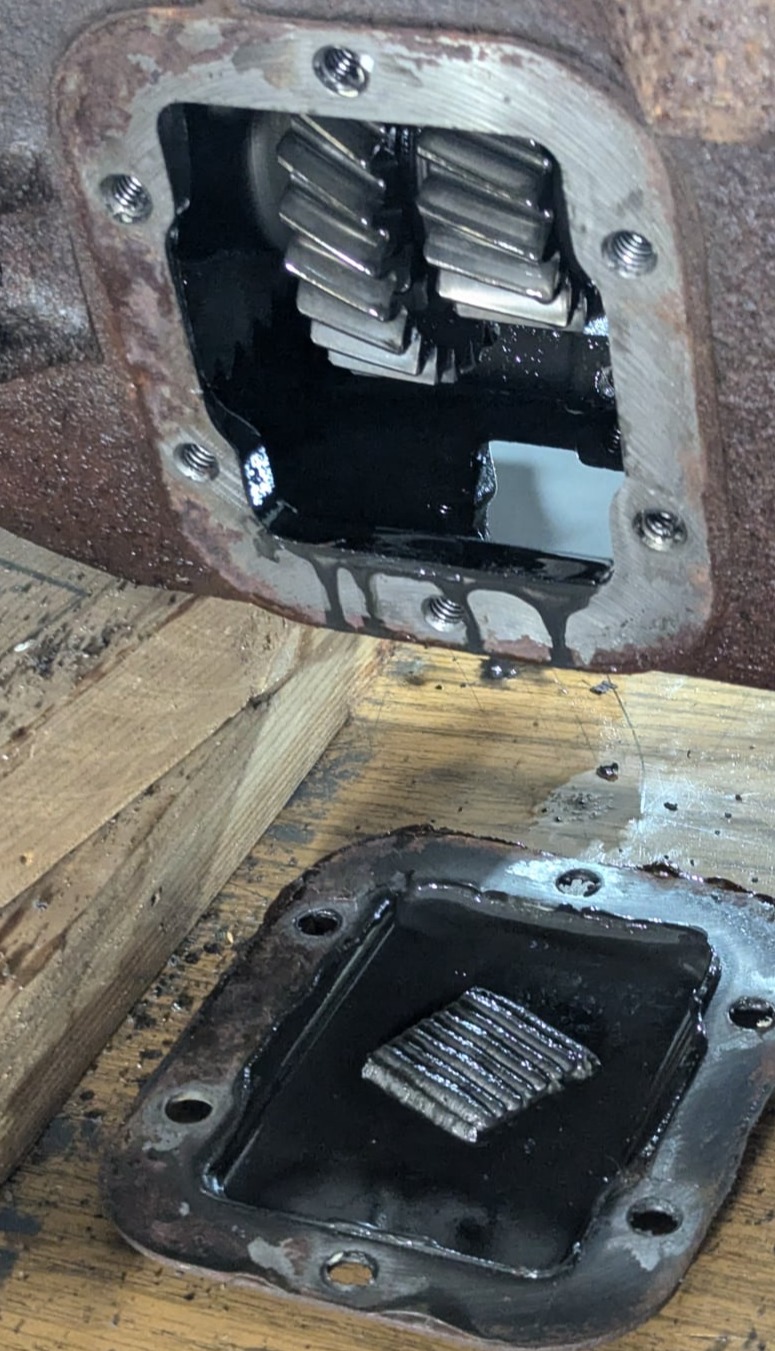
Initial peek into the transmission. It still had oil and none of the gears were broken.
Other side looks good and nothing big on the magnet. 
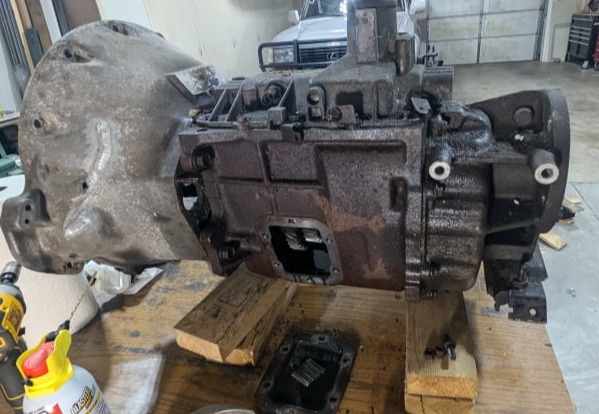
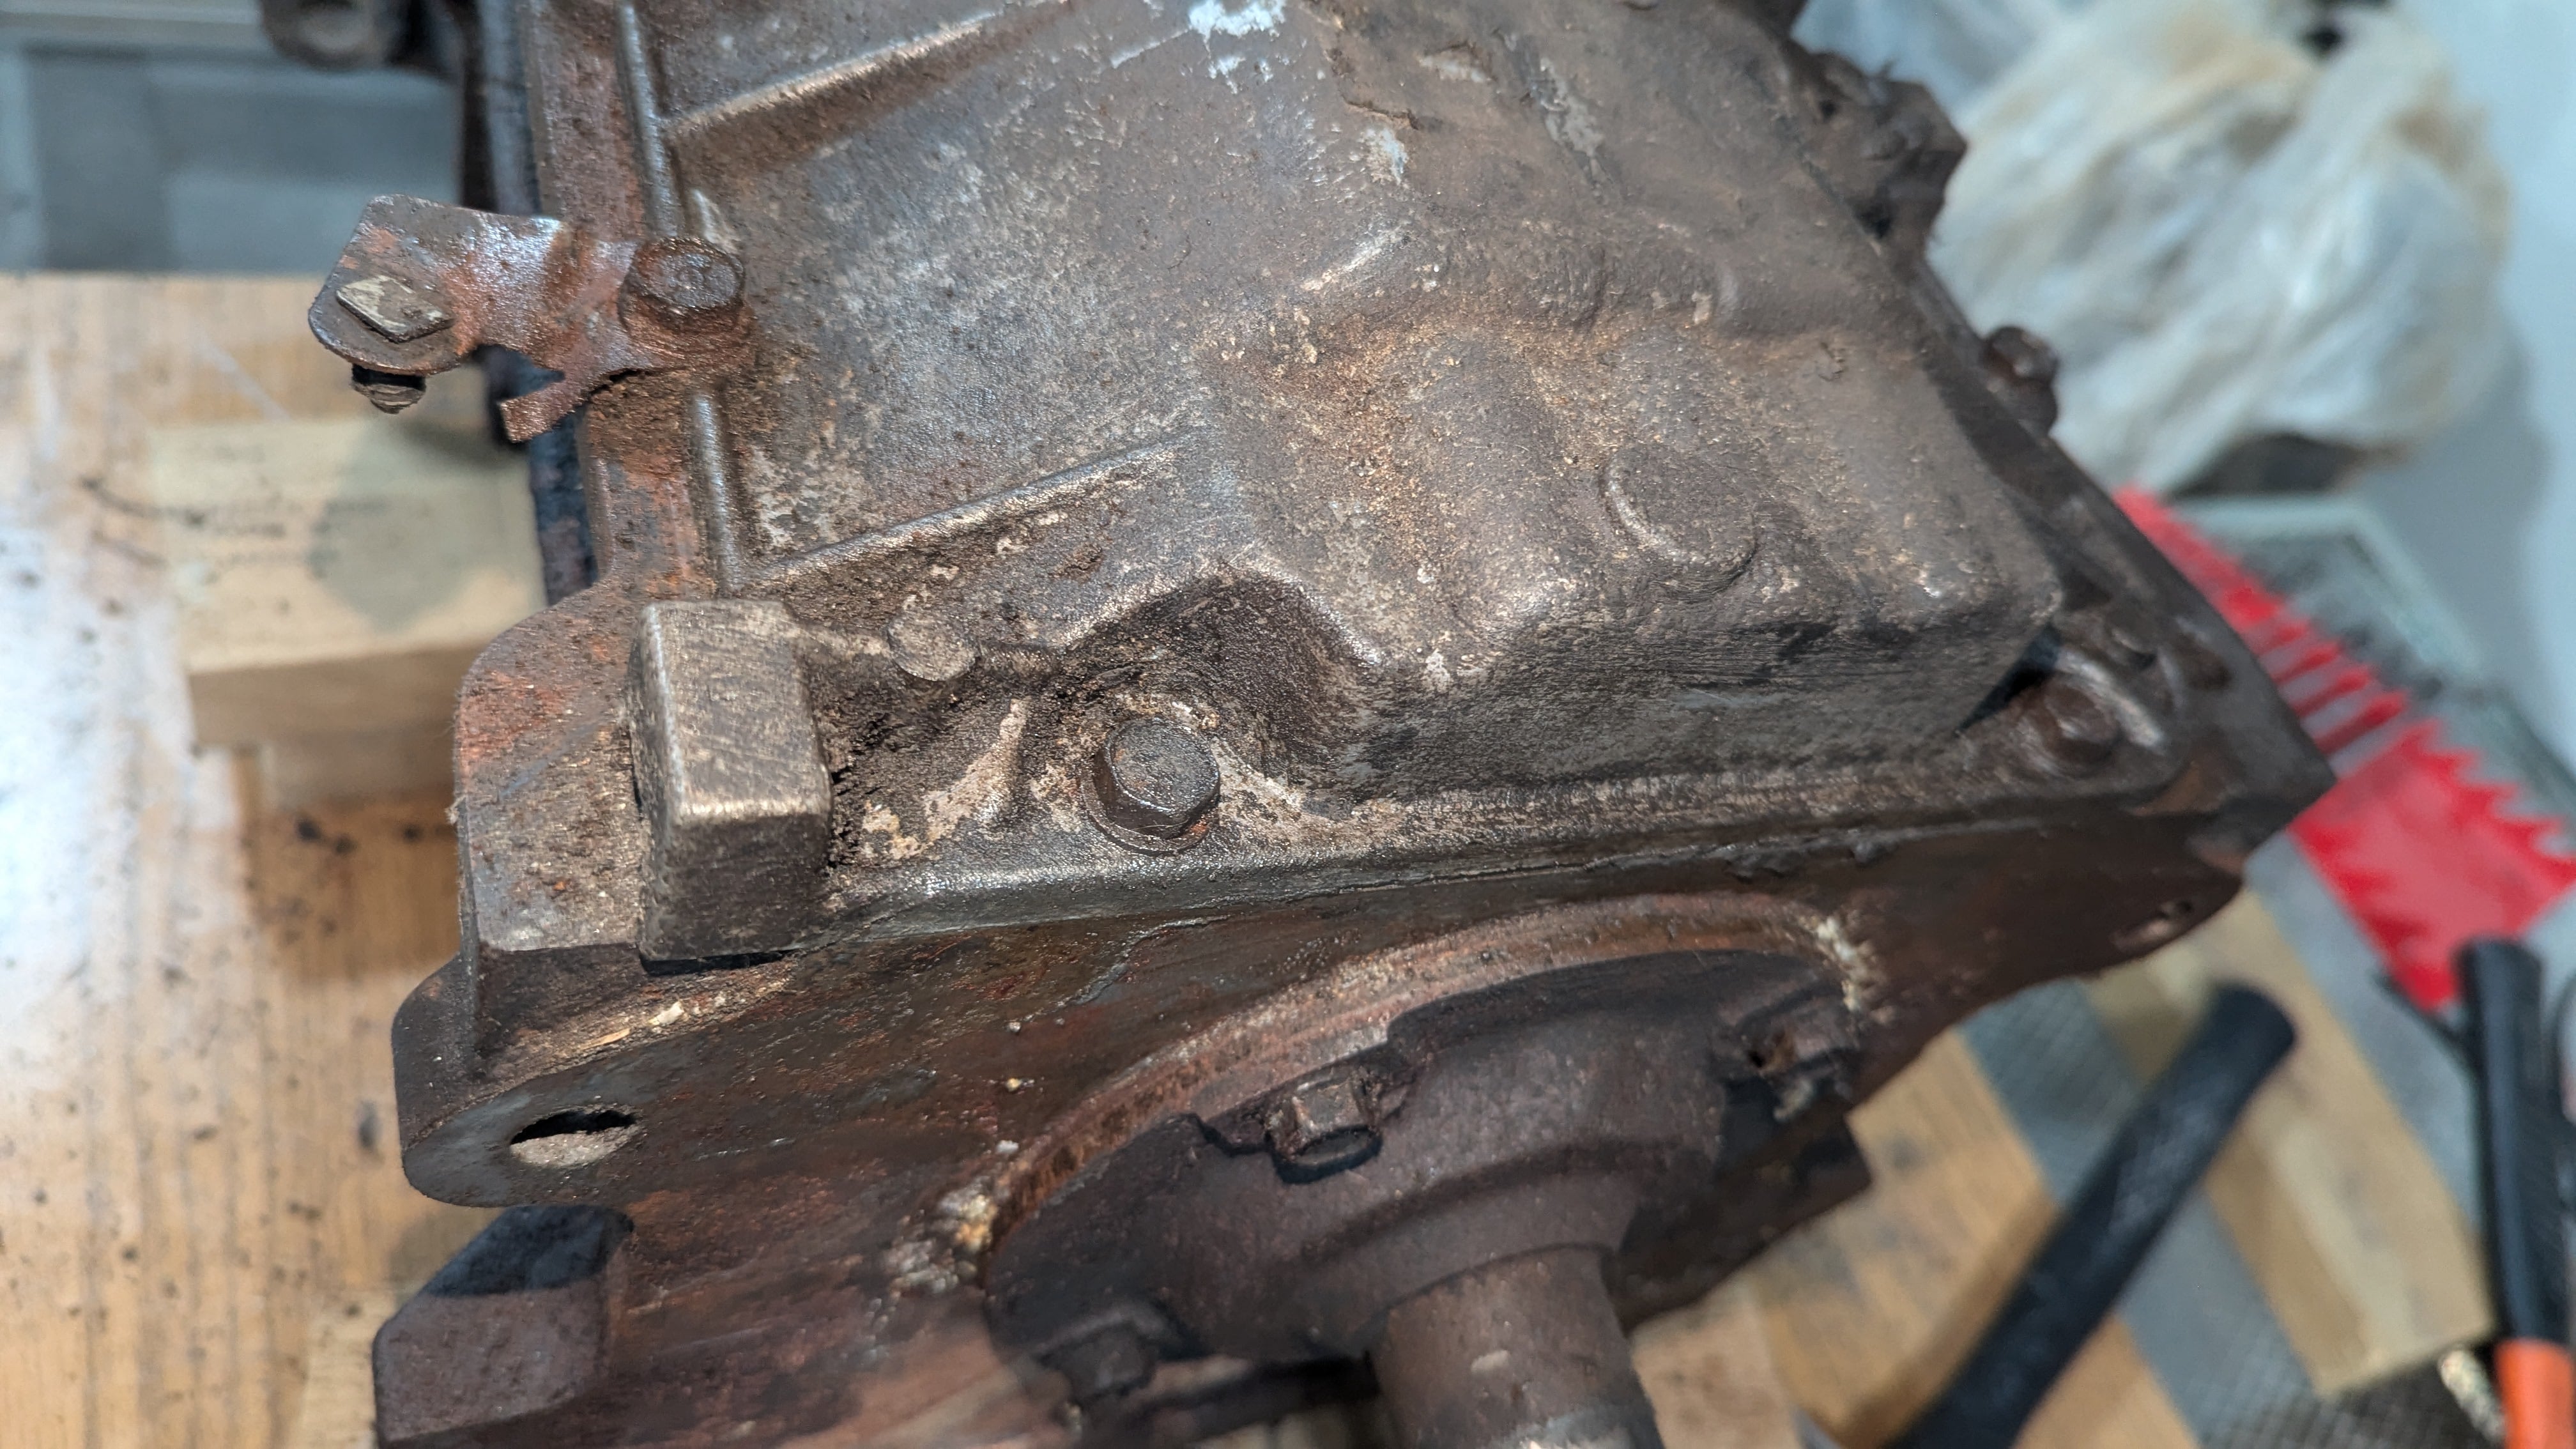
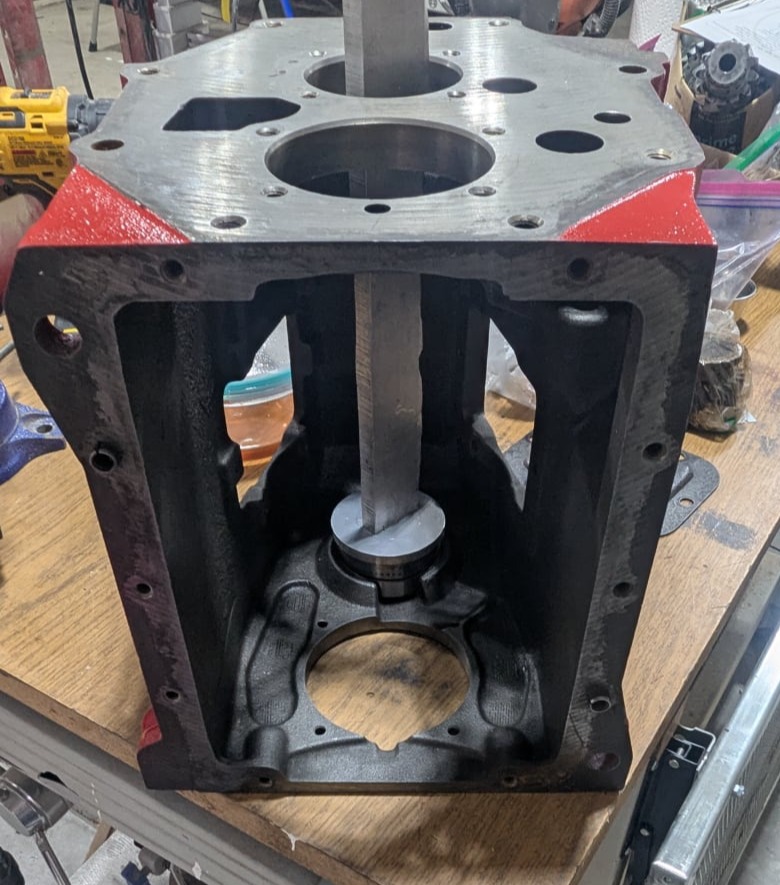
It's quite rusty and in need of a soak.
Hard to tell what is steel and what is aluminum.
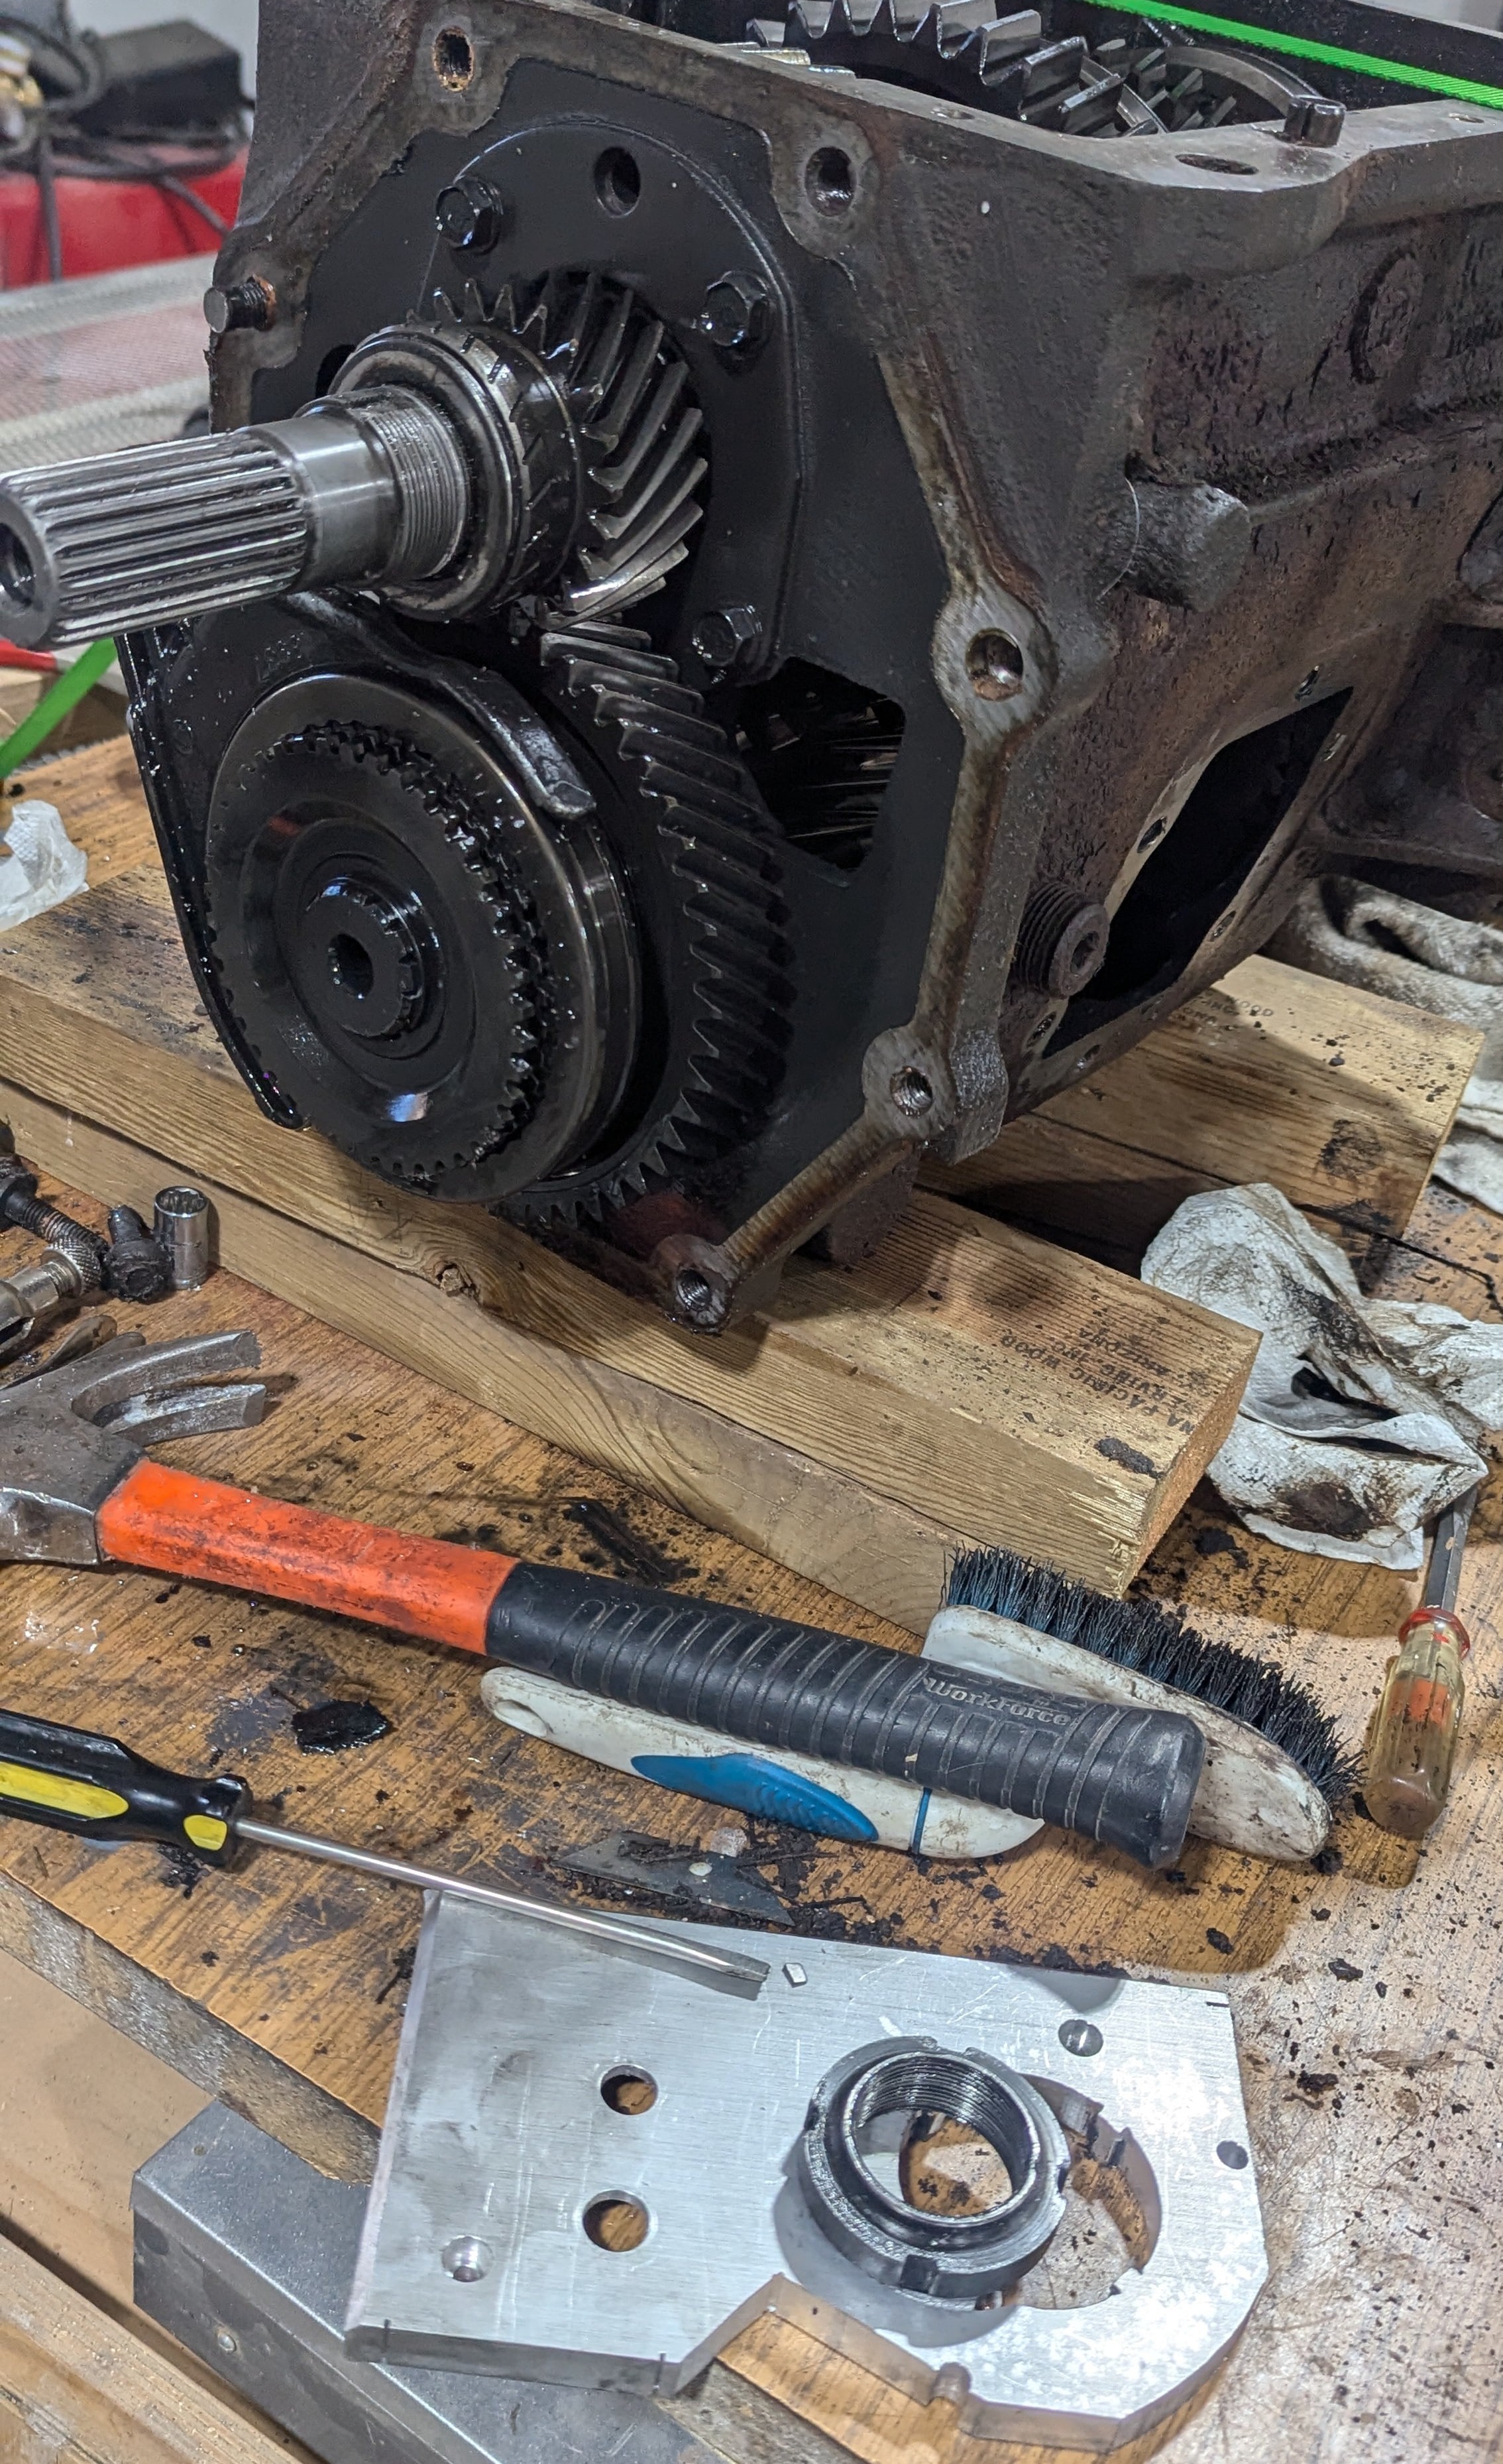
I didn't have a 5th gear nut tool for the gas output shaft so I made one out of a scrap piece of aluminum.
As bad as the outside looked, the inside was very clean and nothing looked broken. Maybe the transmission was pulled because of the bell housing that was cracked, welded and cracked again.
I had one bolt that the head snapped off.  Some PB Blaster for a couple of days and a sturdy pair of vice grips got the remainder out.
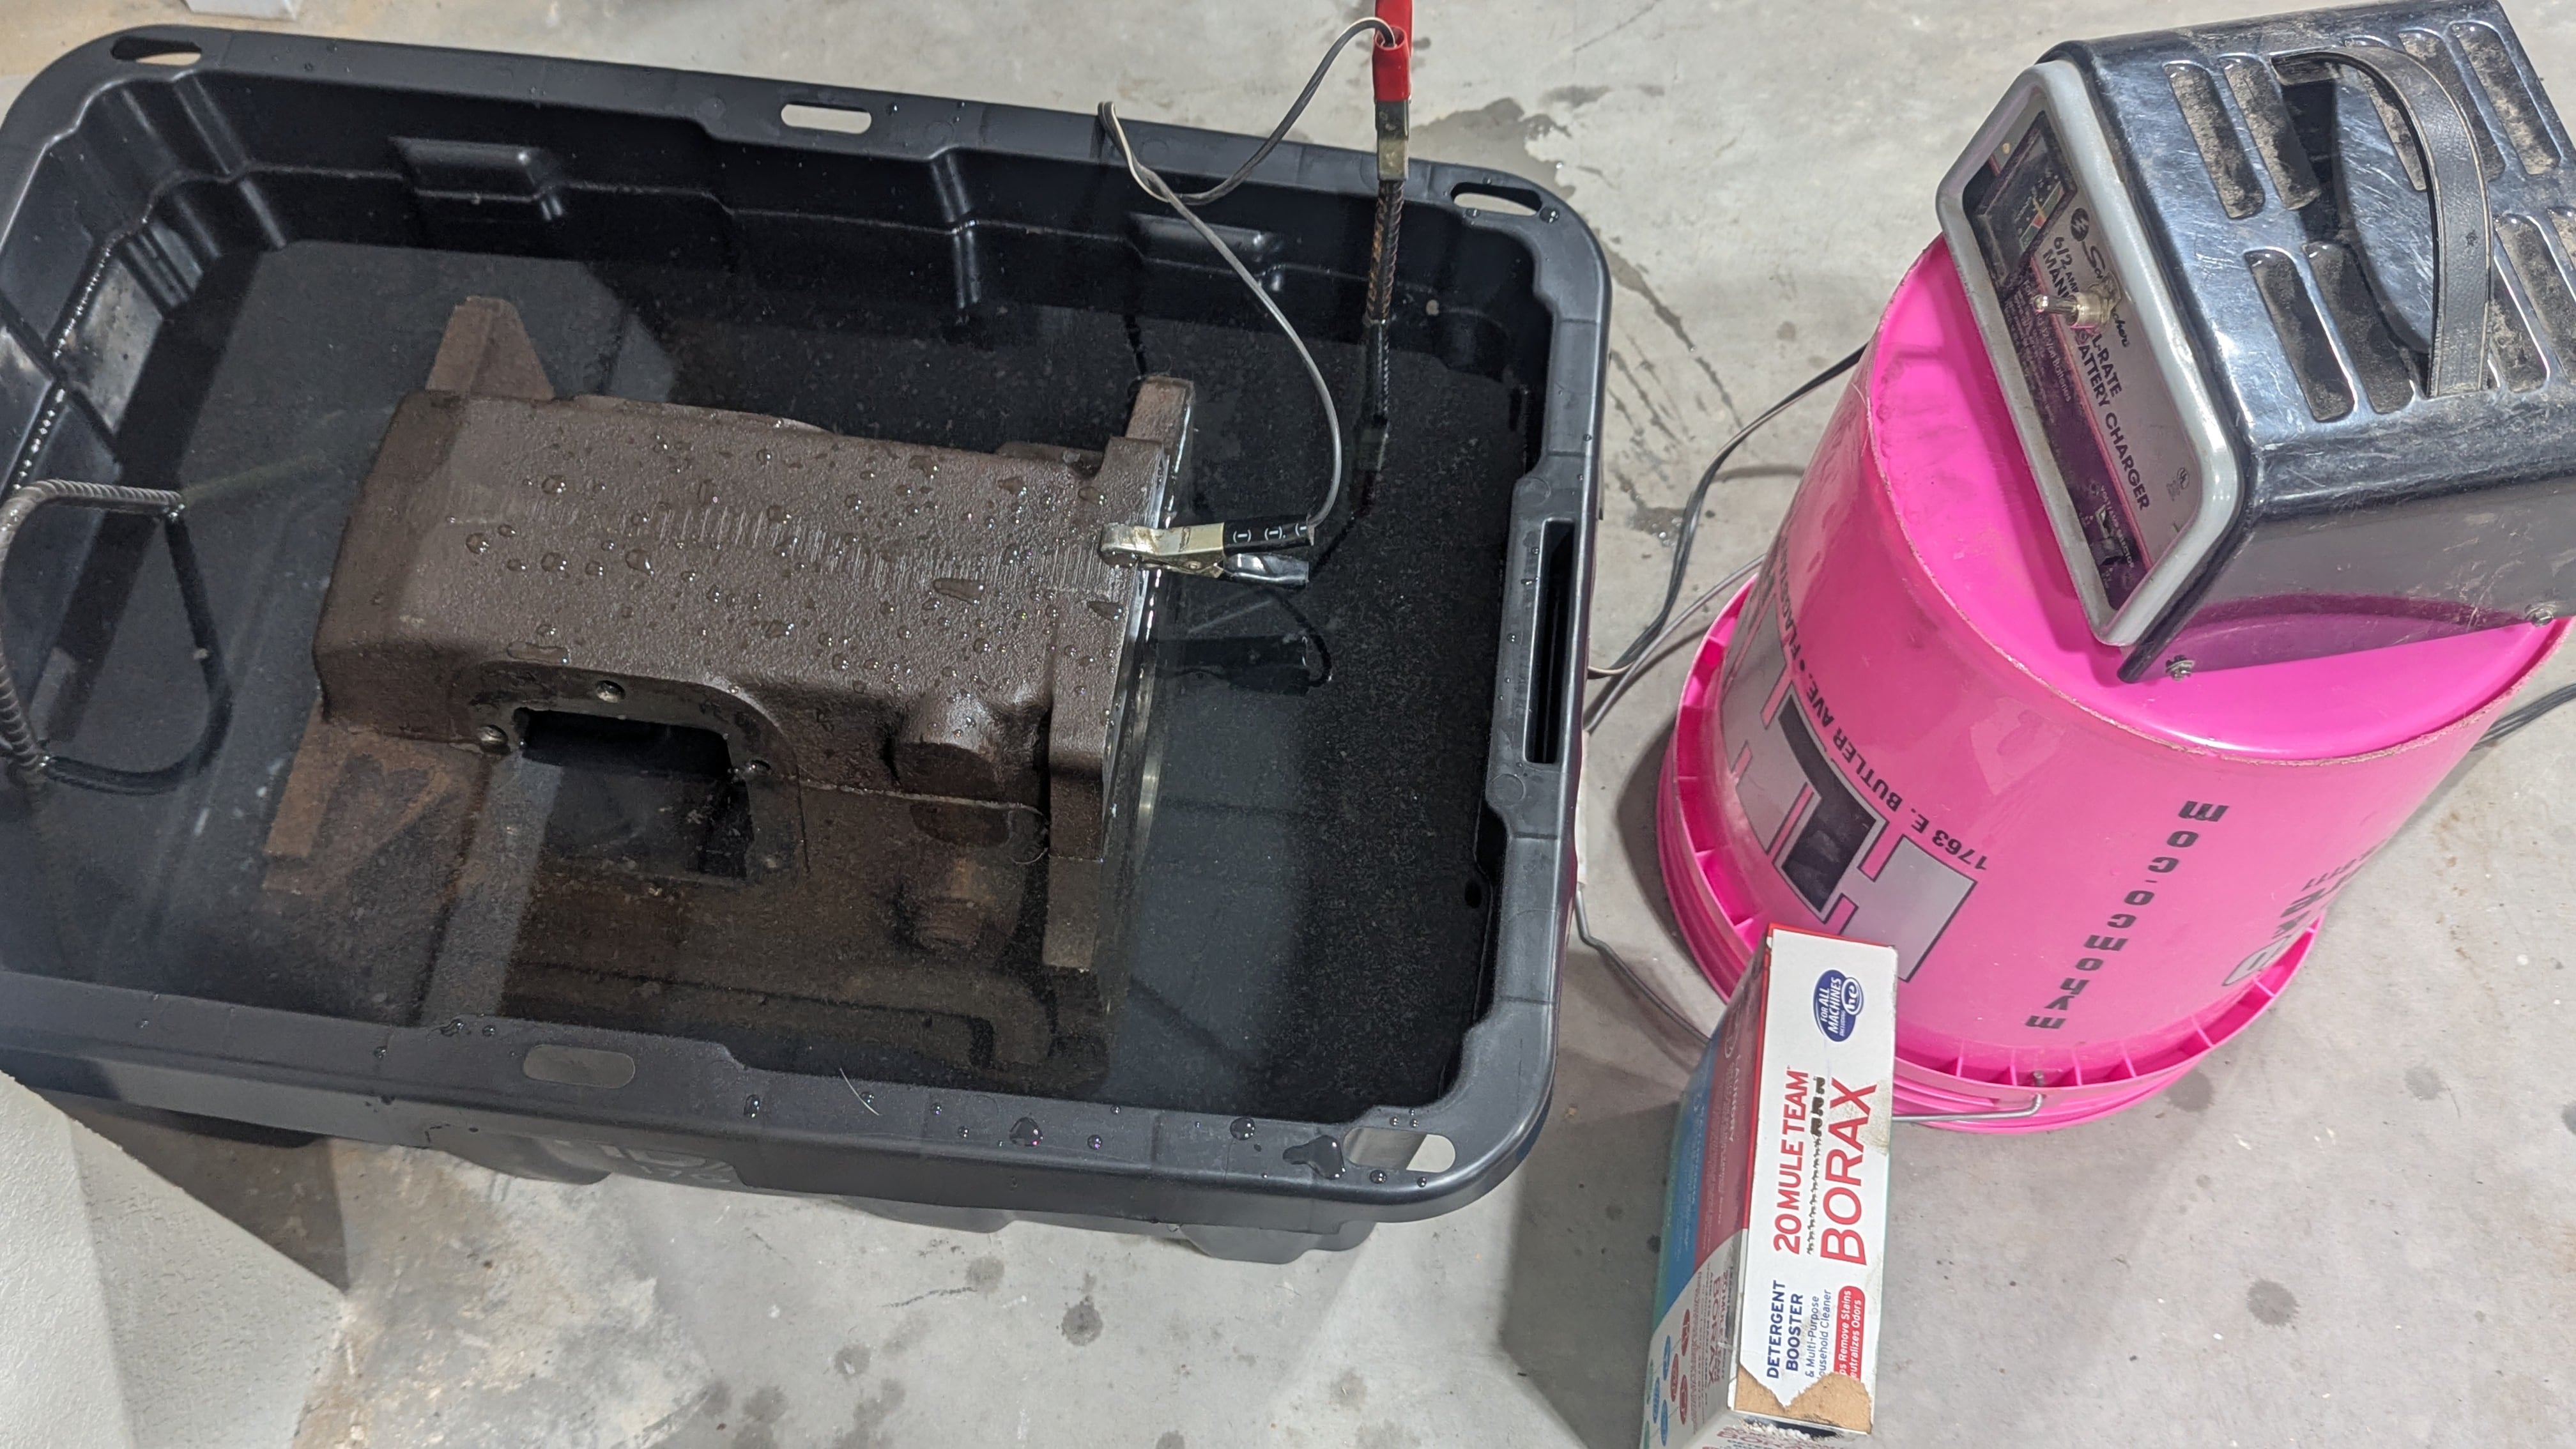
Soaked the case for a week to remove the rust.  If you haven't tried electrolytic rust removal, it works great.  It's a bit messy but no grinding and it works in all the hard to reach spots.
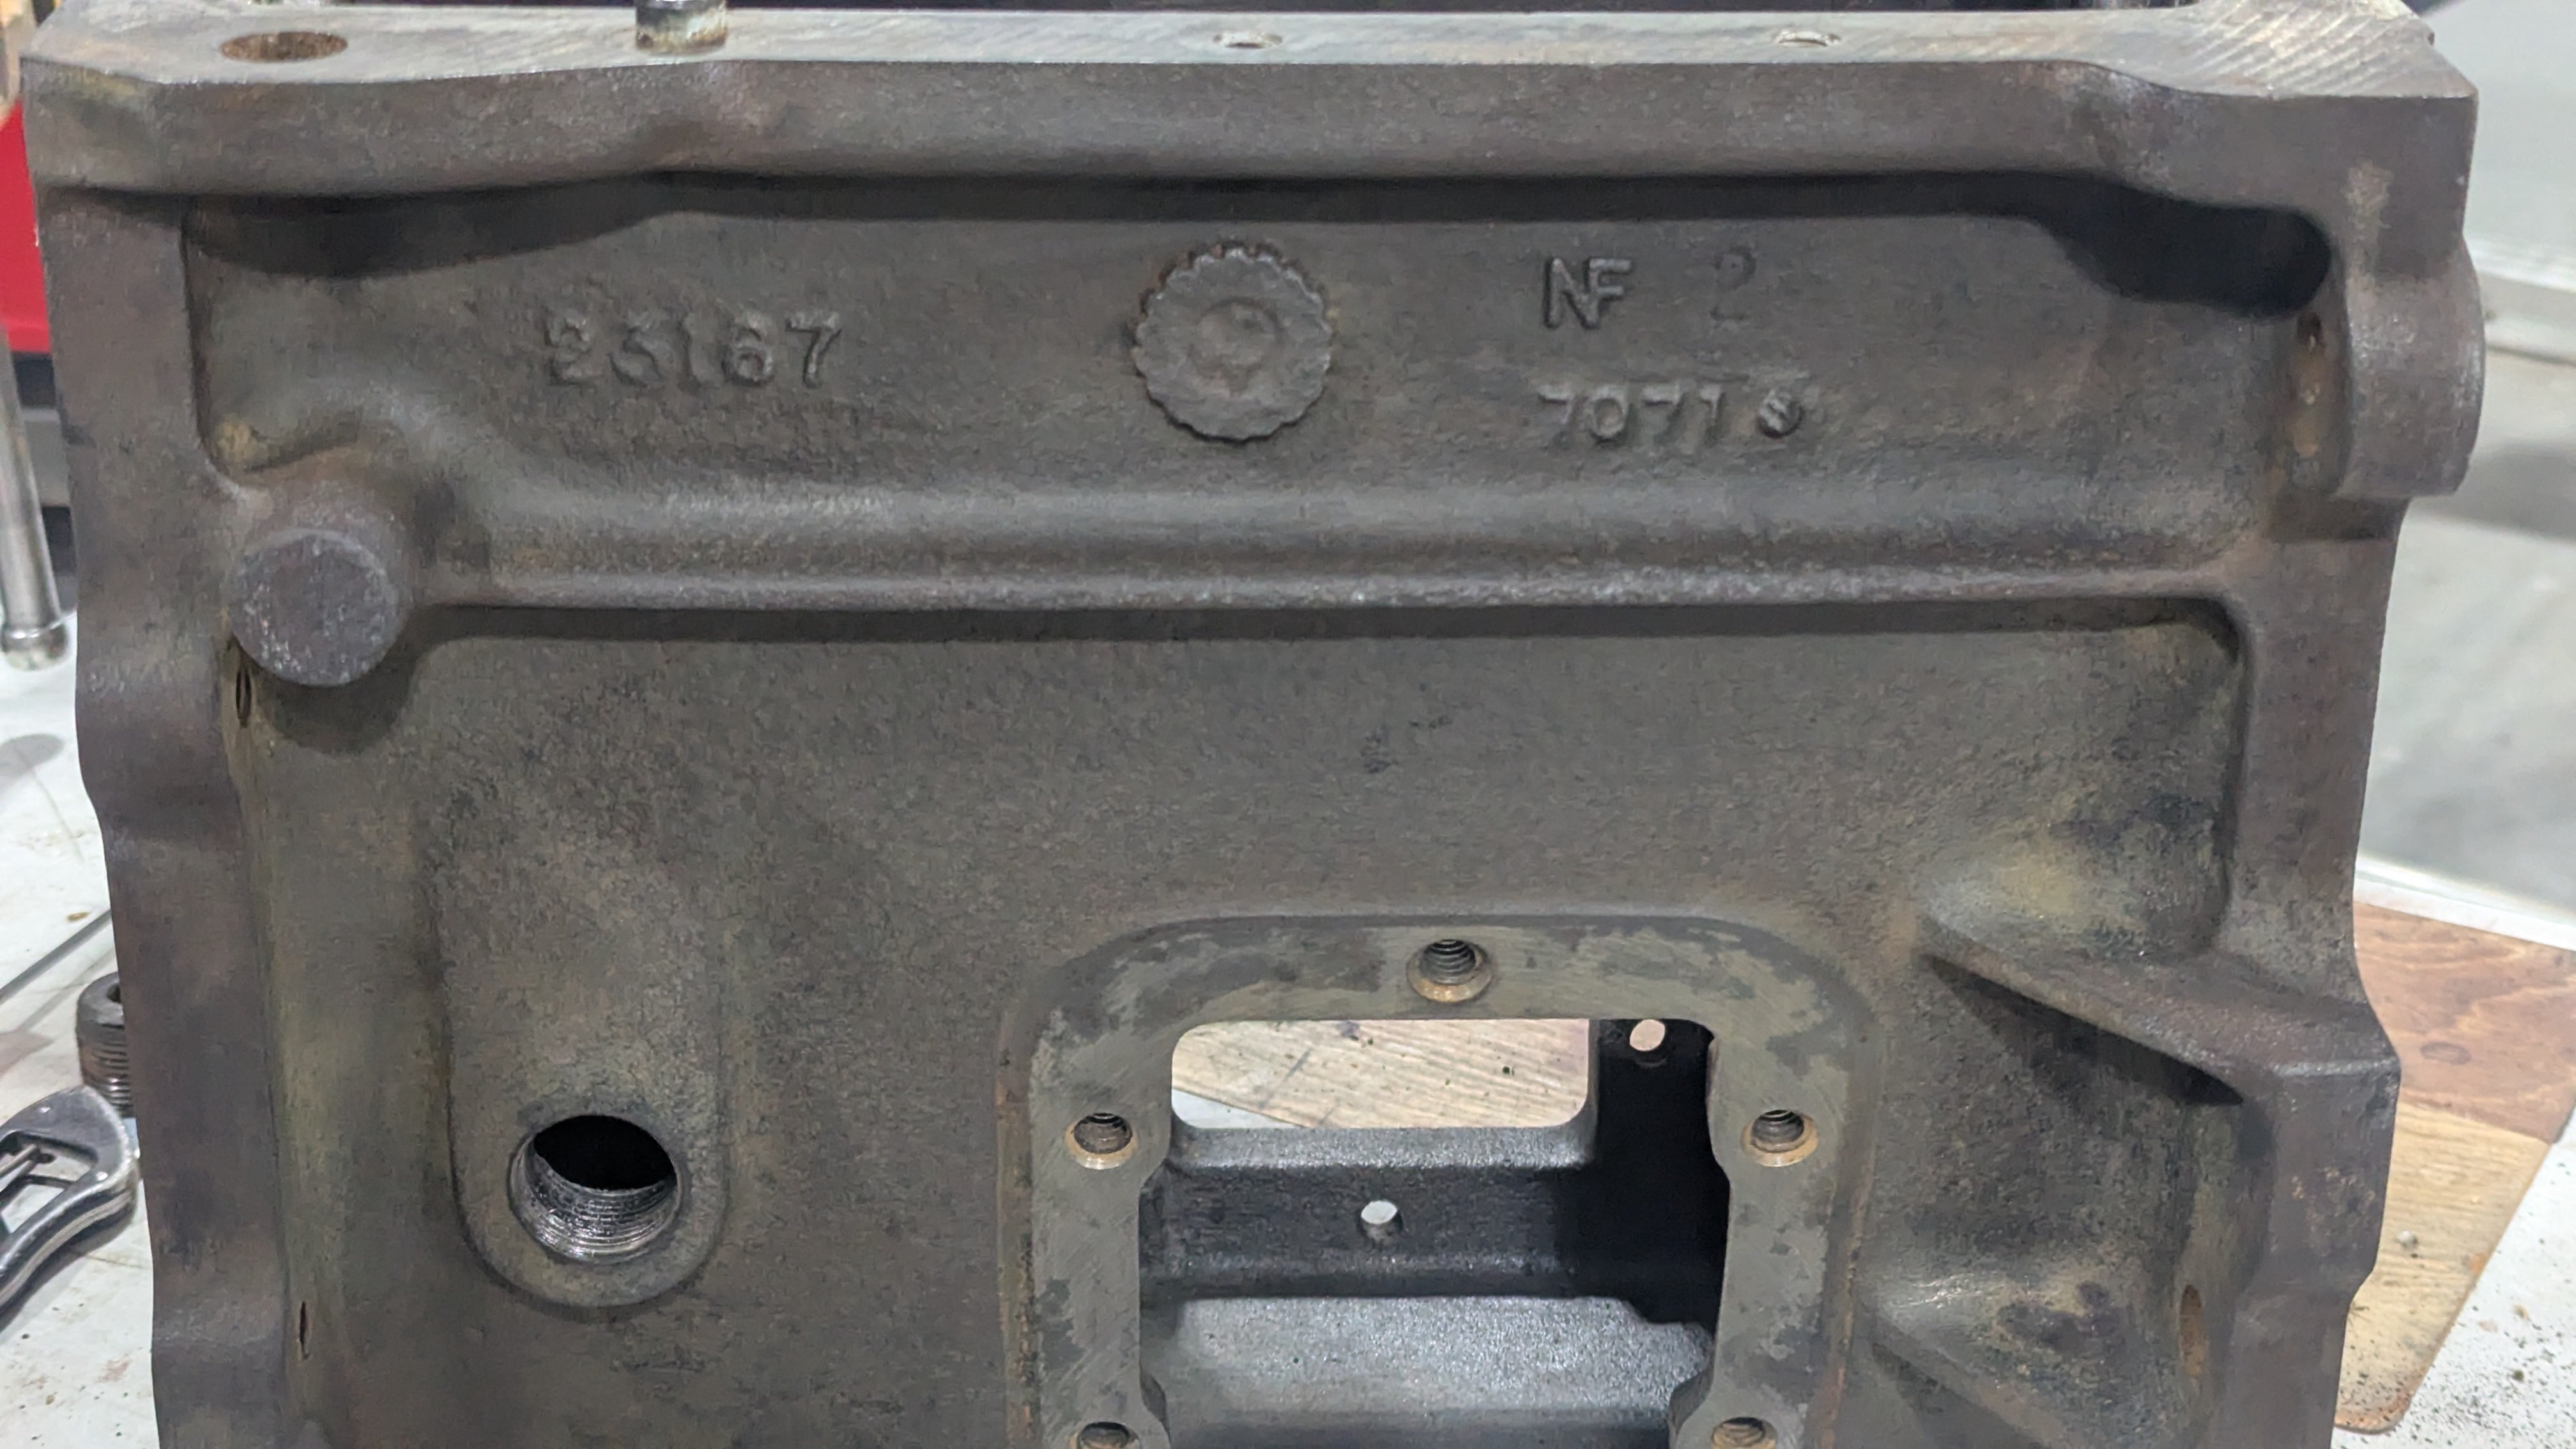
Check it out!  I found text on the case.  I didn't see this before.
The 2 mains shafts side by side.  The bottom is the new one.
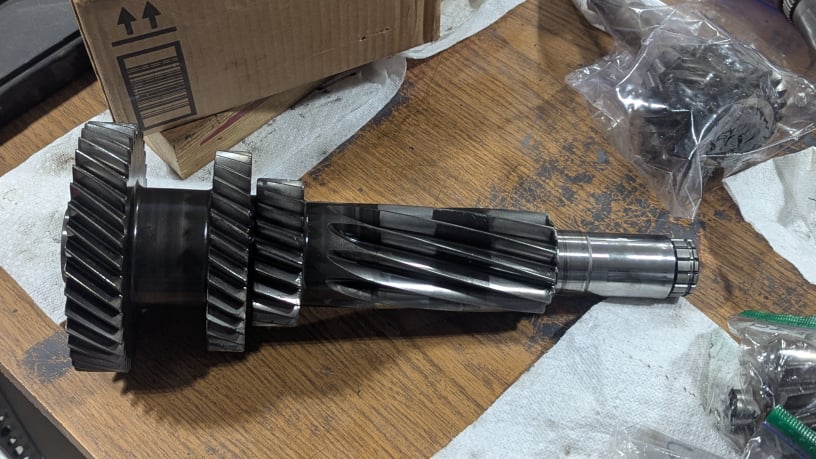
The countershaft looked good so only the bearings were replaced.
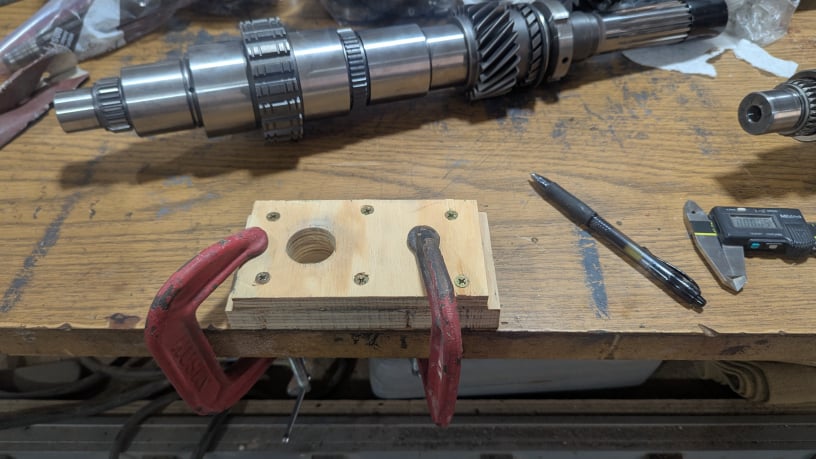
Made a holder to hold the shafts vertical for installation of the gears.
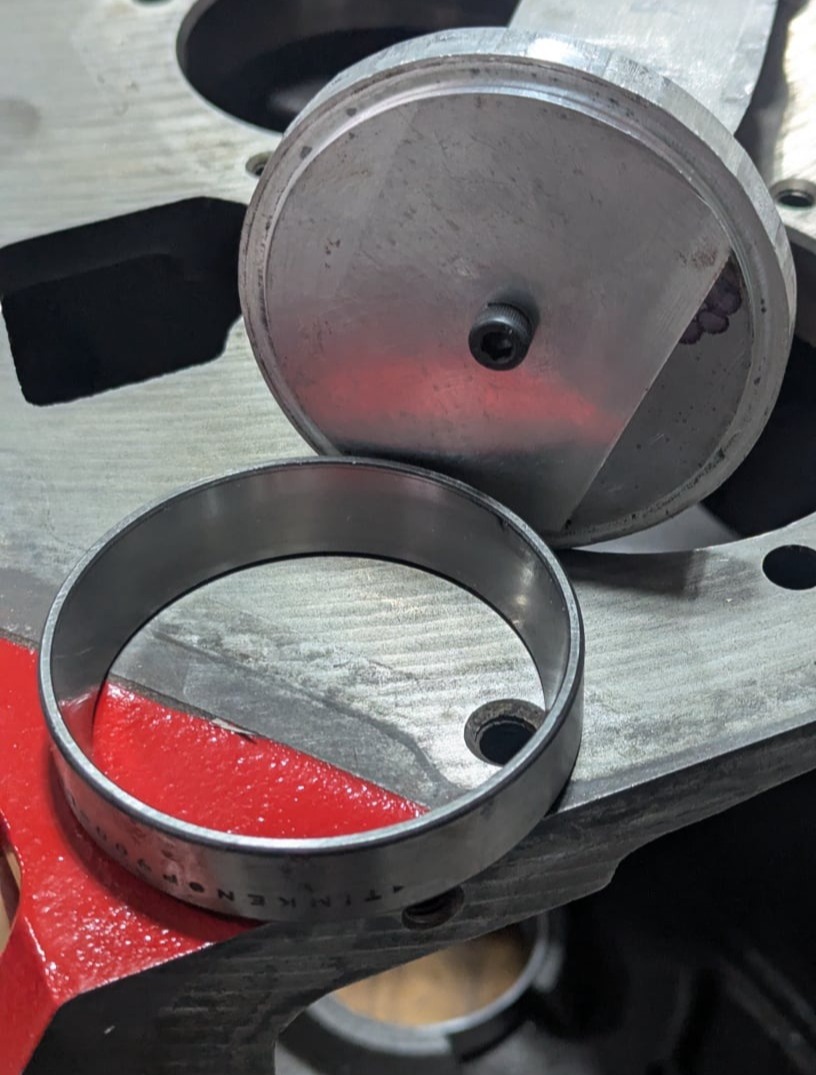
Made a install tool for the inside race.
The race had to be installed from the inside so a tool was very helpful.
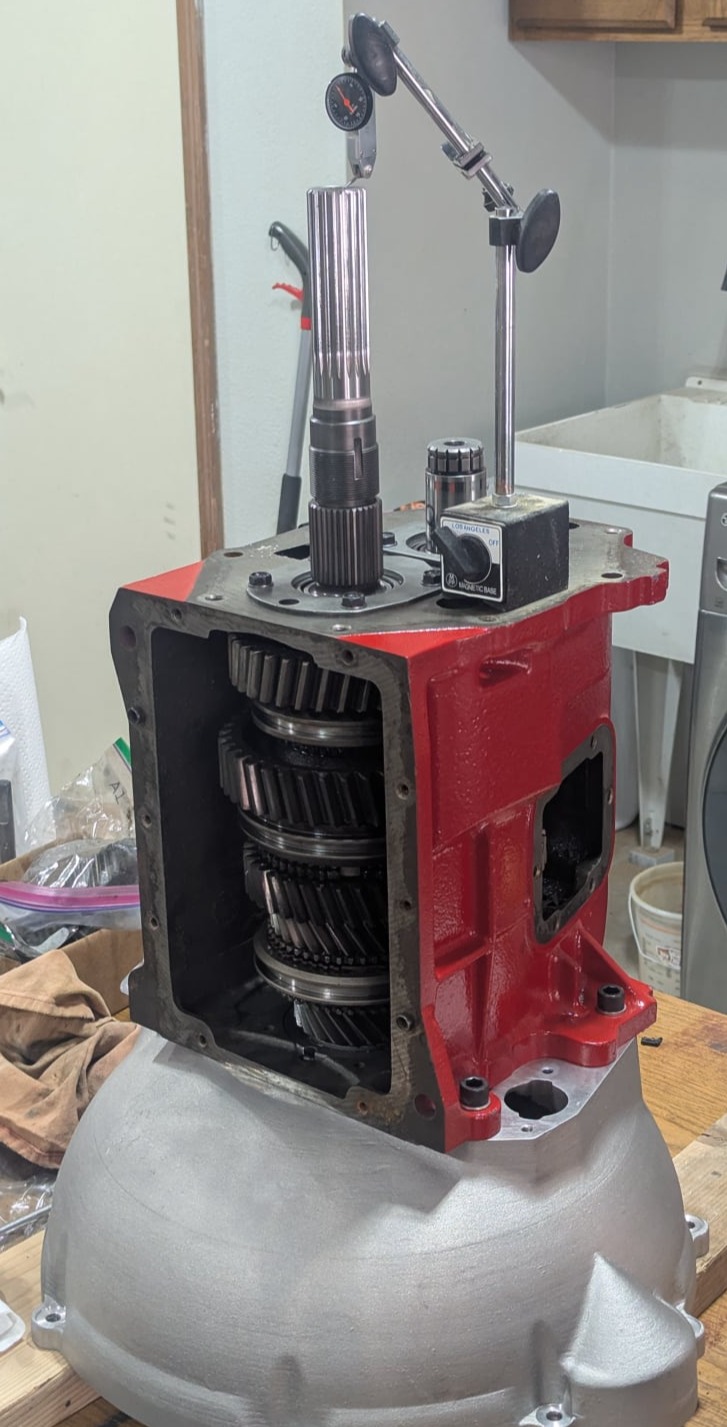
Ensuring I have the right shims and checking play on the main shaft bearings.  
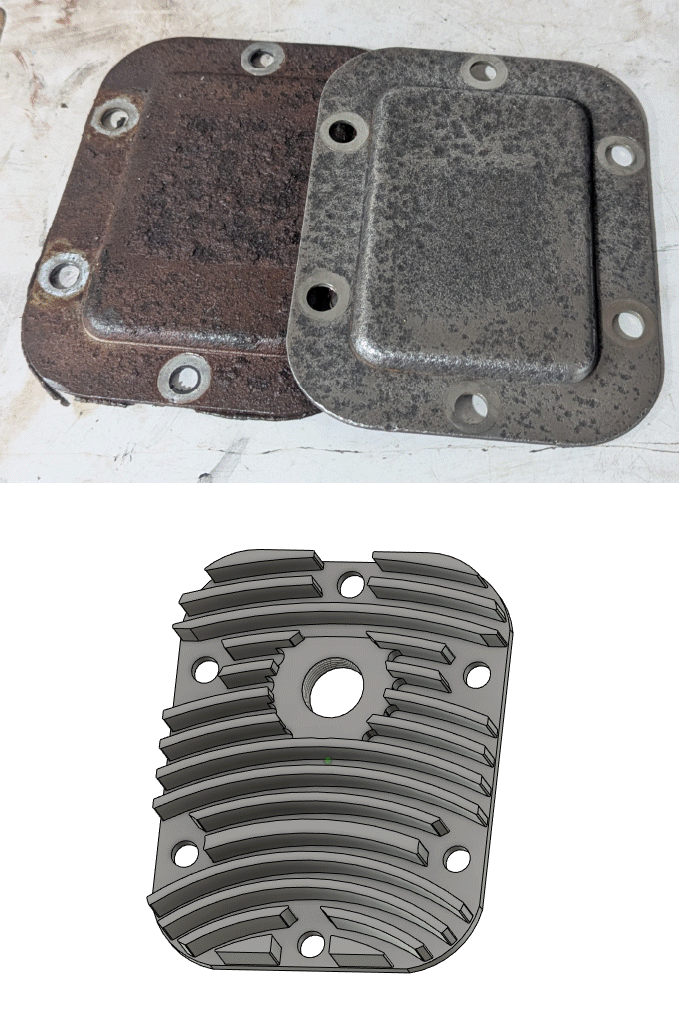
• Upper left is the original PTO cover. On the right is after electrolytic rust removal.  Still pitted but the rust is gone. 
• On the bottom is an idea for an aluminum PTO cover with cooling fins and a sight glass so you don't need to remove the fill plug and stick your finger in to check your tranny oil level.  More on that later.
Engine Cradle and Disassembly 
Cummins 5.9 12 Valve, VE Pump.

• I chose the VE pump because it fits my needs better.
• It is easier to cold start then the P-pump and offers better drivability. 
• The VE pump can't be tuned up as much as the P-pump but can easily achieve the modest gains I'm looking to achieve.  Without an intercooler and the stock turbo, the VE pump gets 175hp and 400 ft-lbs. of torque.  I'm hoping for 250 hp with up to 500 ft-lbs. and that should be achievable with a couple modifications:
     • Add in intercooler with 3" intake piping.
     • Larger HX35 turbo.
     • Improved fuel pin and 3200 RPM governer spring.
     • Small adjustment on the fuel screw.


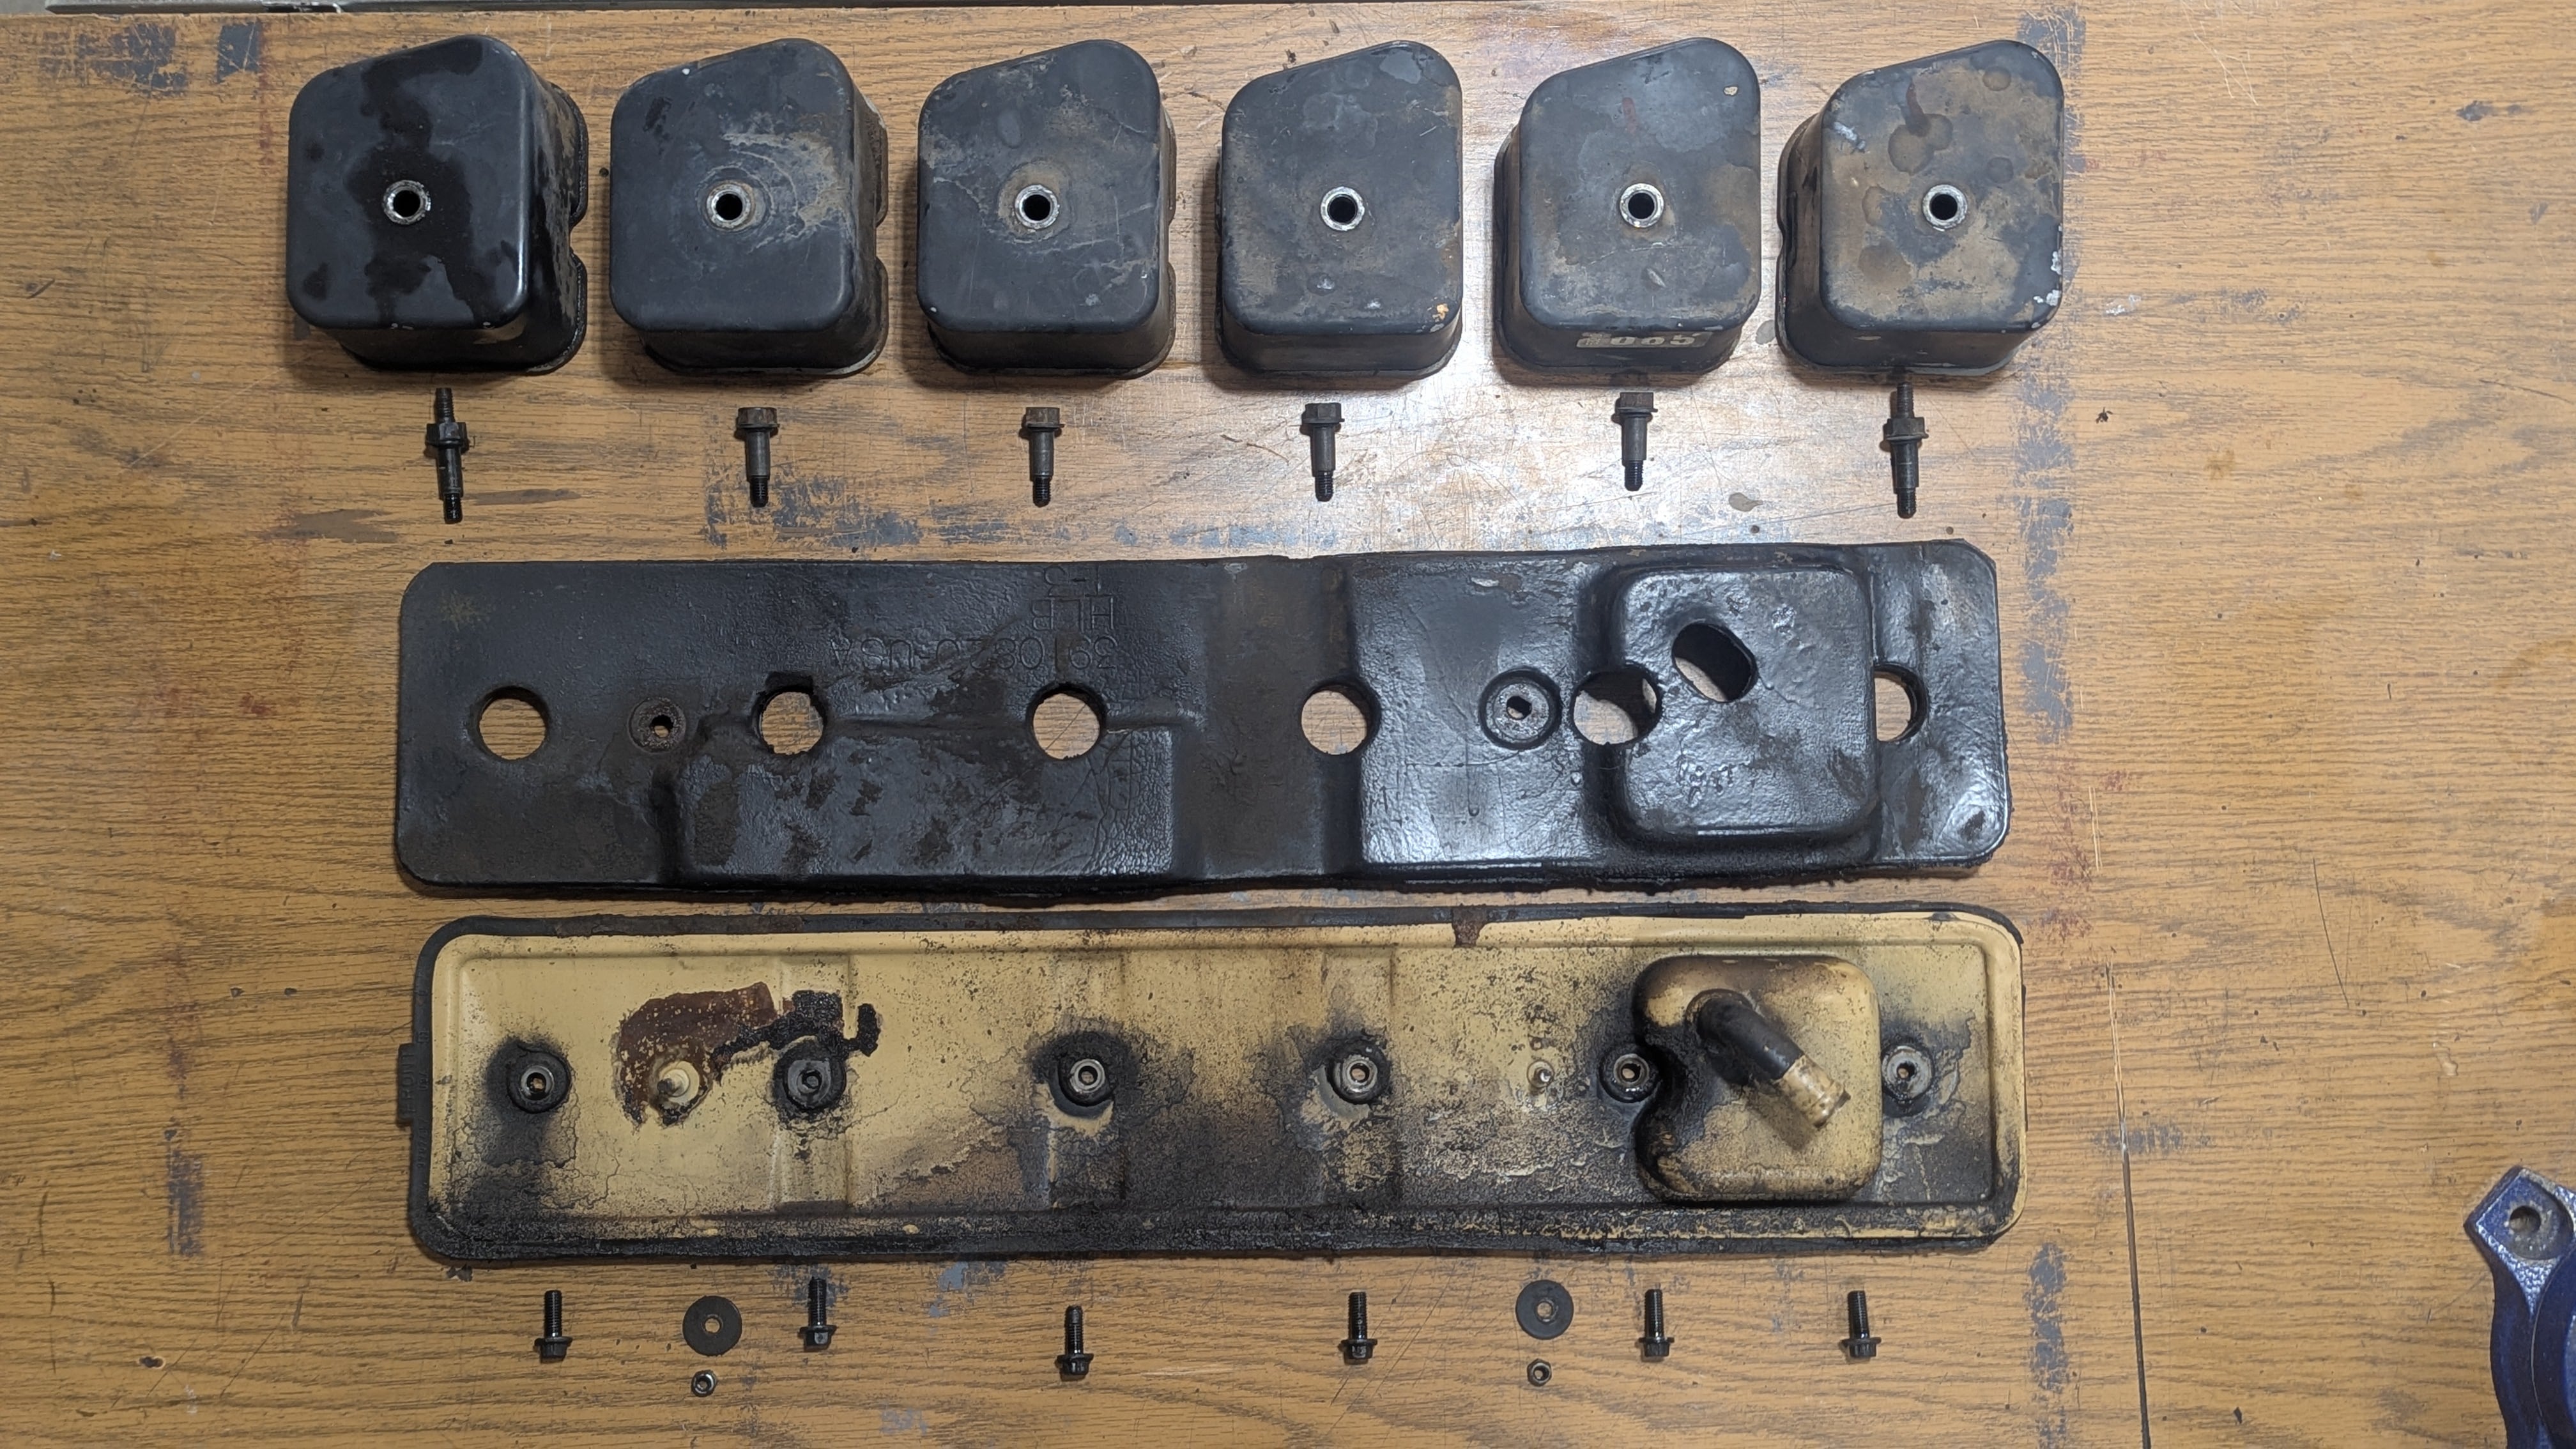
Valve covers, tappet cover and noise panel.  Not sure how much noise it reduces.  These engines are loud, even at idle. 
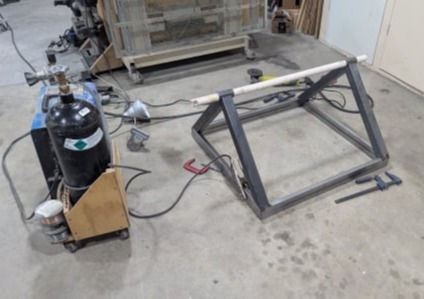
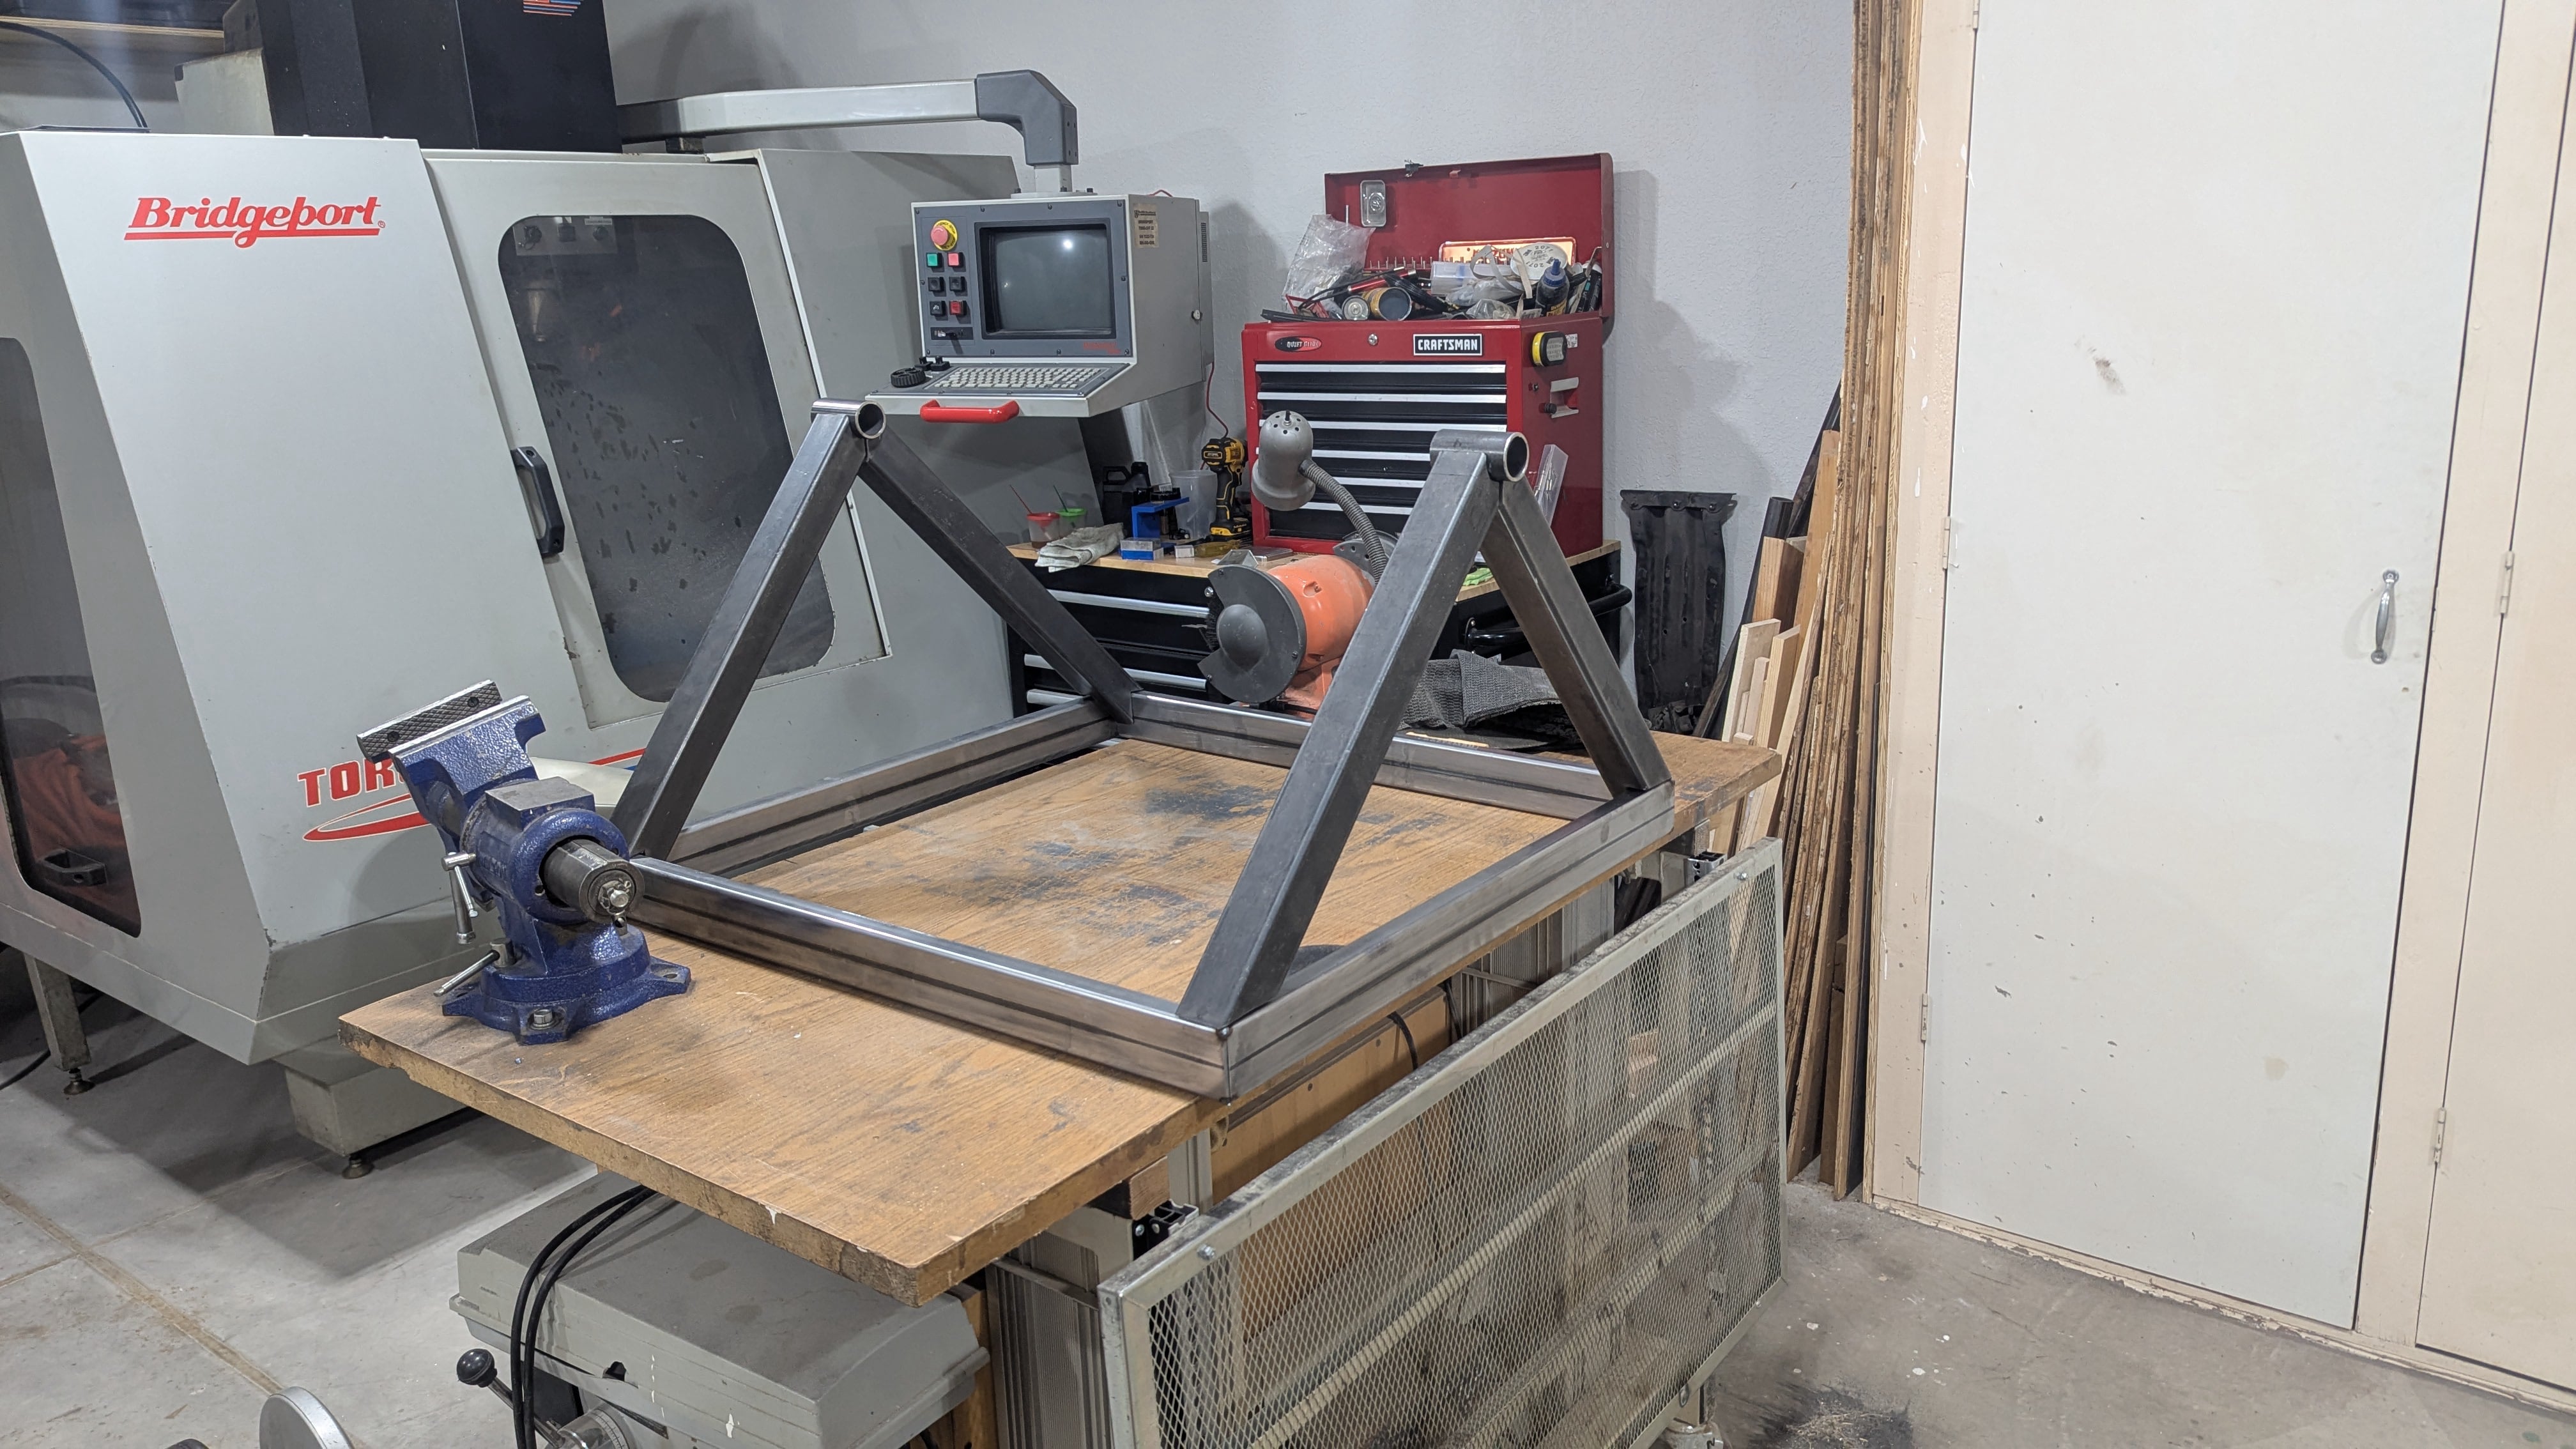
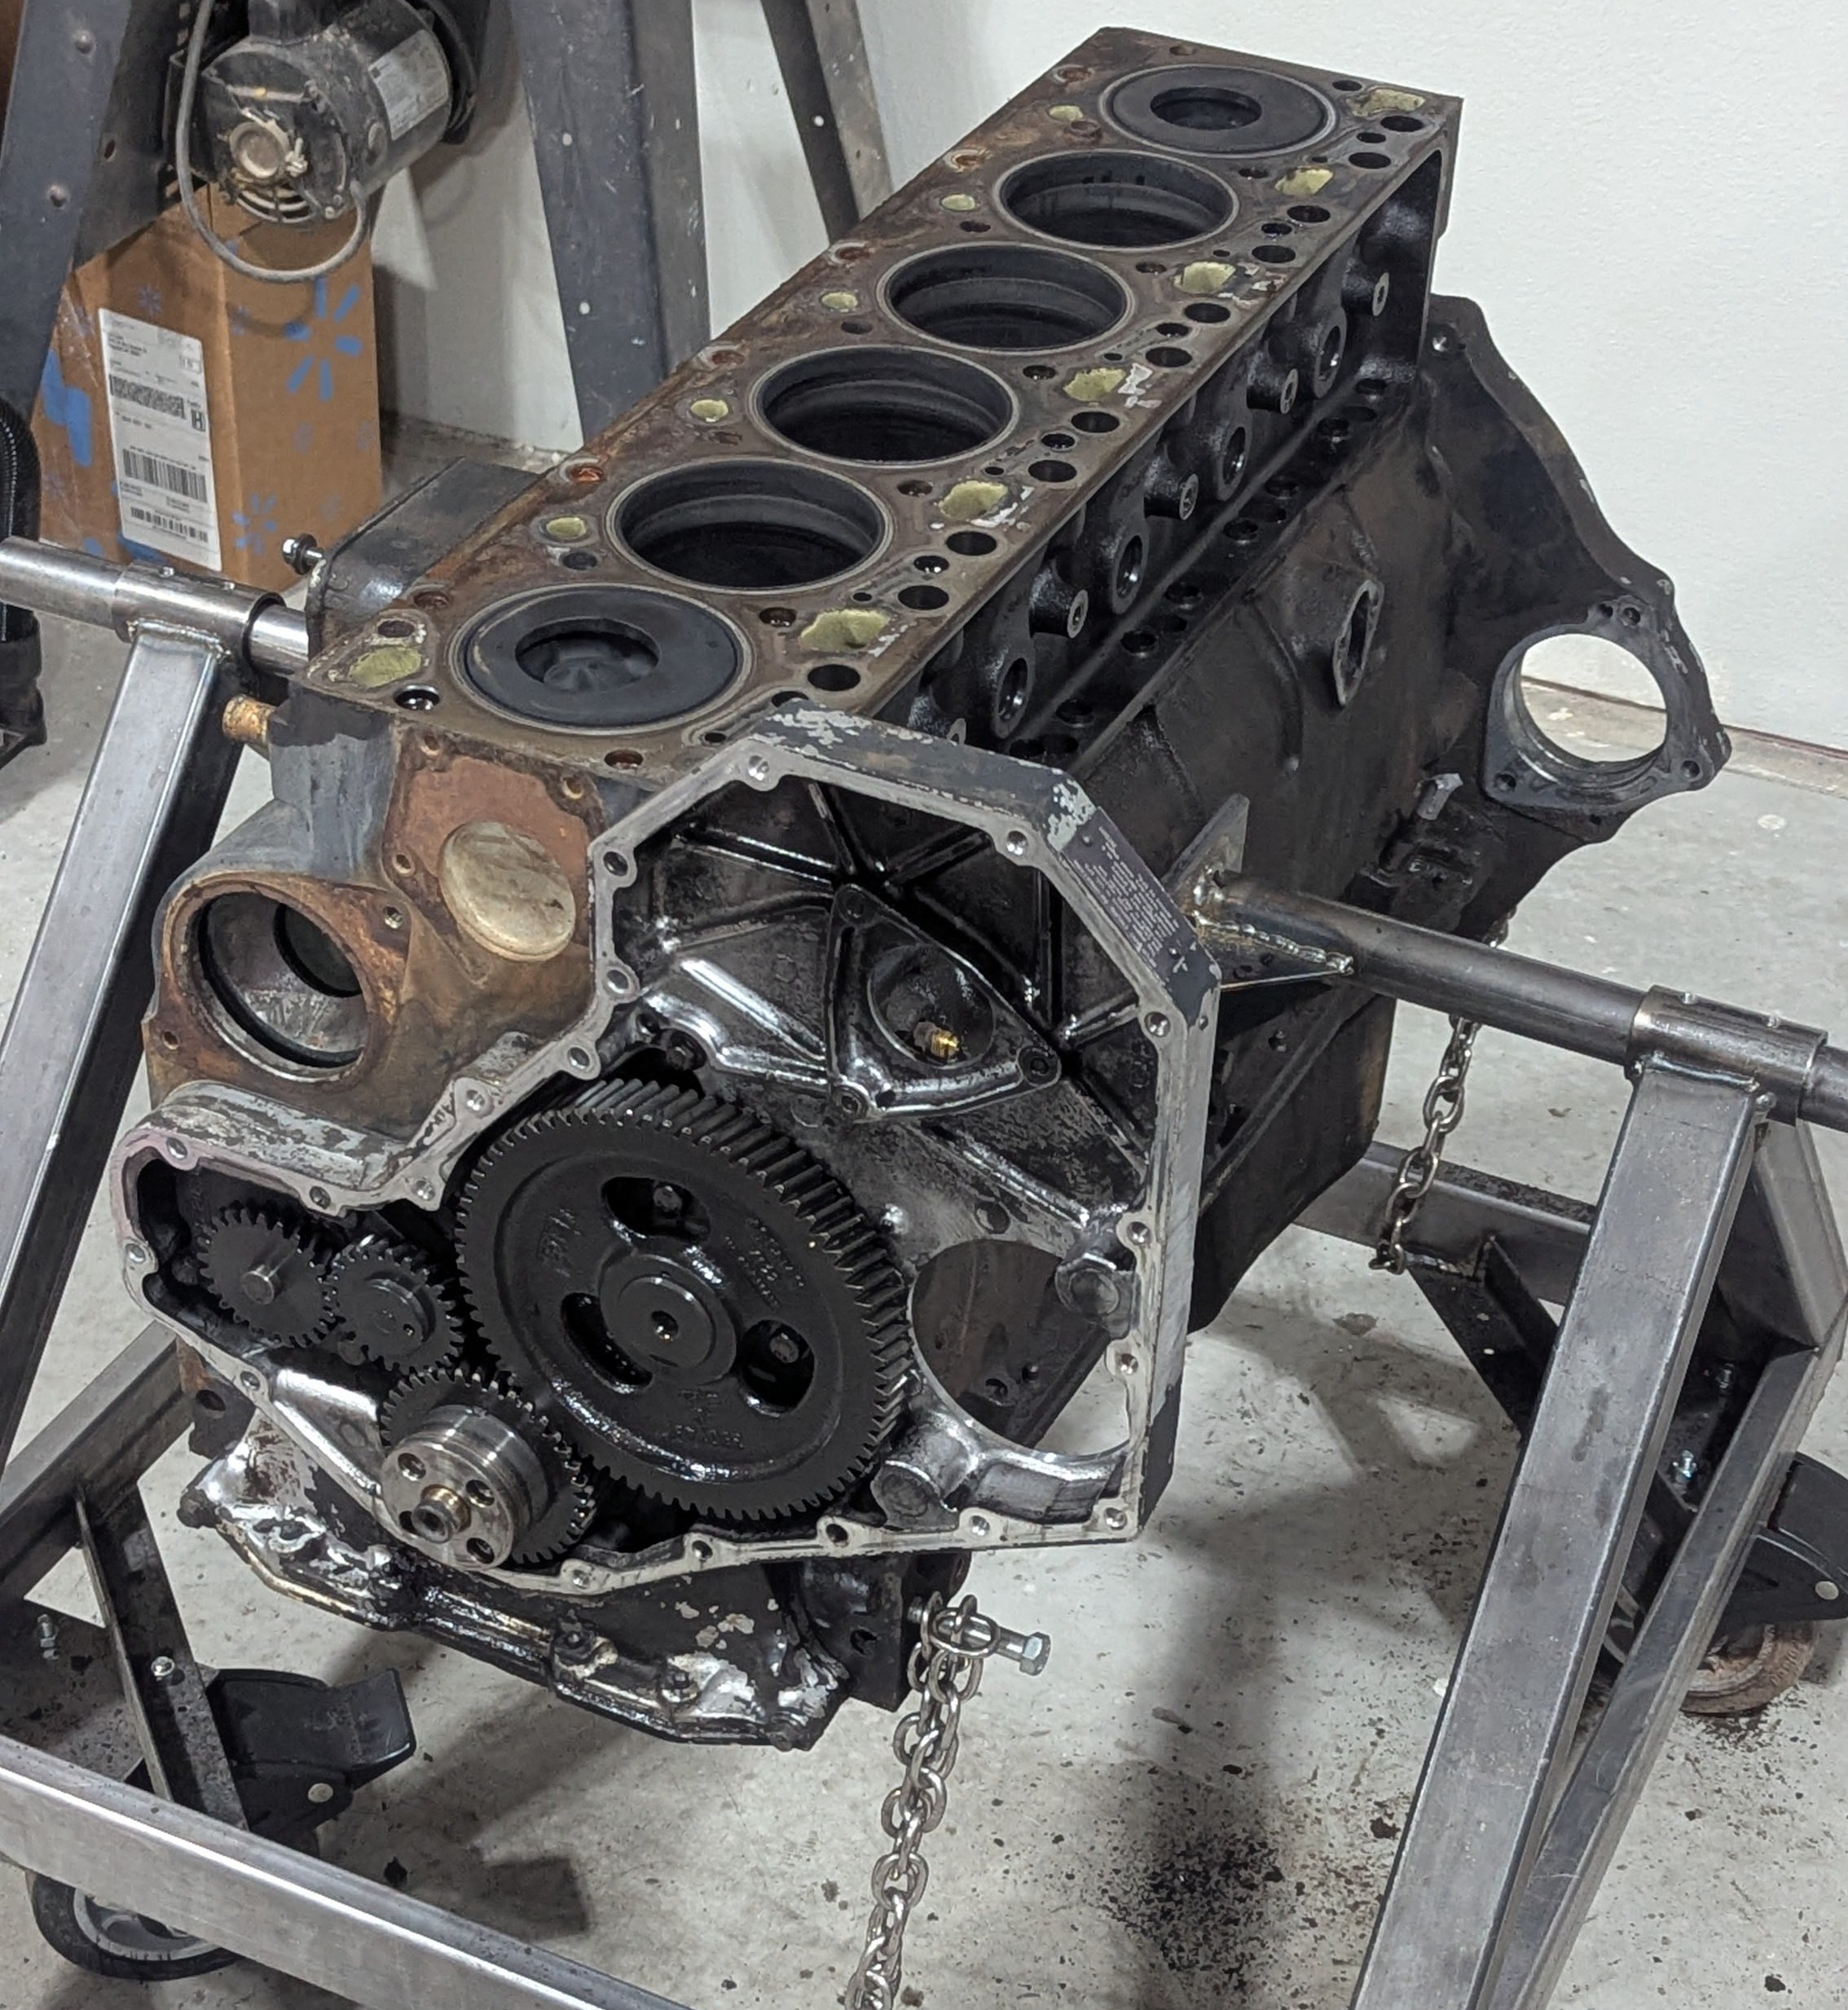
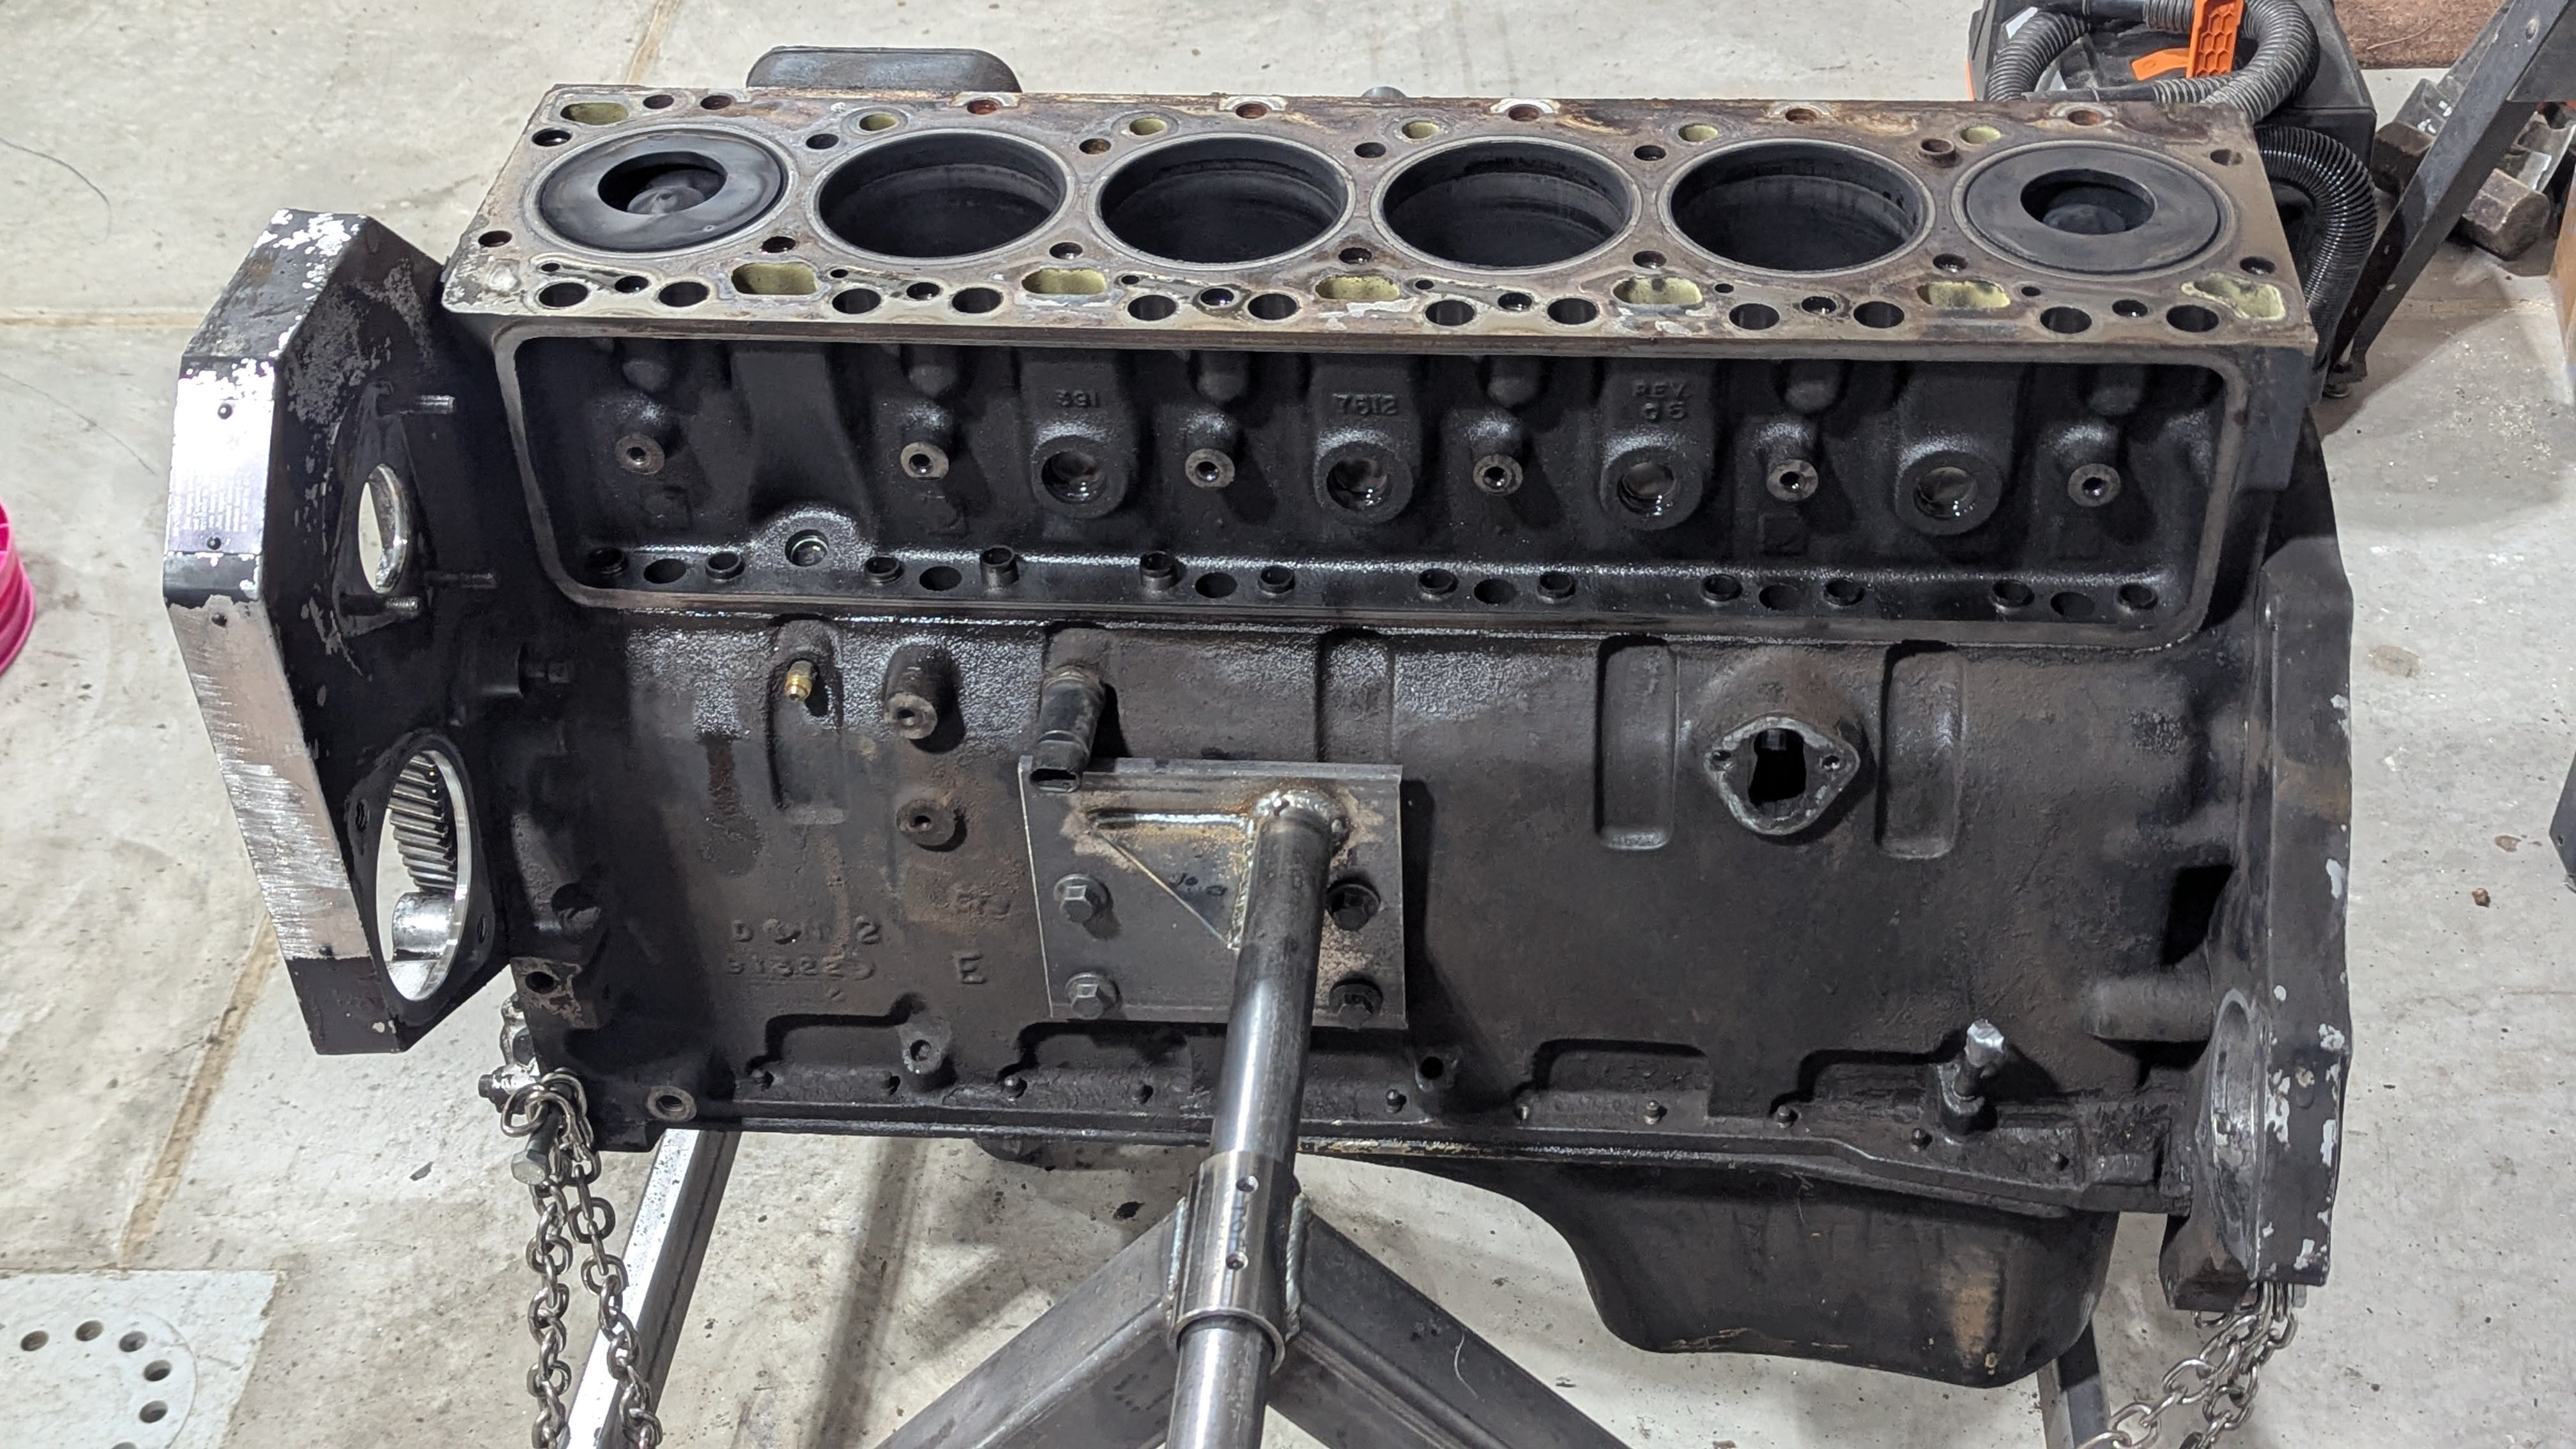
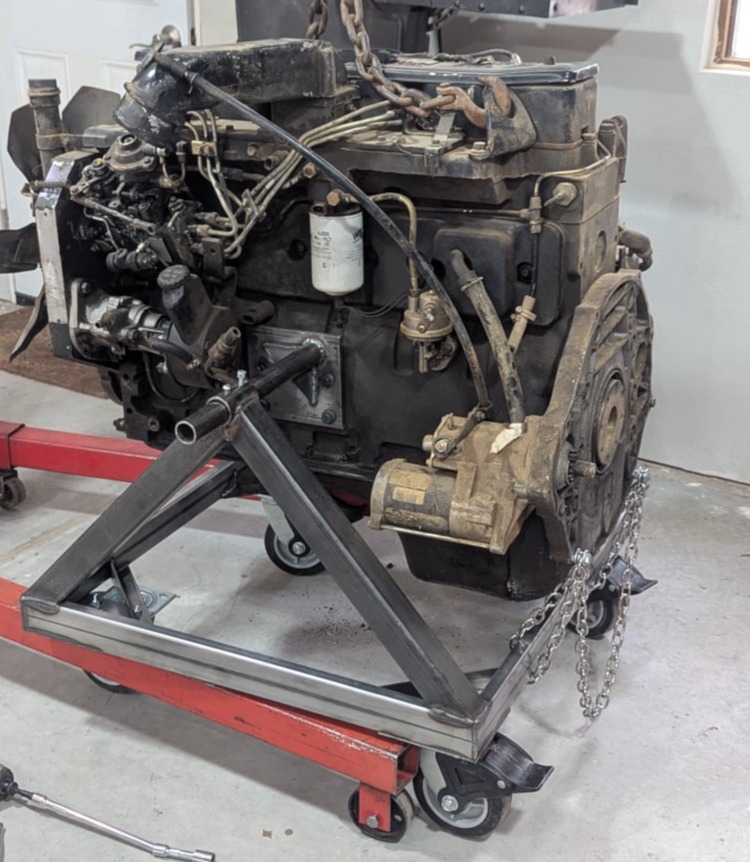
Before beginning the tear down, I wanted to weld up a cradle so I can hold both the engine and transmission together.  right now, I just need to hold the engine.
I went down to the local metal supply shop (in Phoenix) and picked up about $50 in scrap steel tubing and added some casters lying around in the garage.
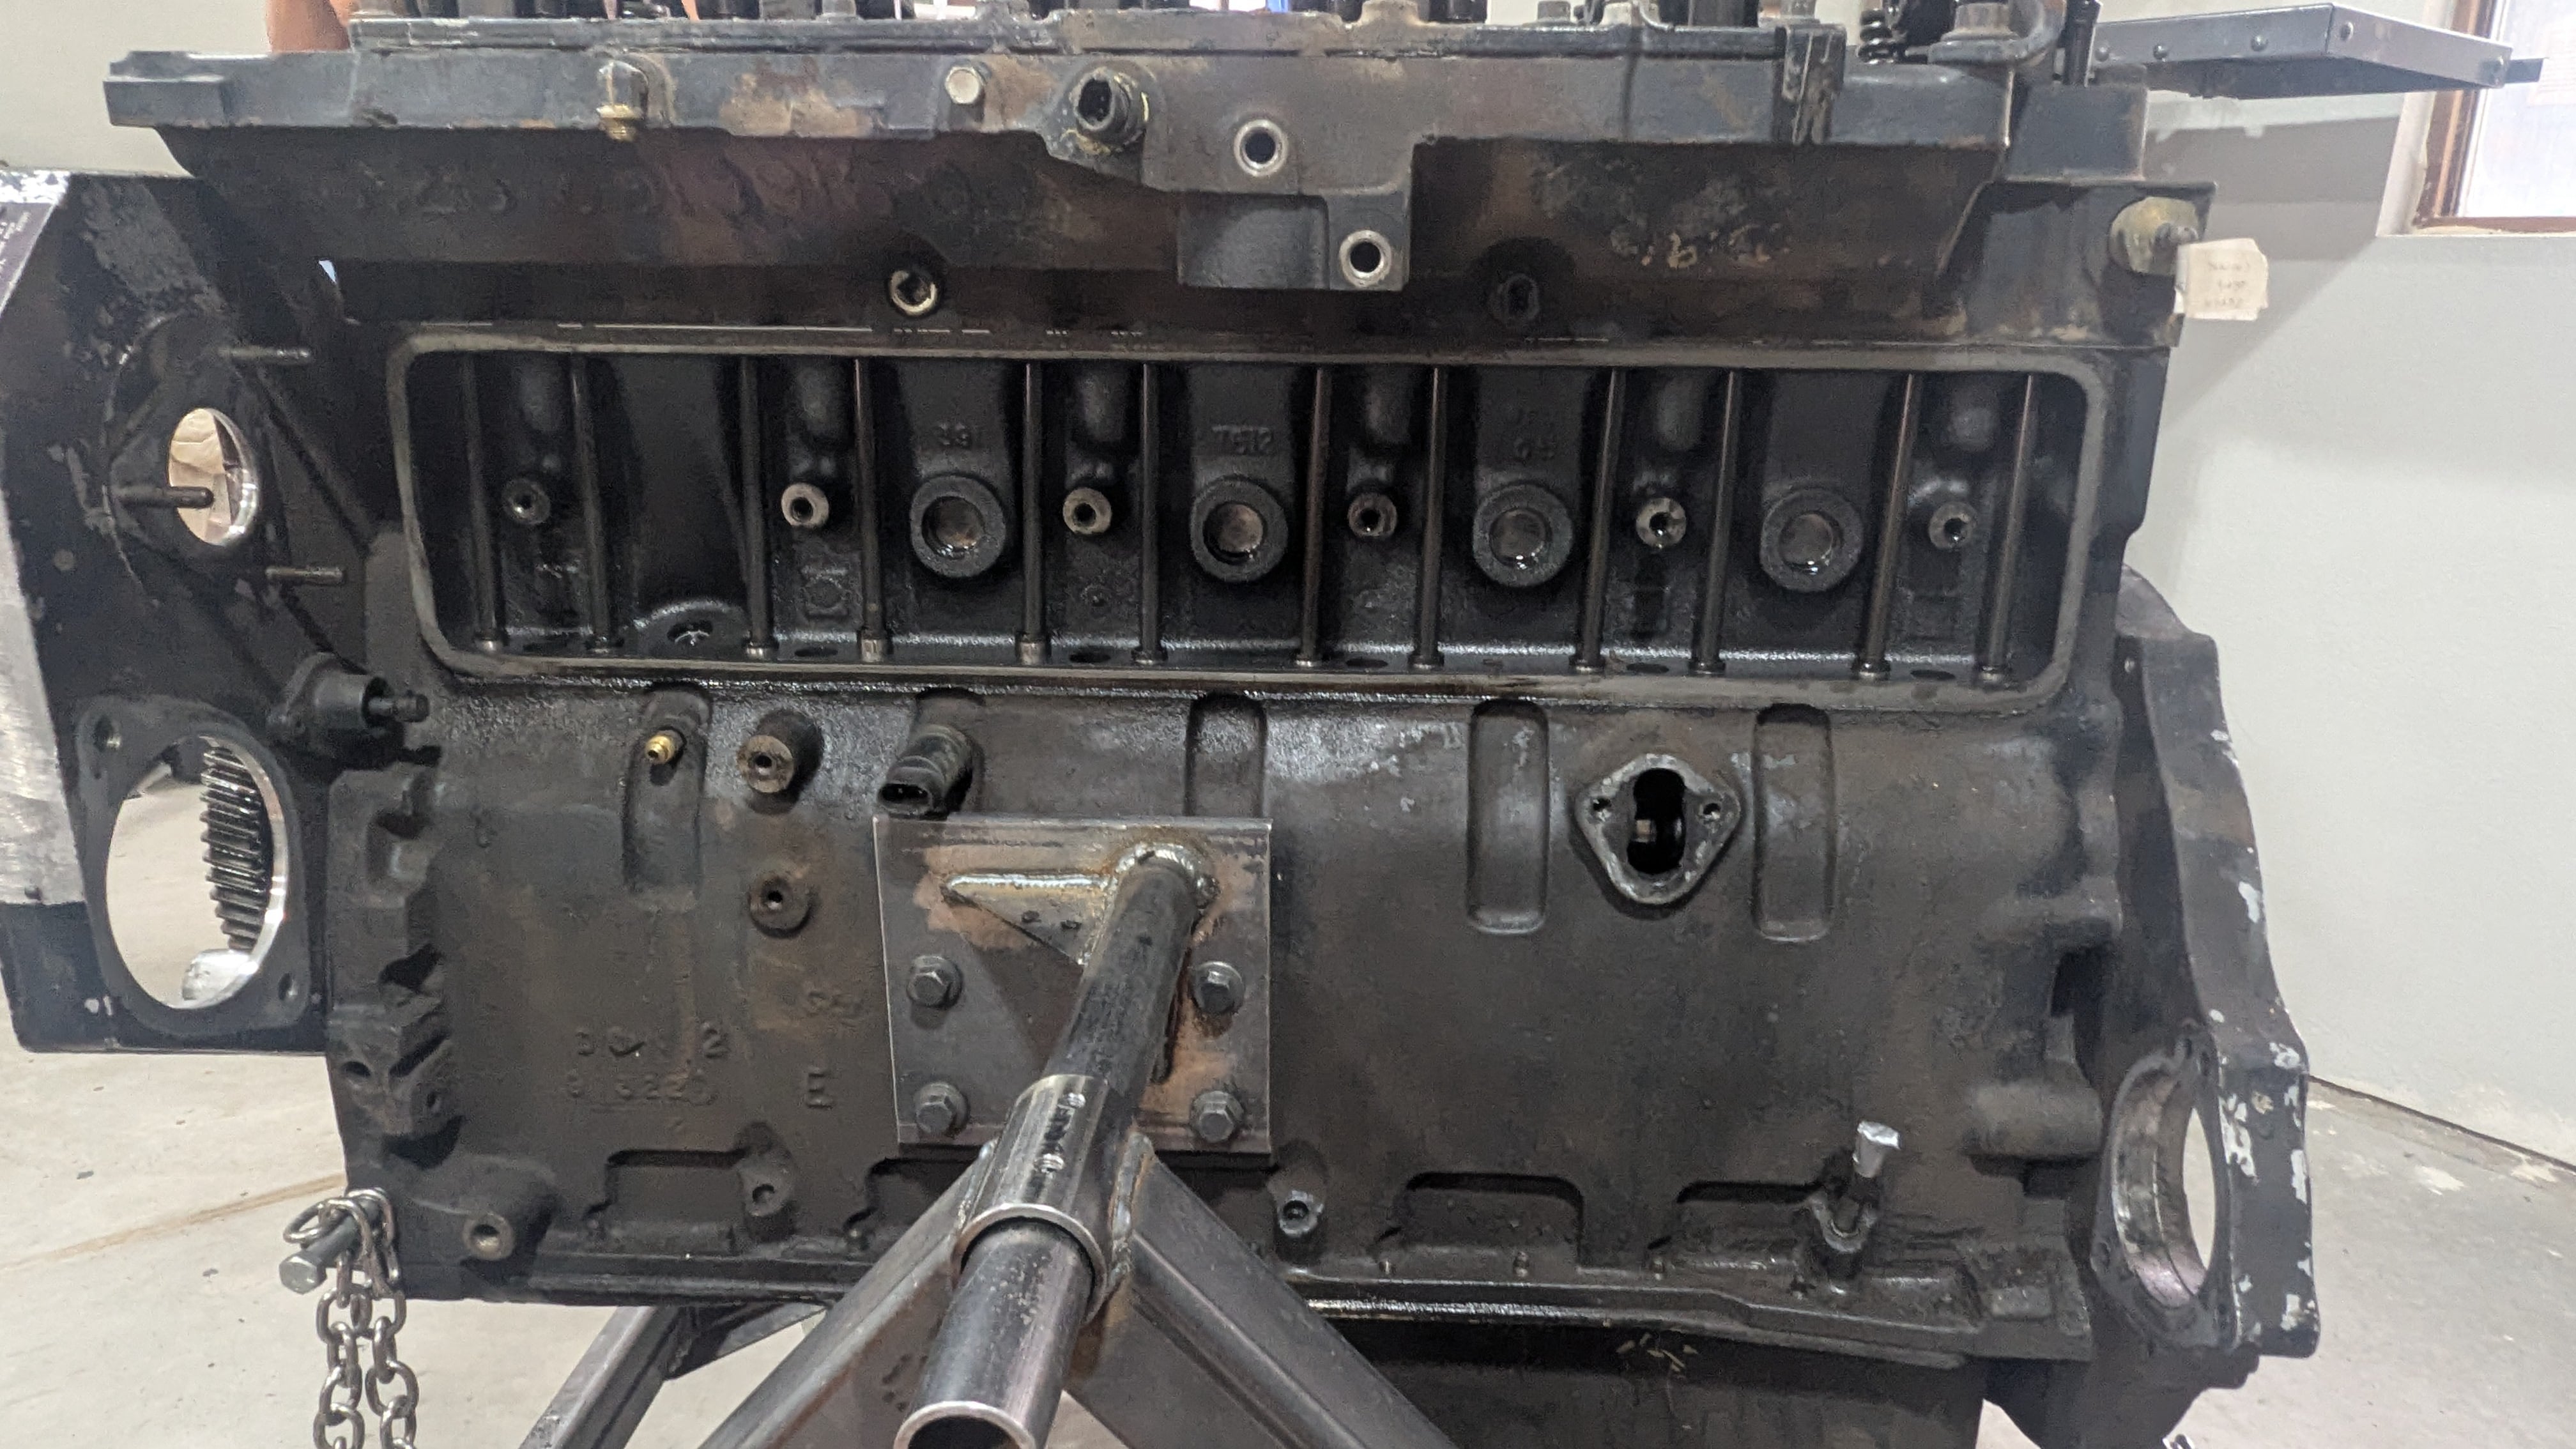
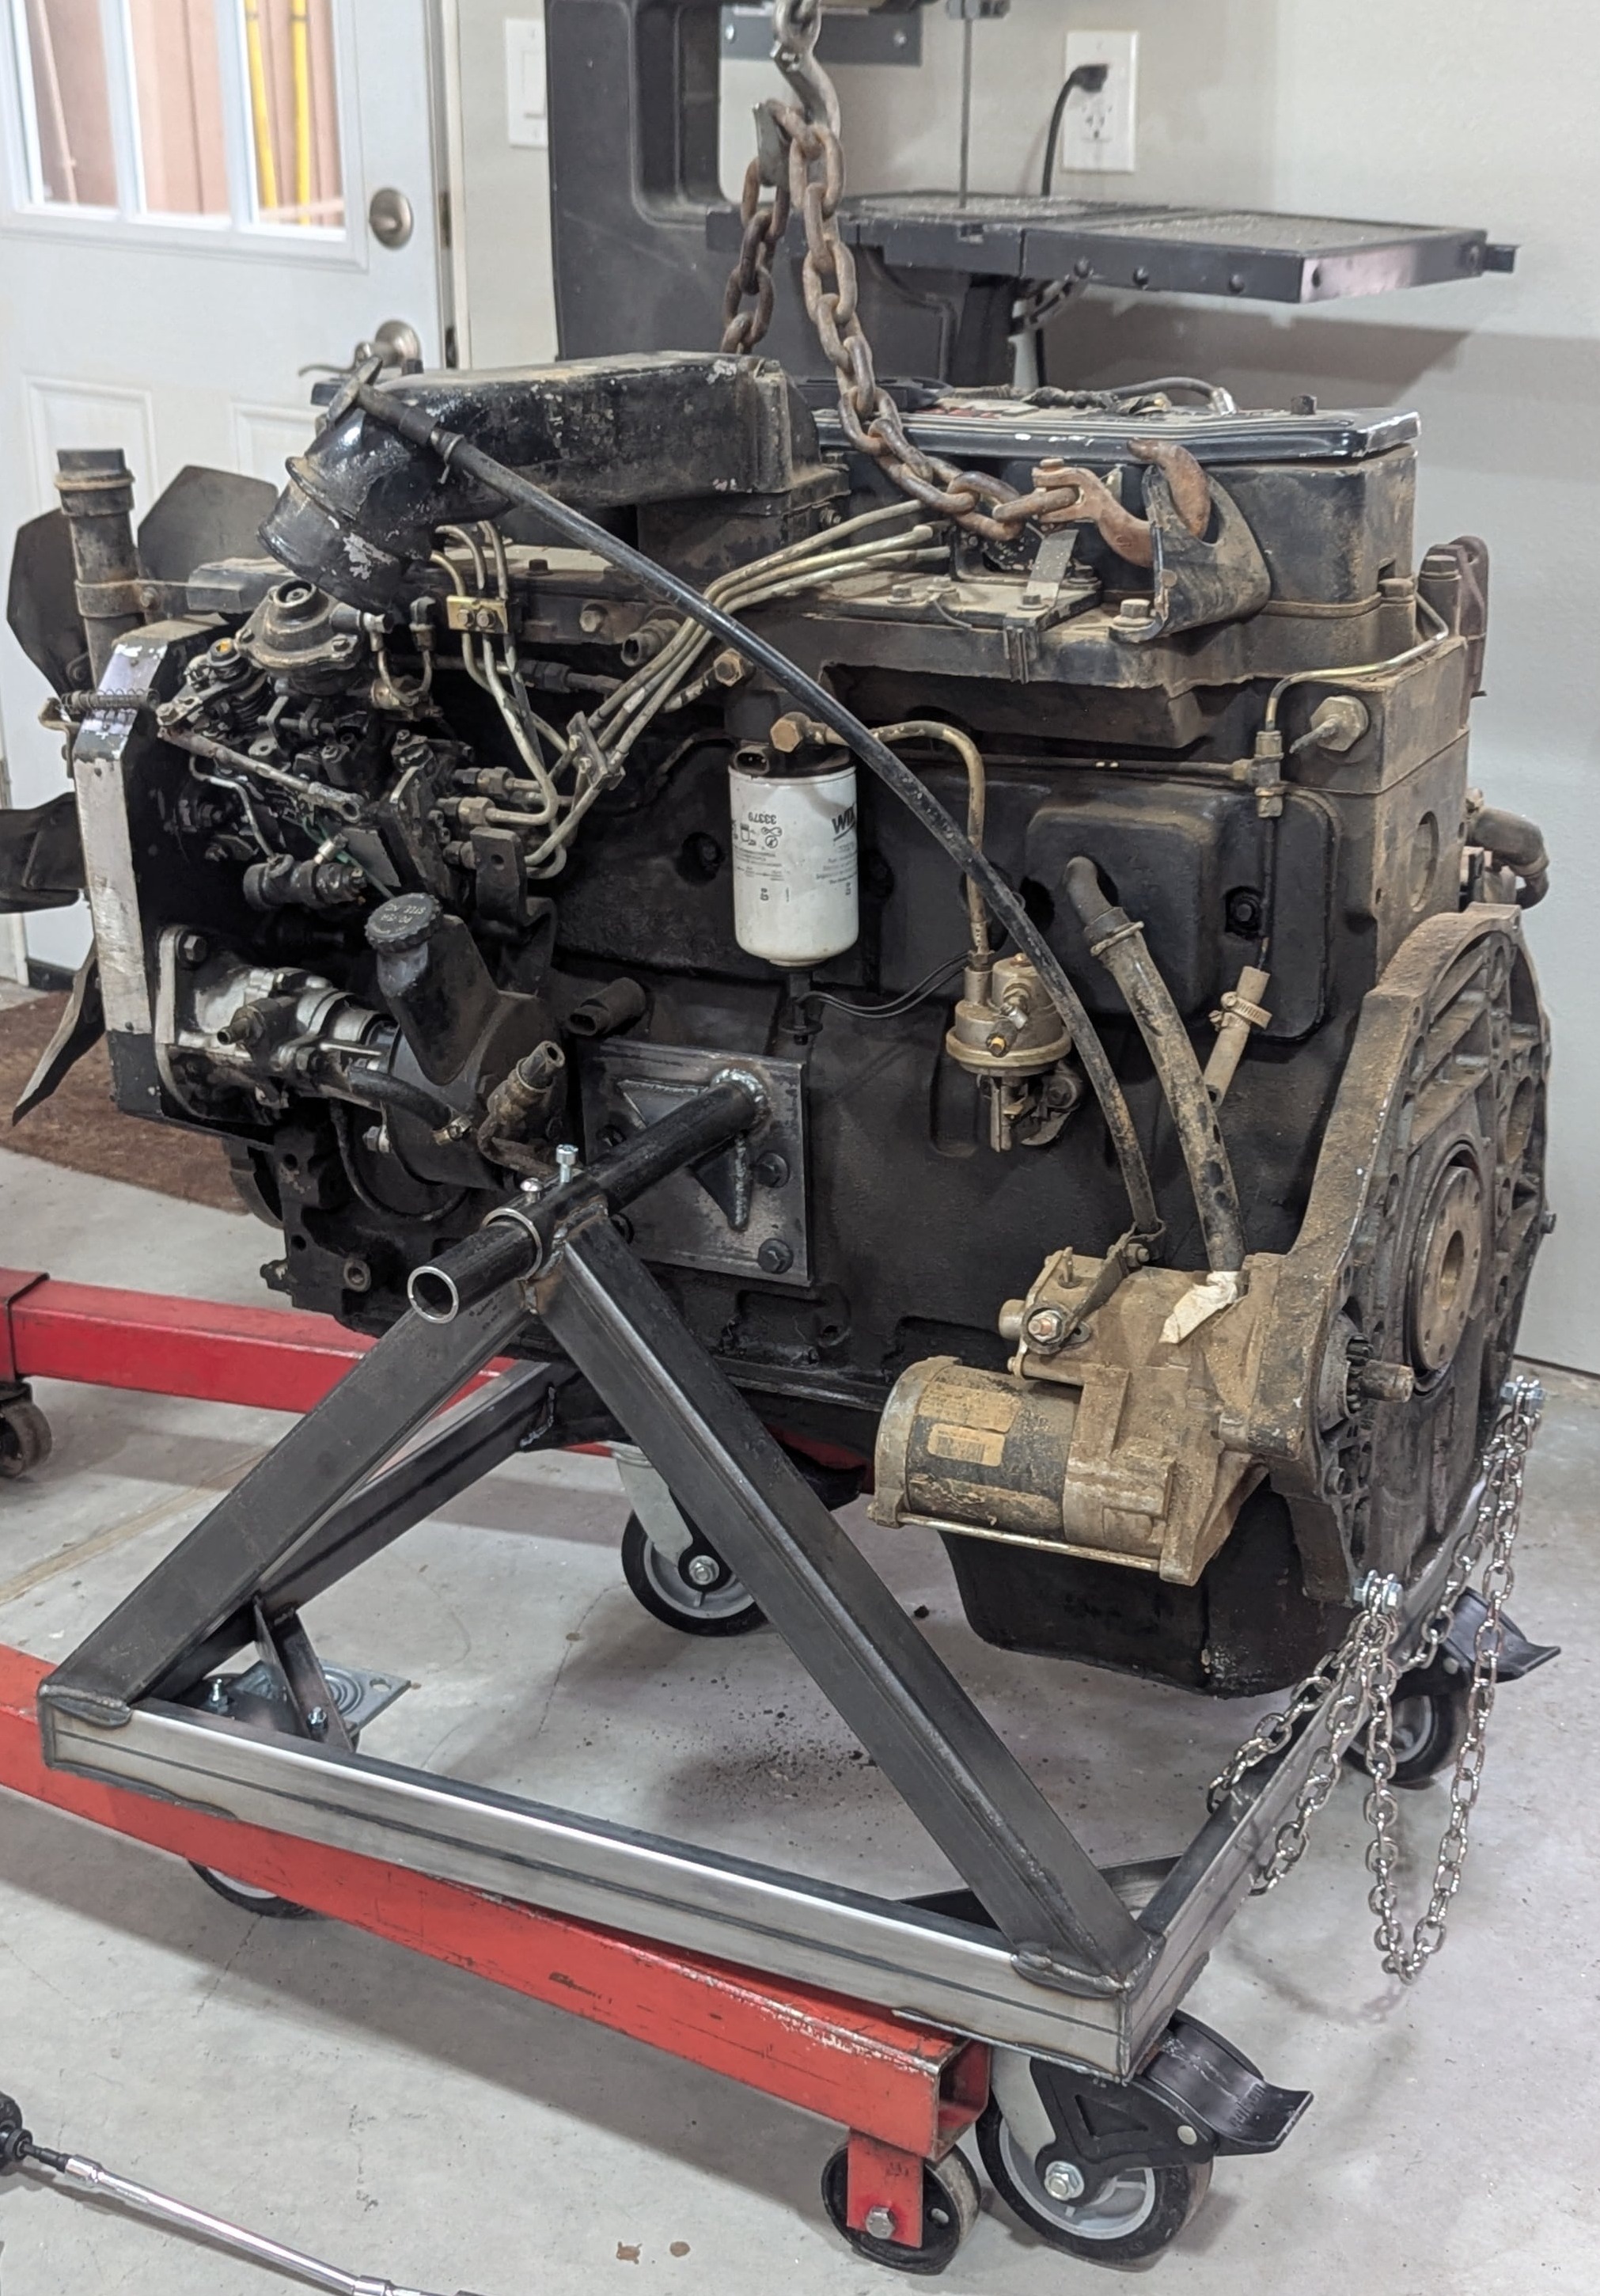
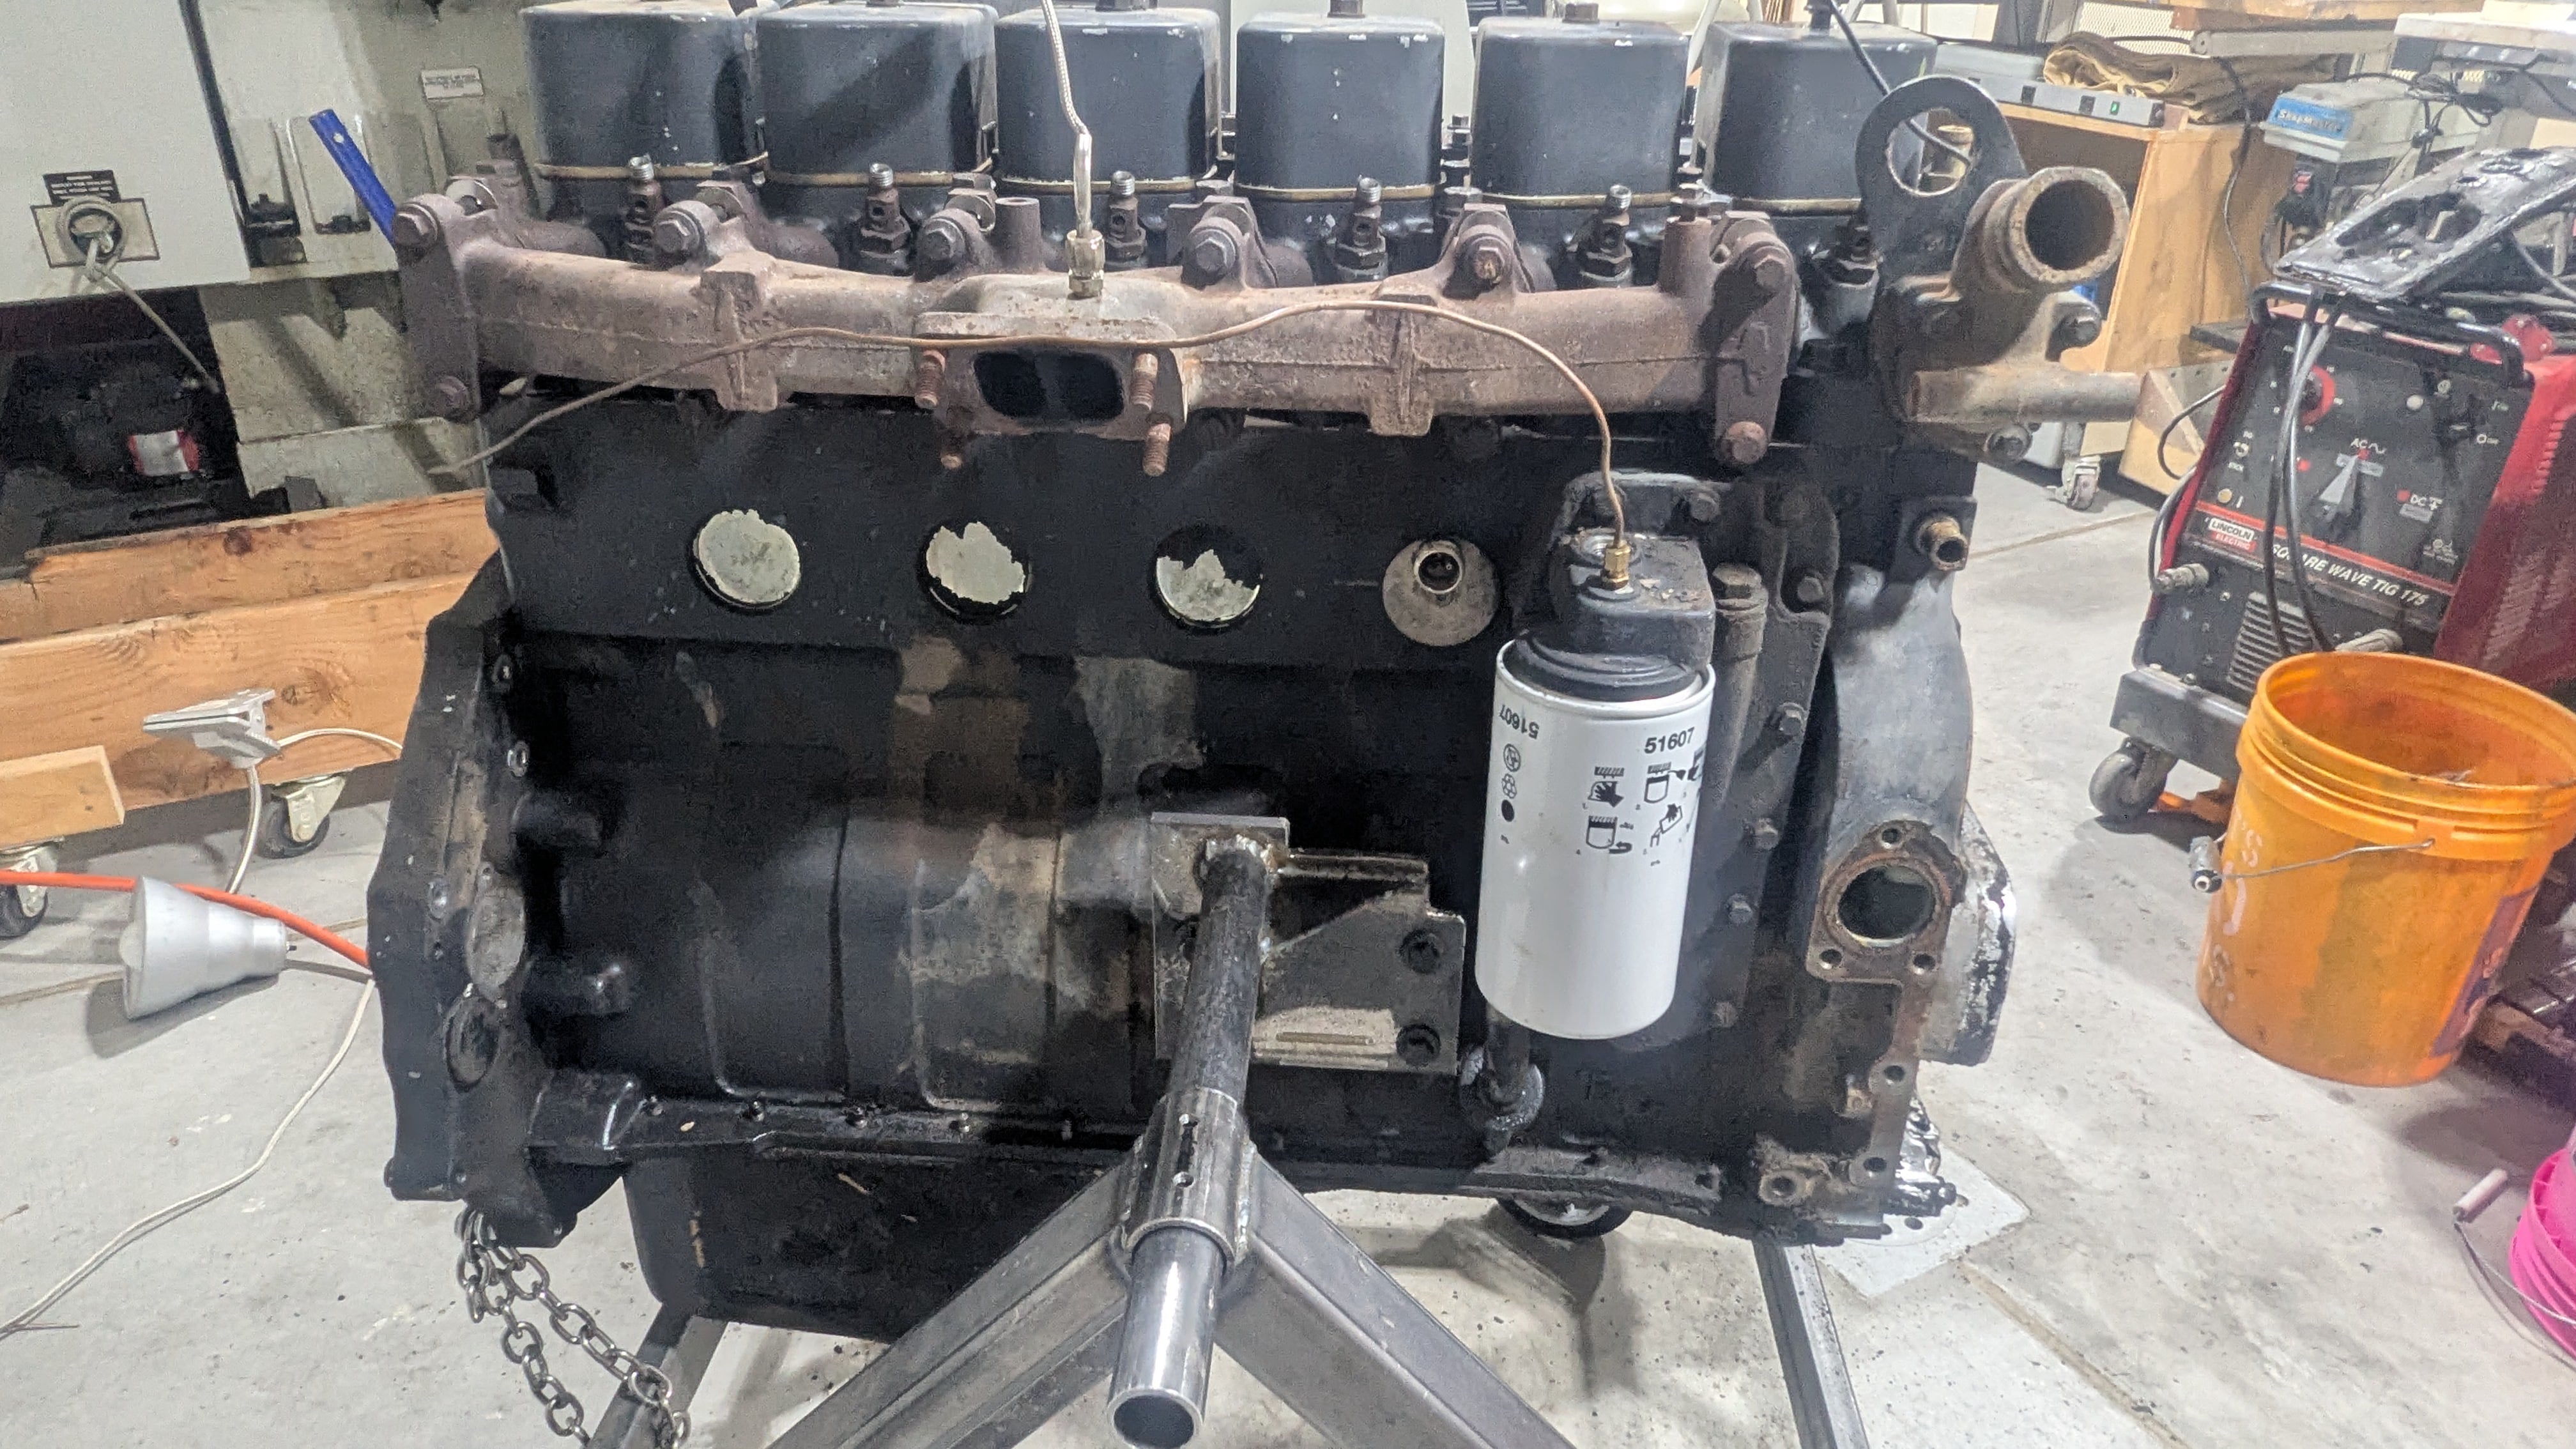
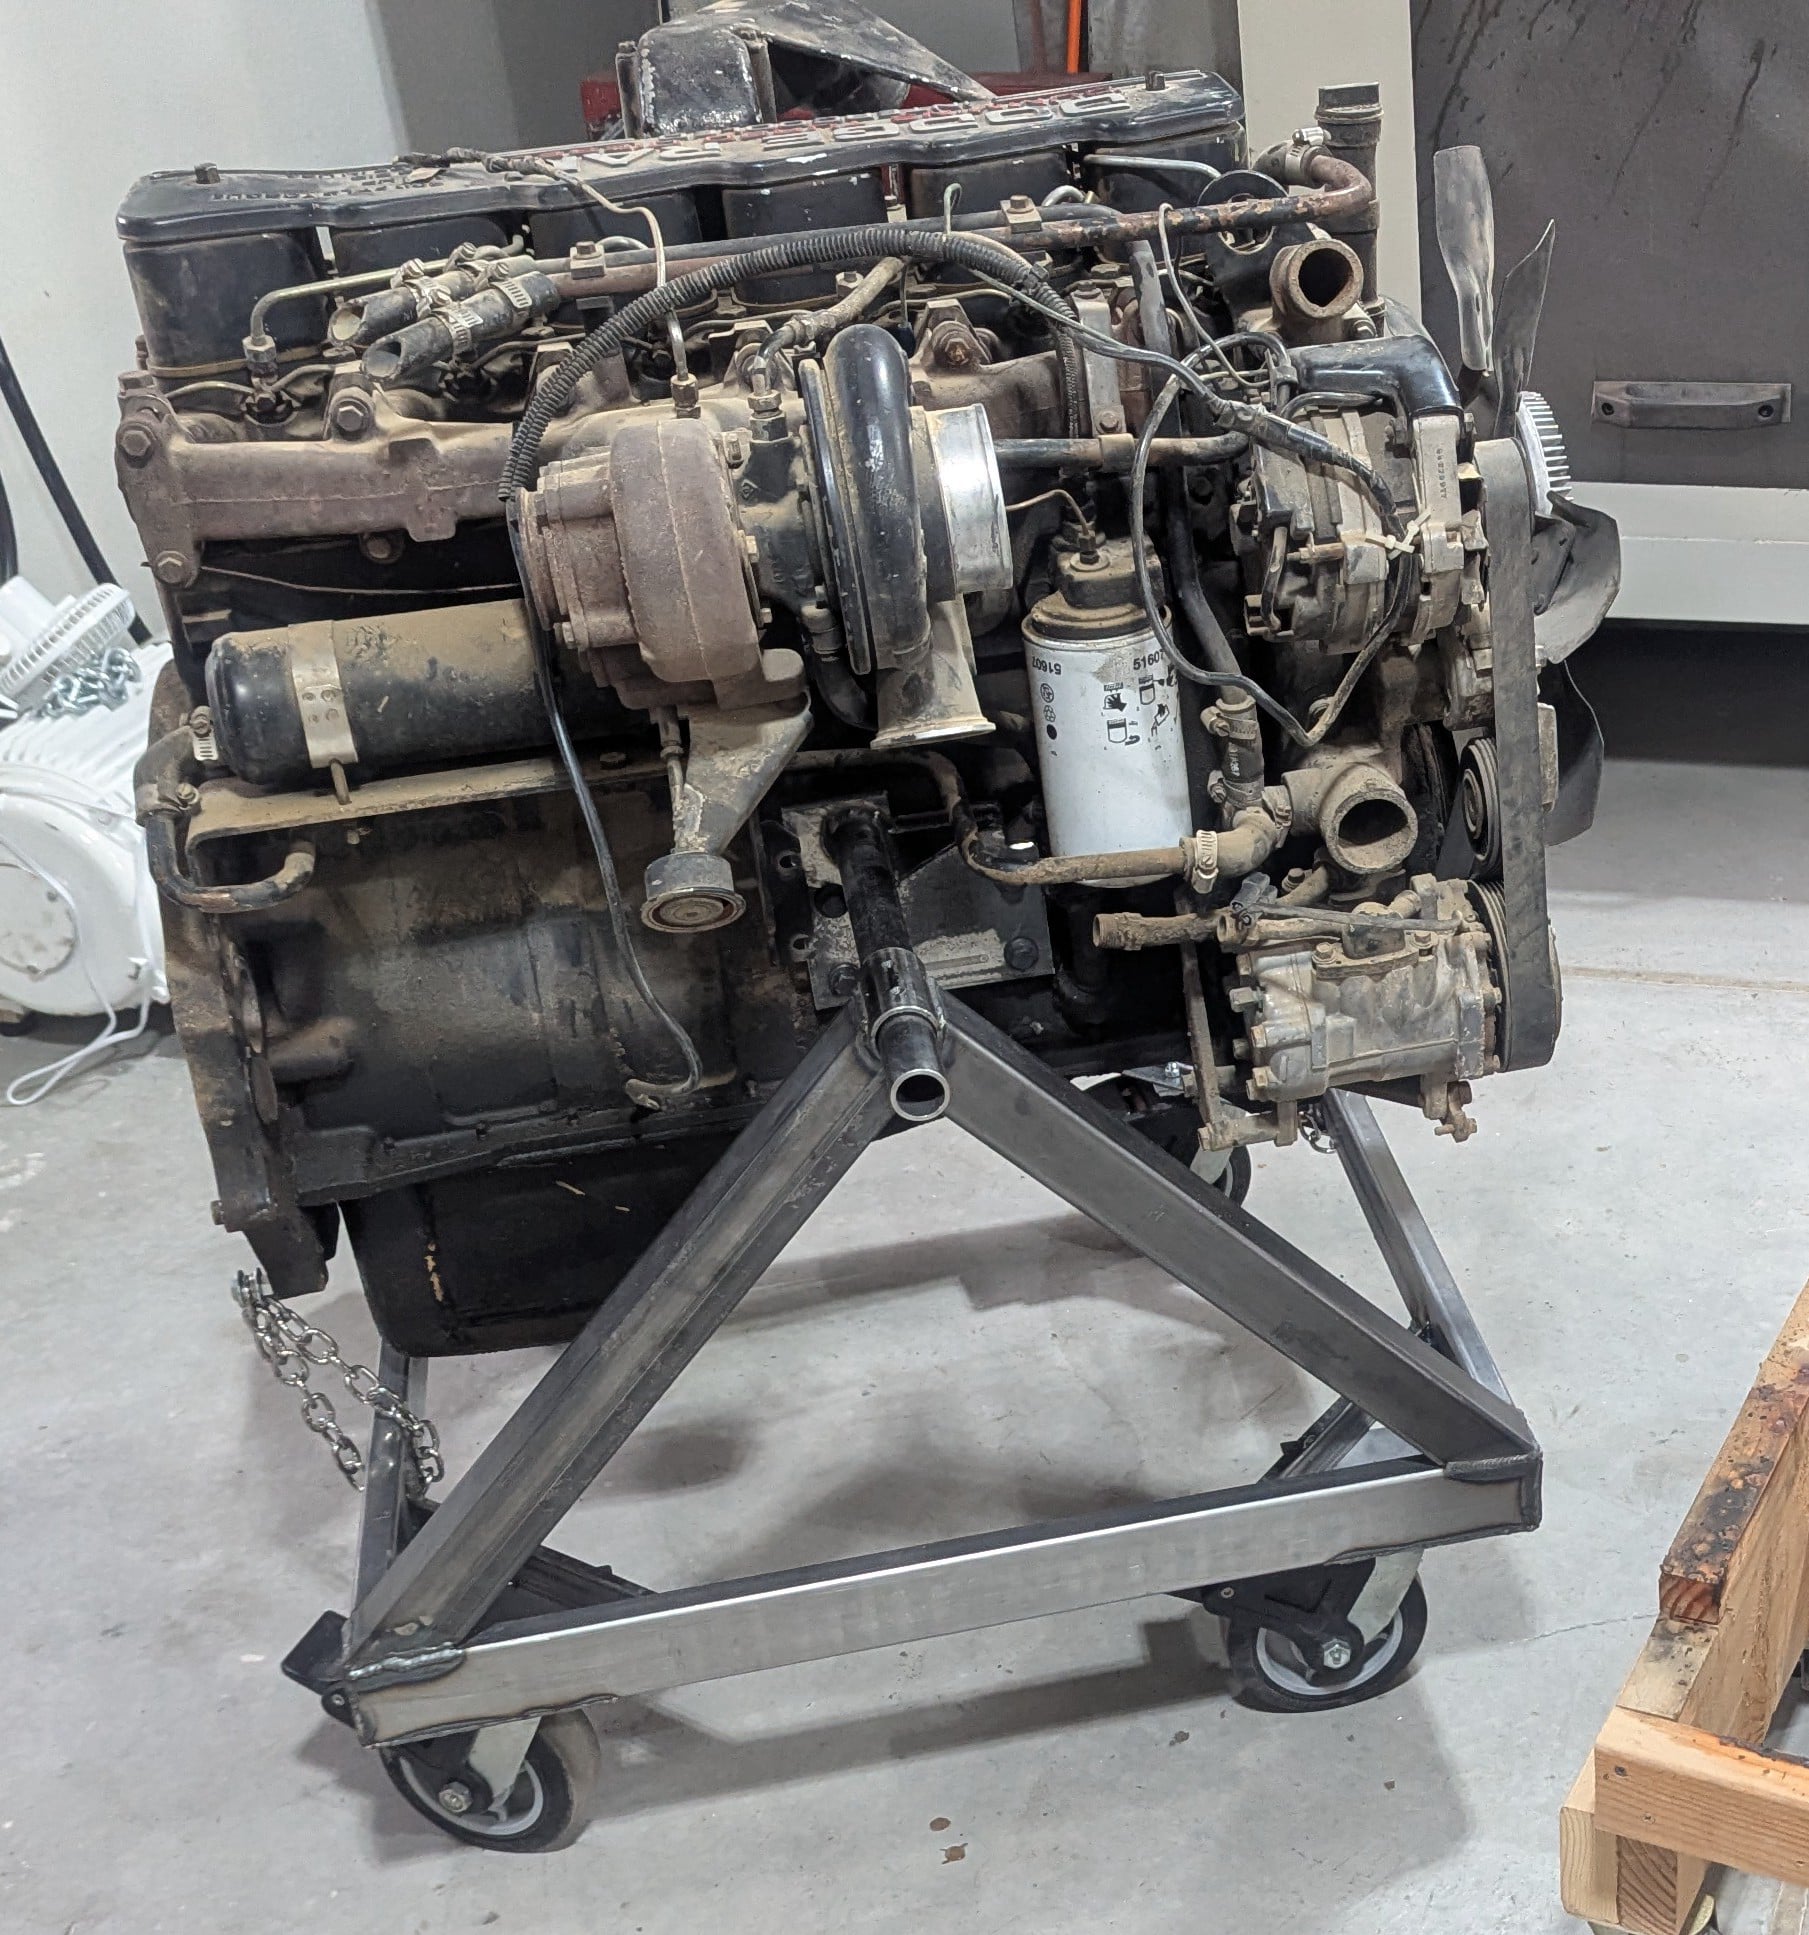
The motor is fairly well balanced on the cradle but I added a couple chains to ensure it doesn't rotate.  Above is the passenger side.
Above is the driver's side.  You can see the starter and the adapter plate that mounts to the bell housing.  If you think the plate doesn't look right, you're correct, but more on that later.
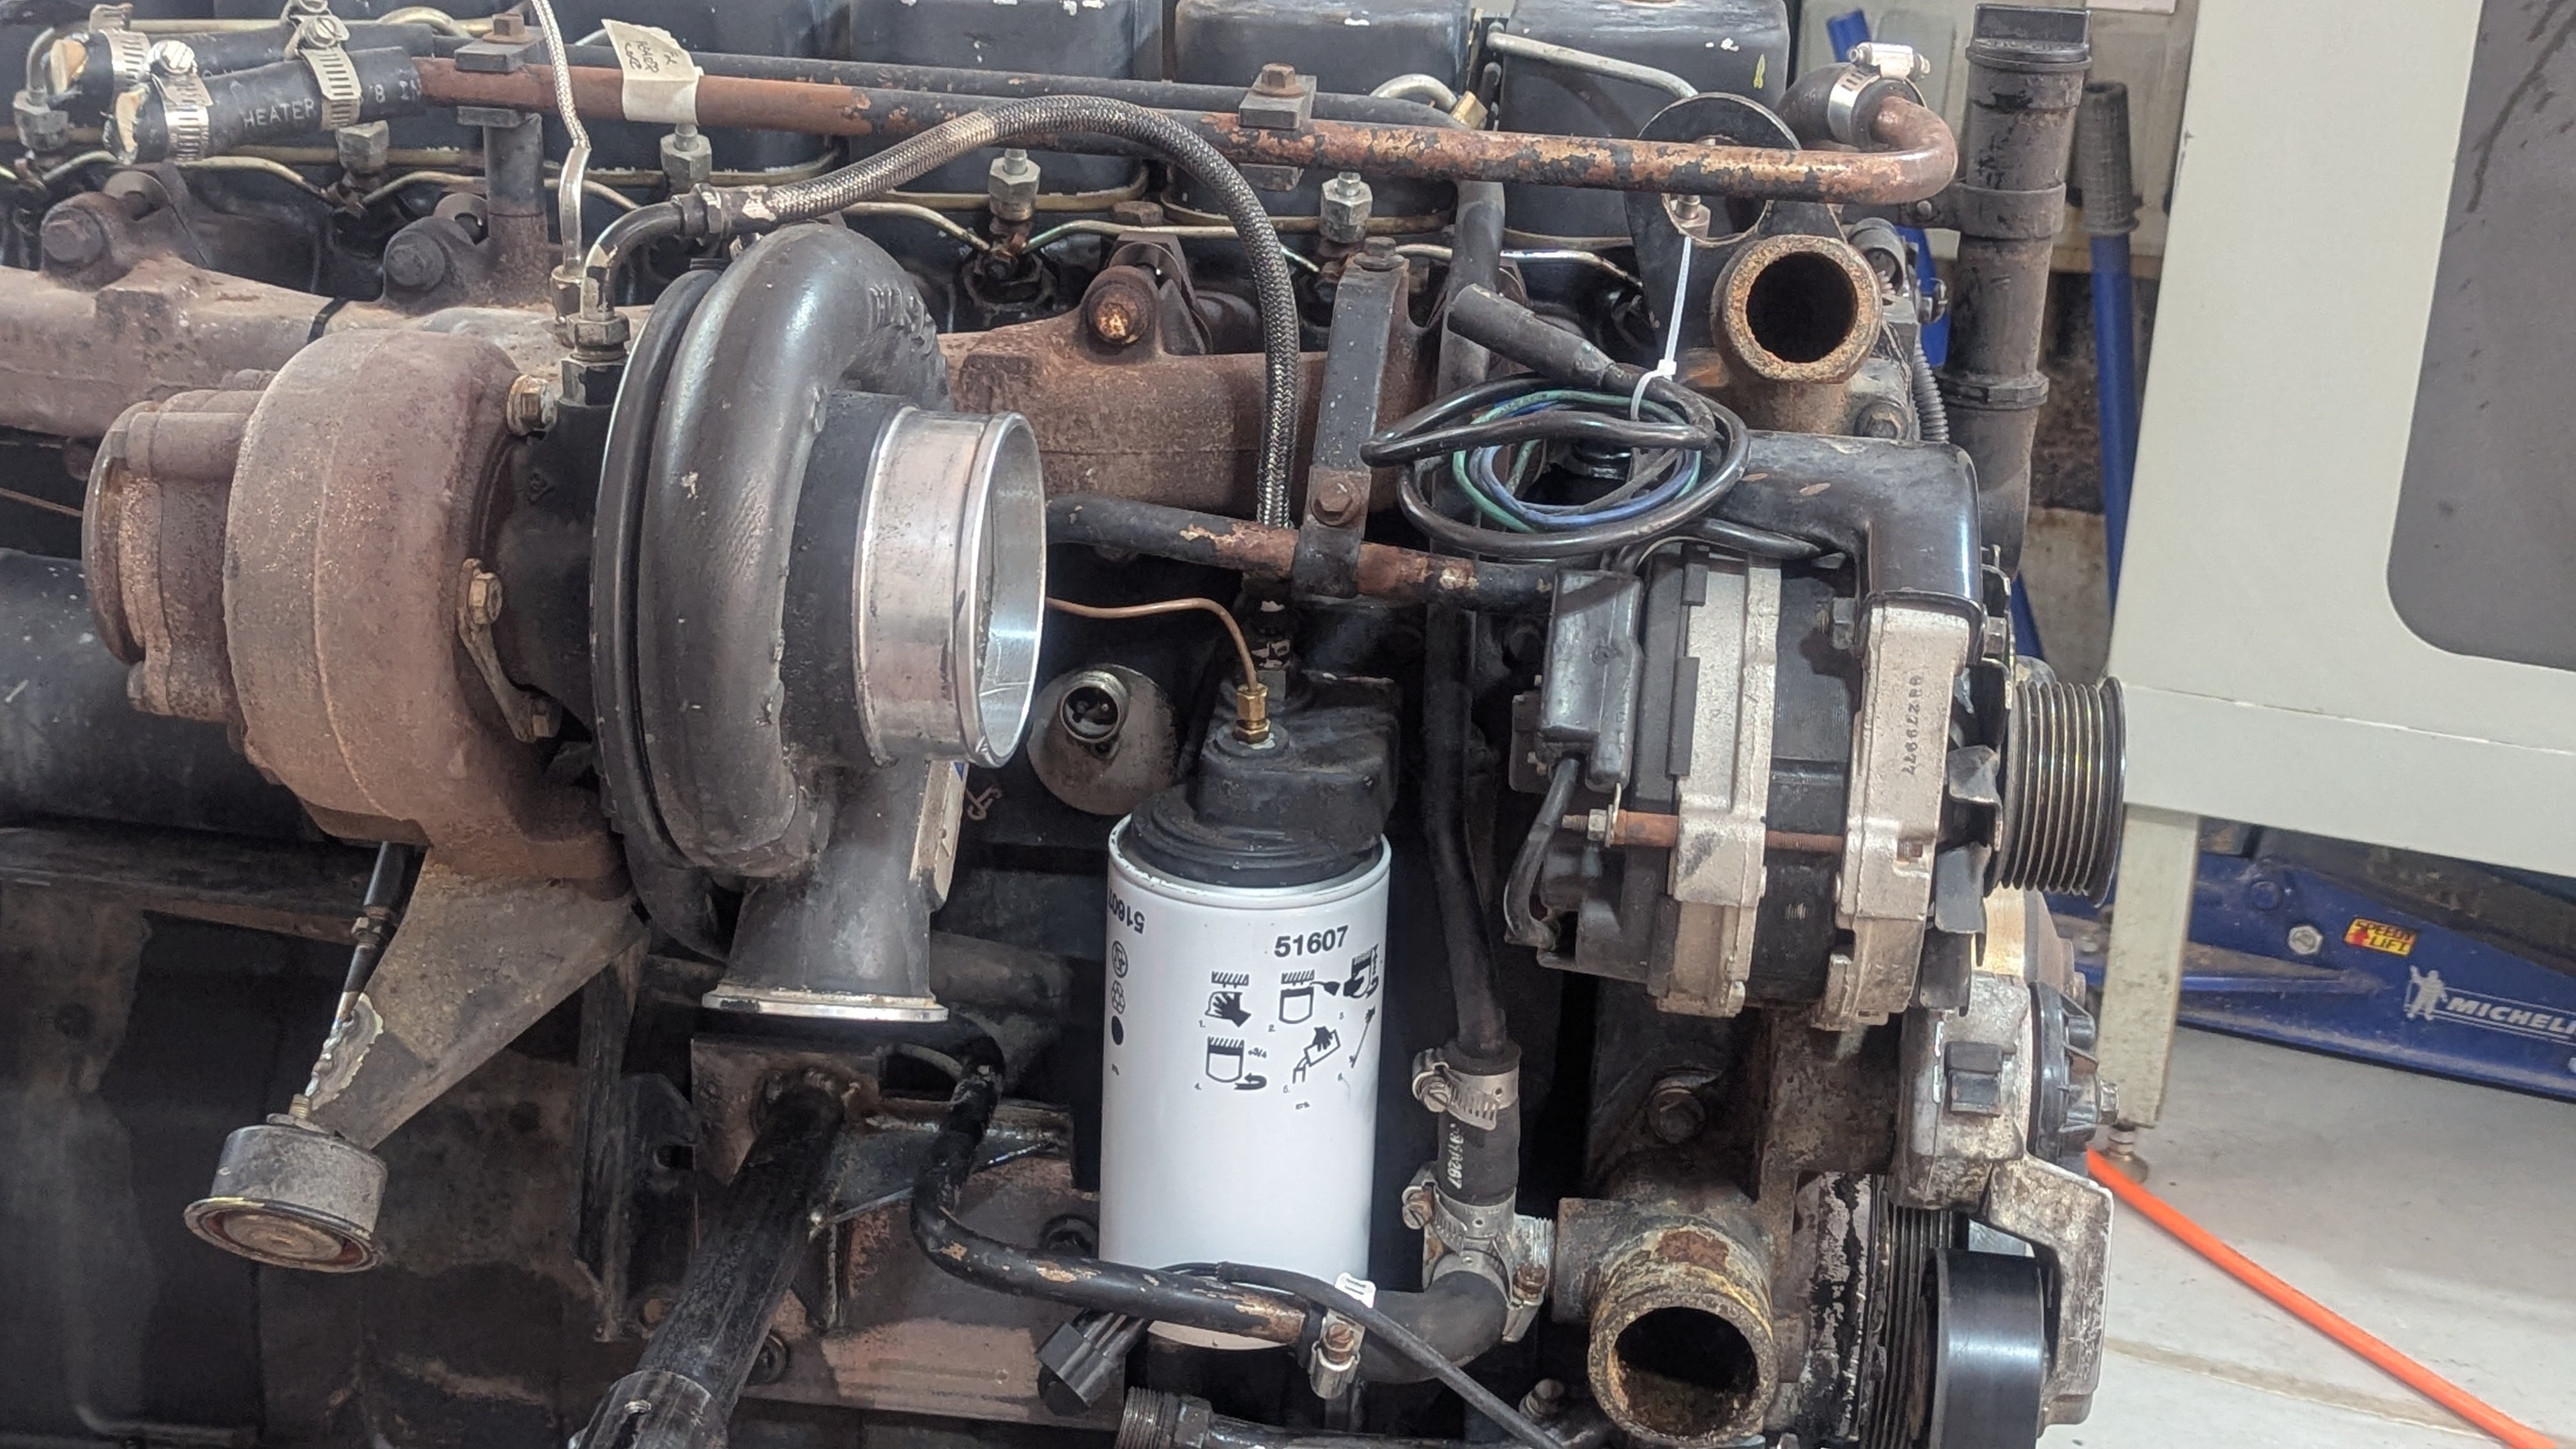
The engine I bought had a few upgrades.  It's a VE pump but it also had an intercooler and a HX35 turbo.  
It appeared to be running well when I bought it but it's also almost 30 years old.  It's pretty good for its age.
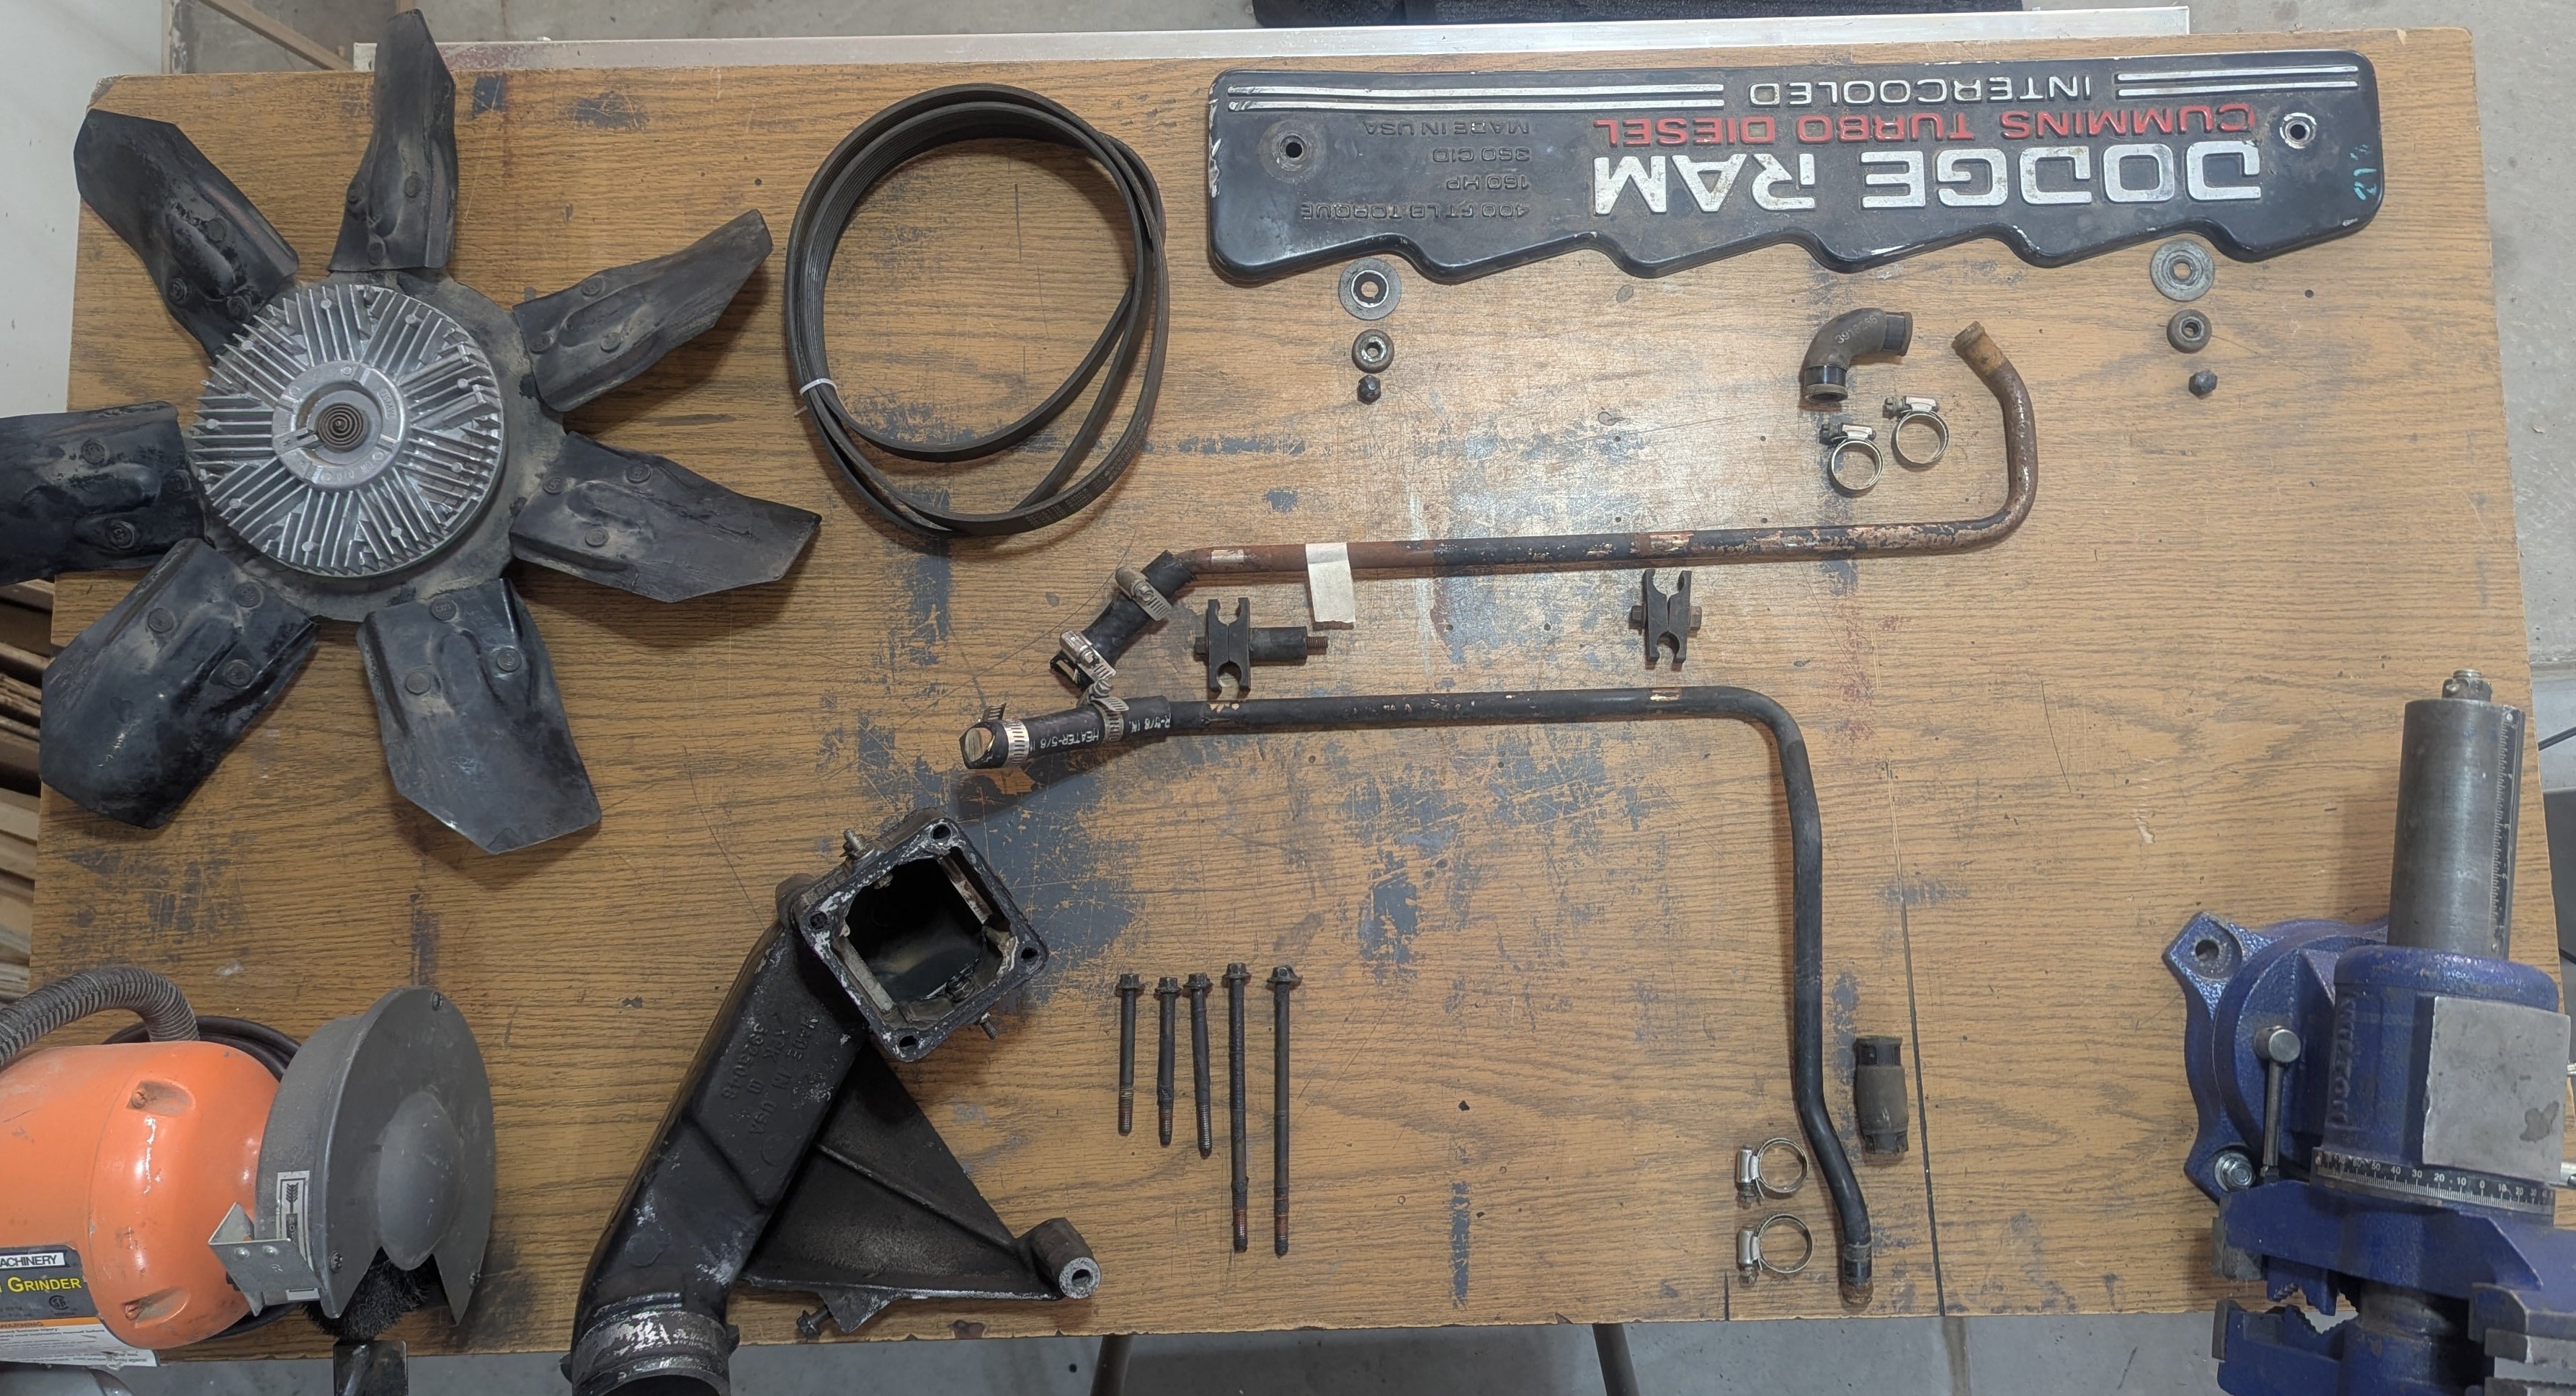
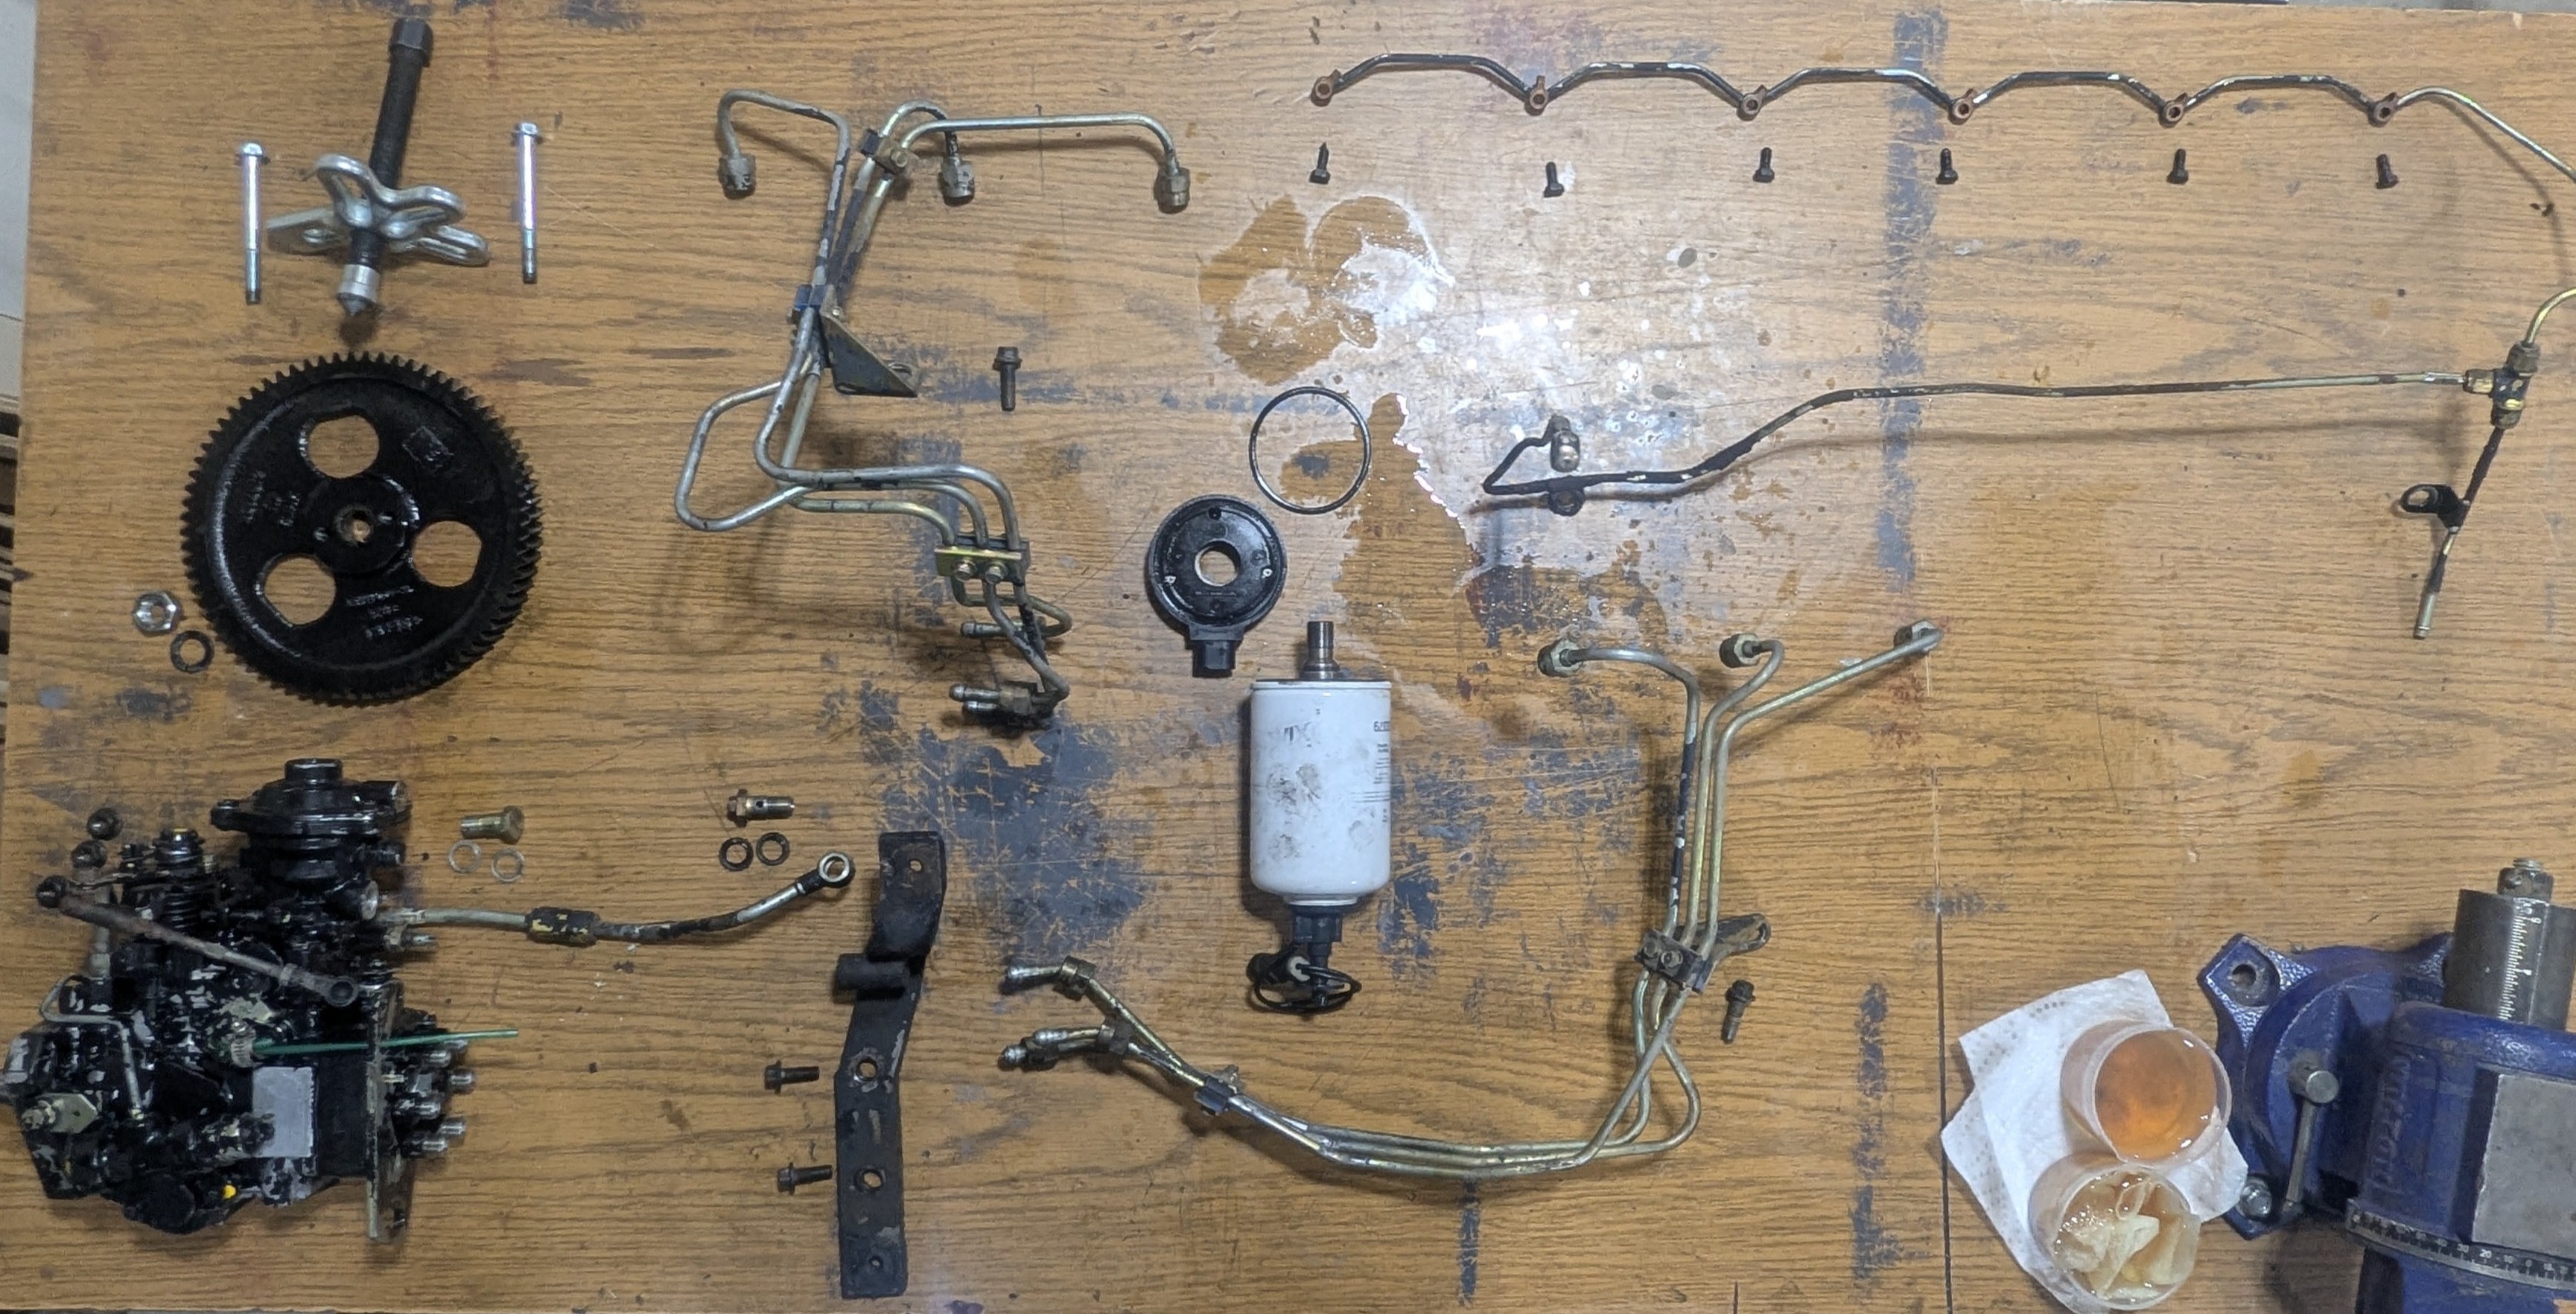
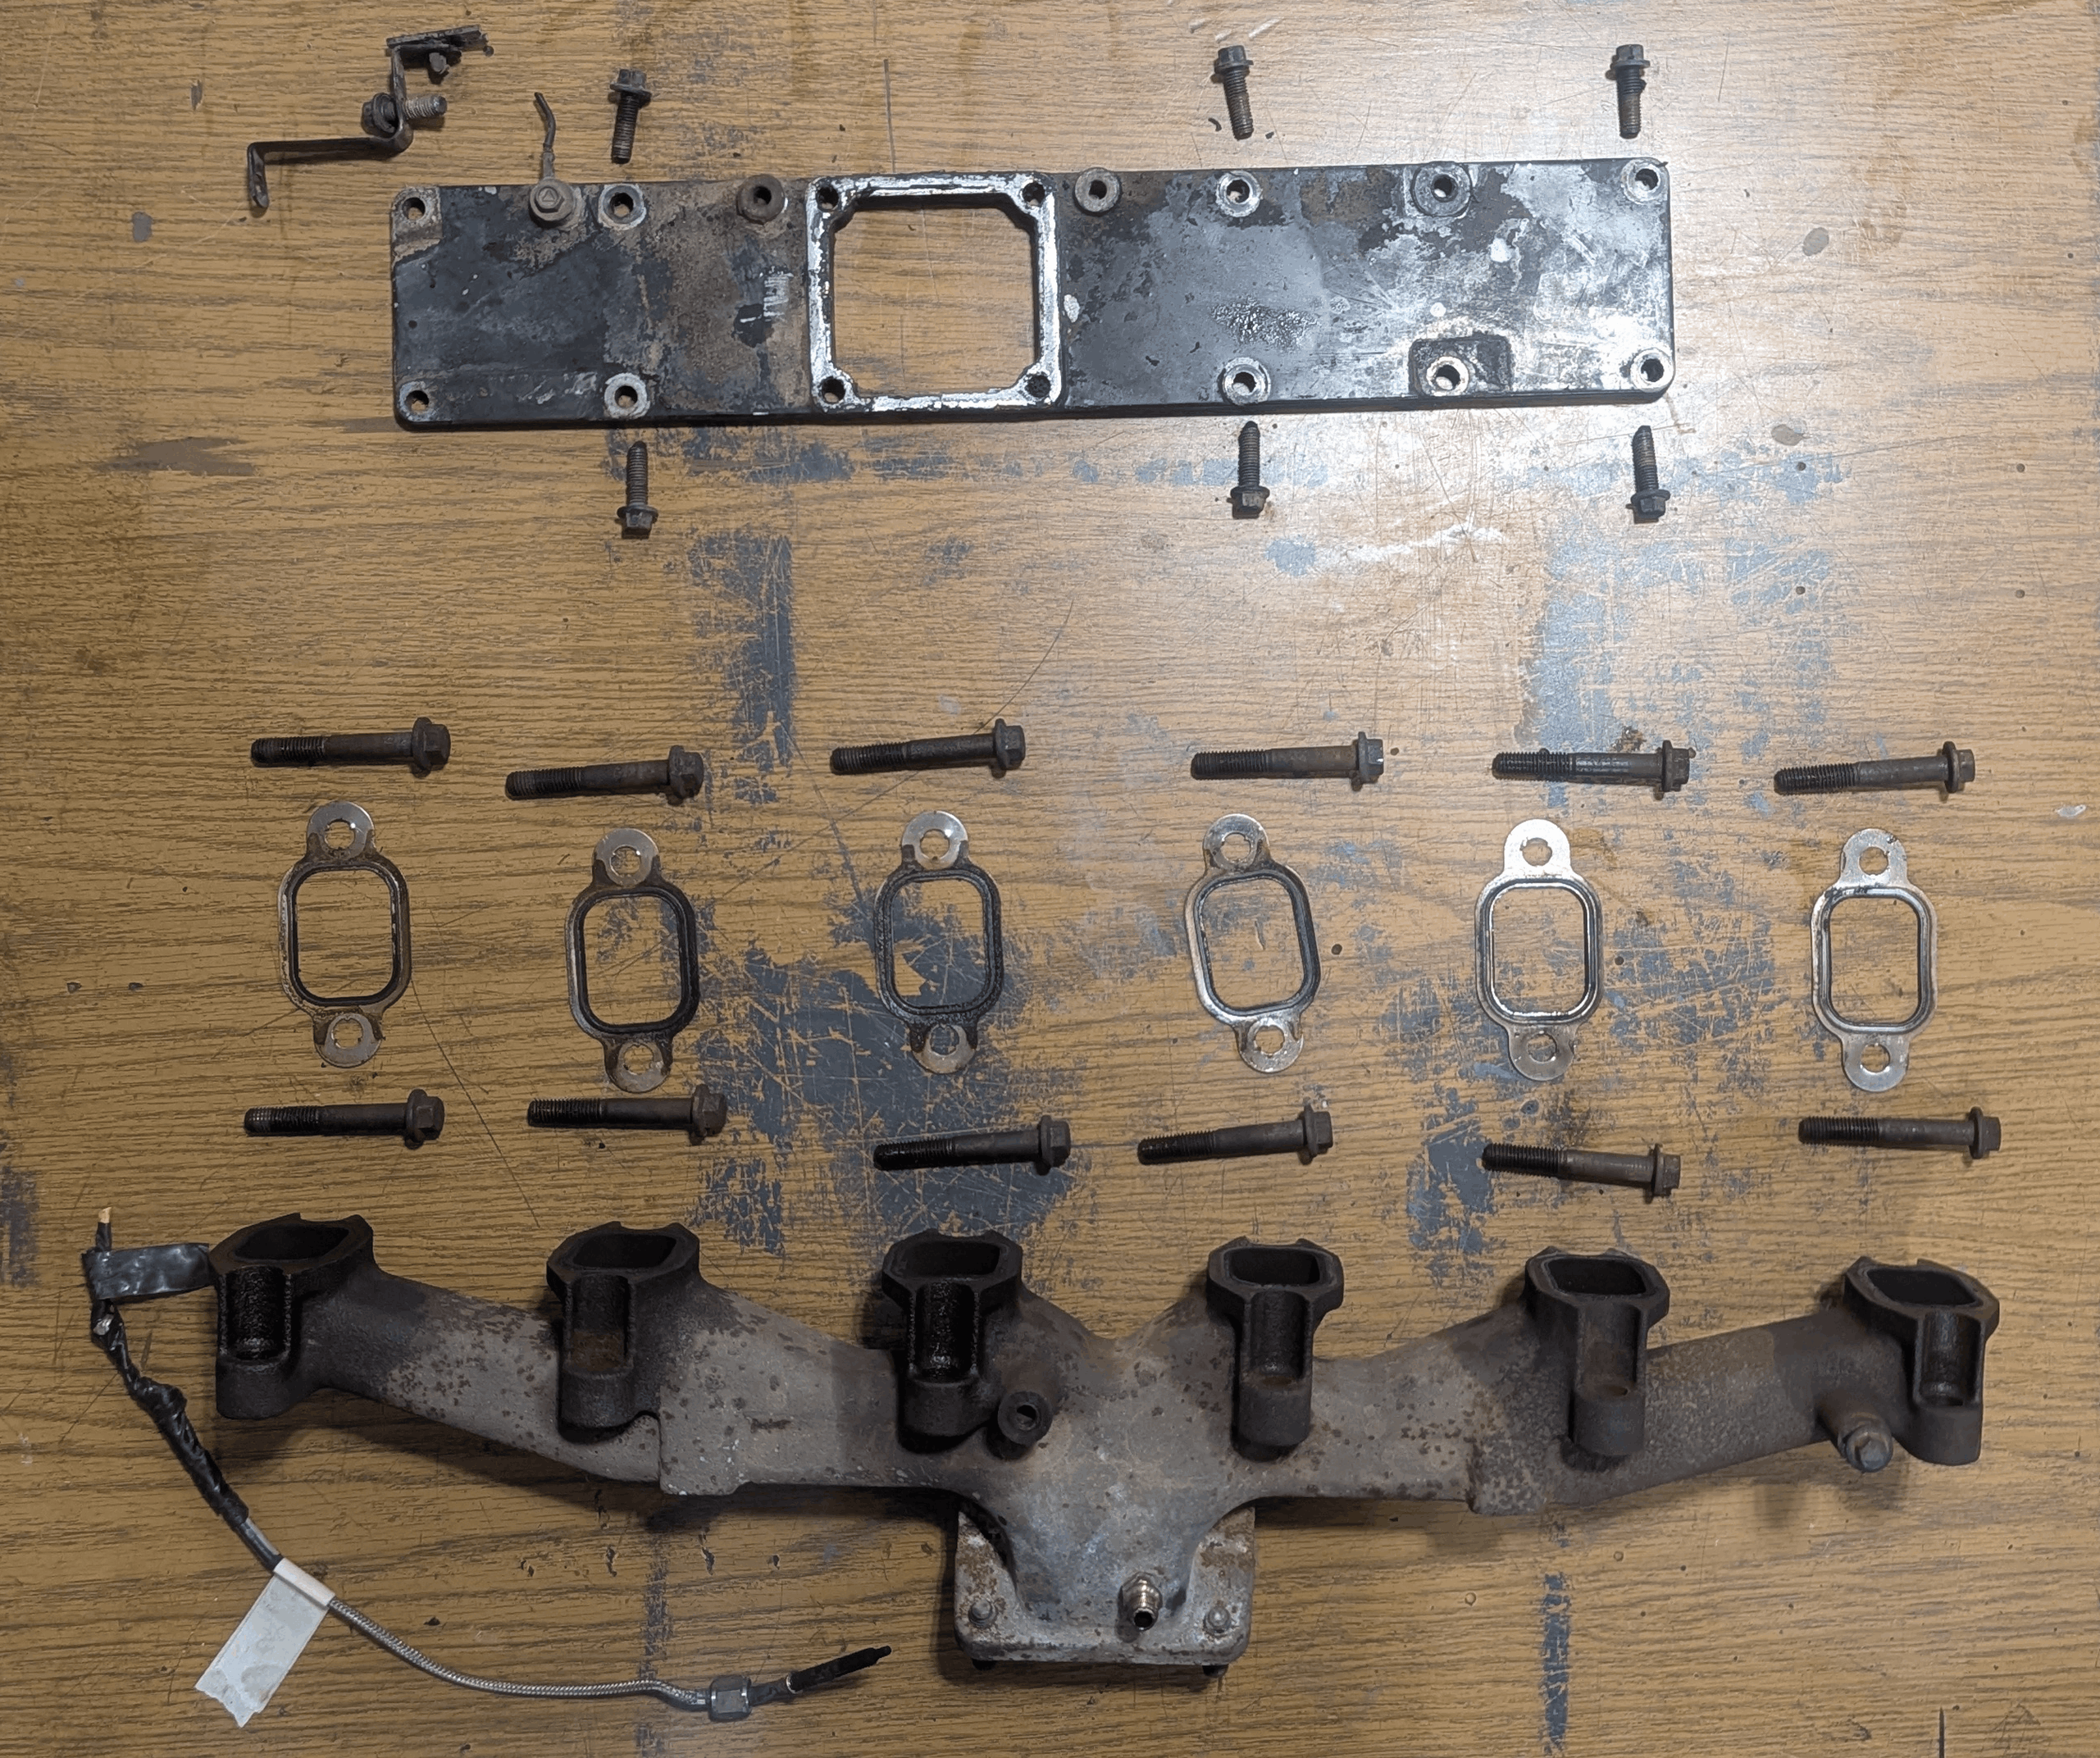
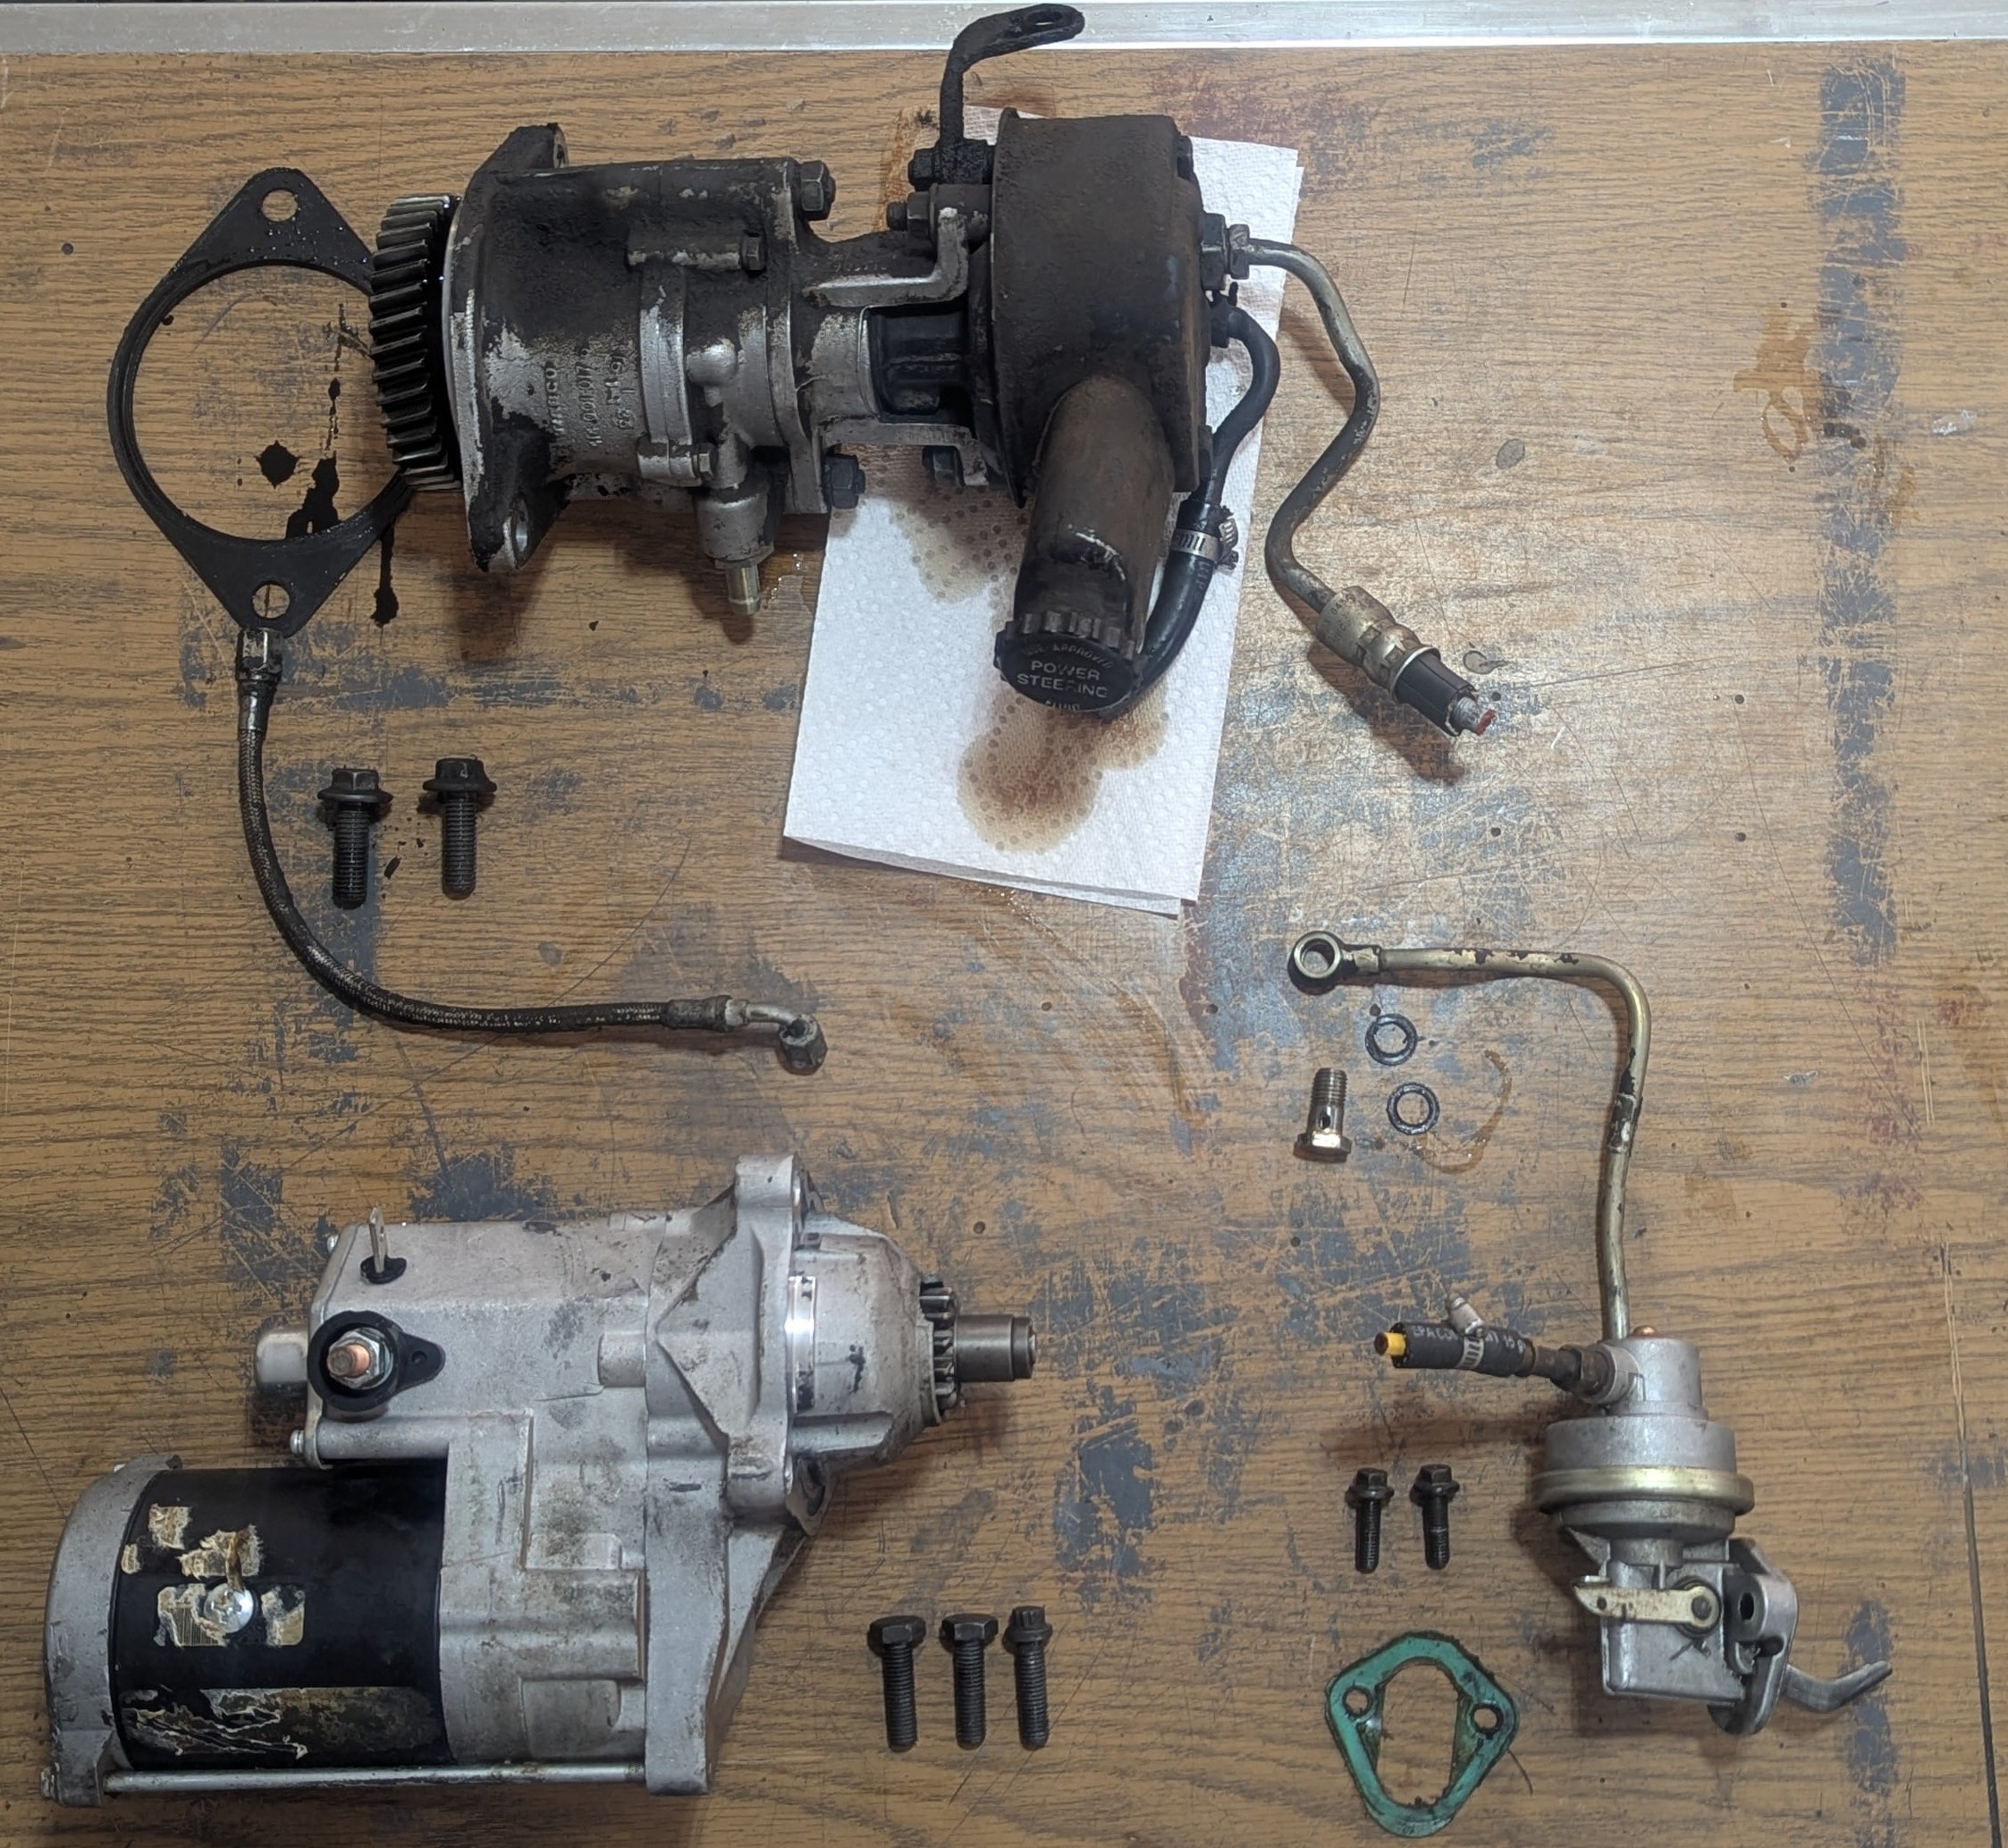
Time for the disassembly.  I've always been a fan of Adam Savage and mentions a practice called knolling. It's arranging items in and orderly display (often orthogonal) to make it easy to see where they go or what's missing.
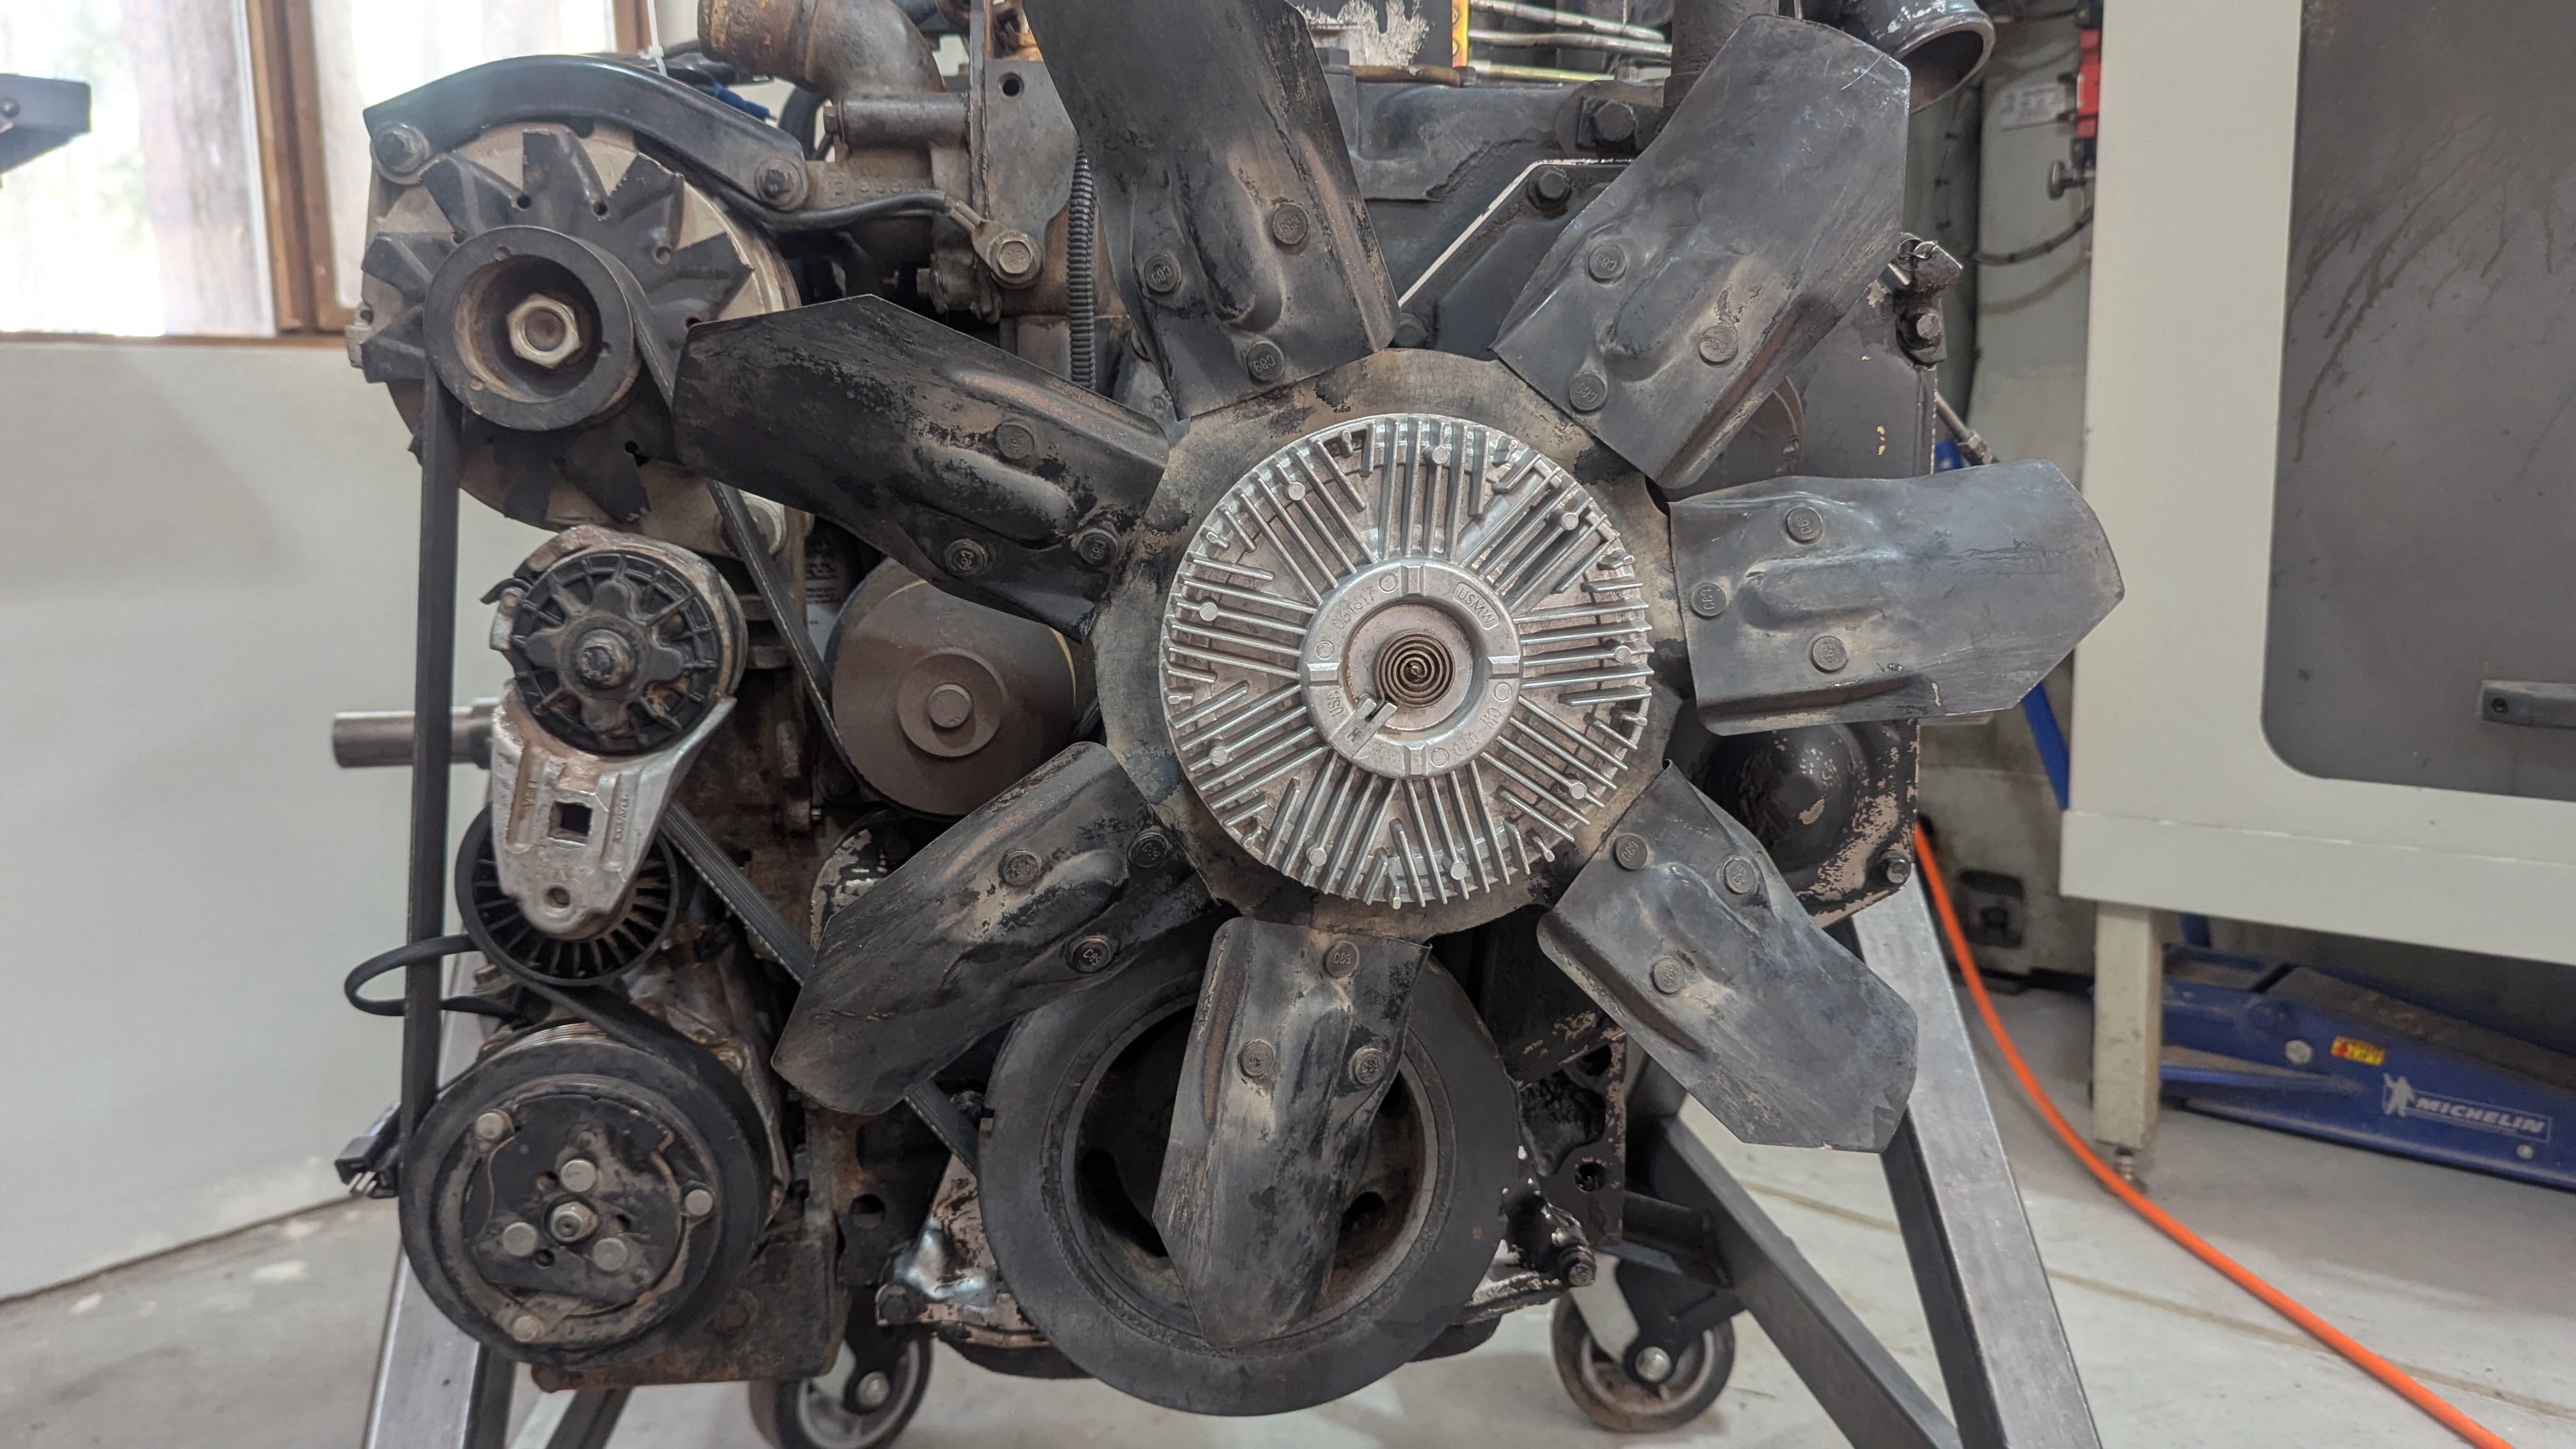
Some random outer pieces.  Fan, valve cover plate, 2nd gen intake horn and some of the coolant lines. 
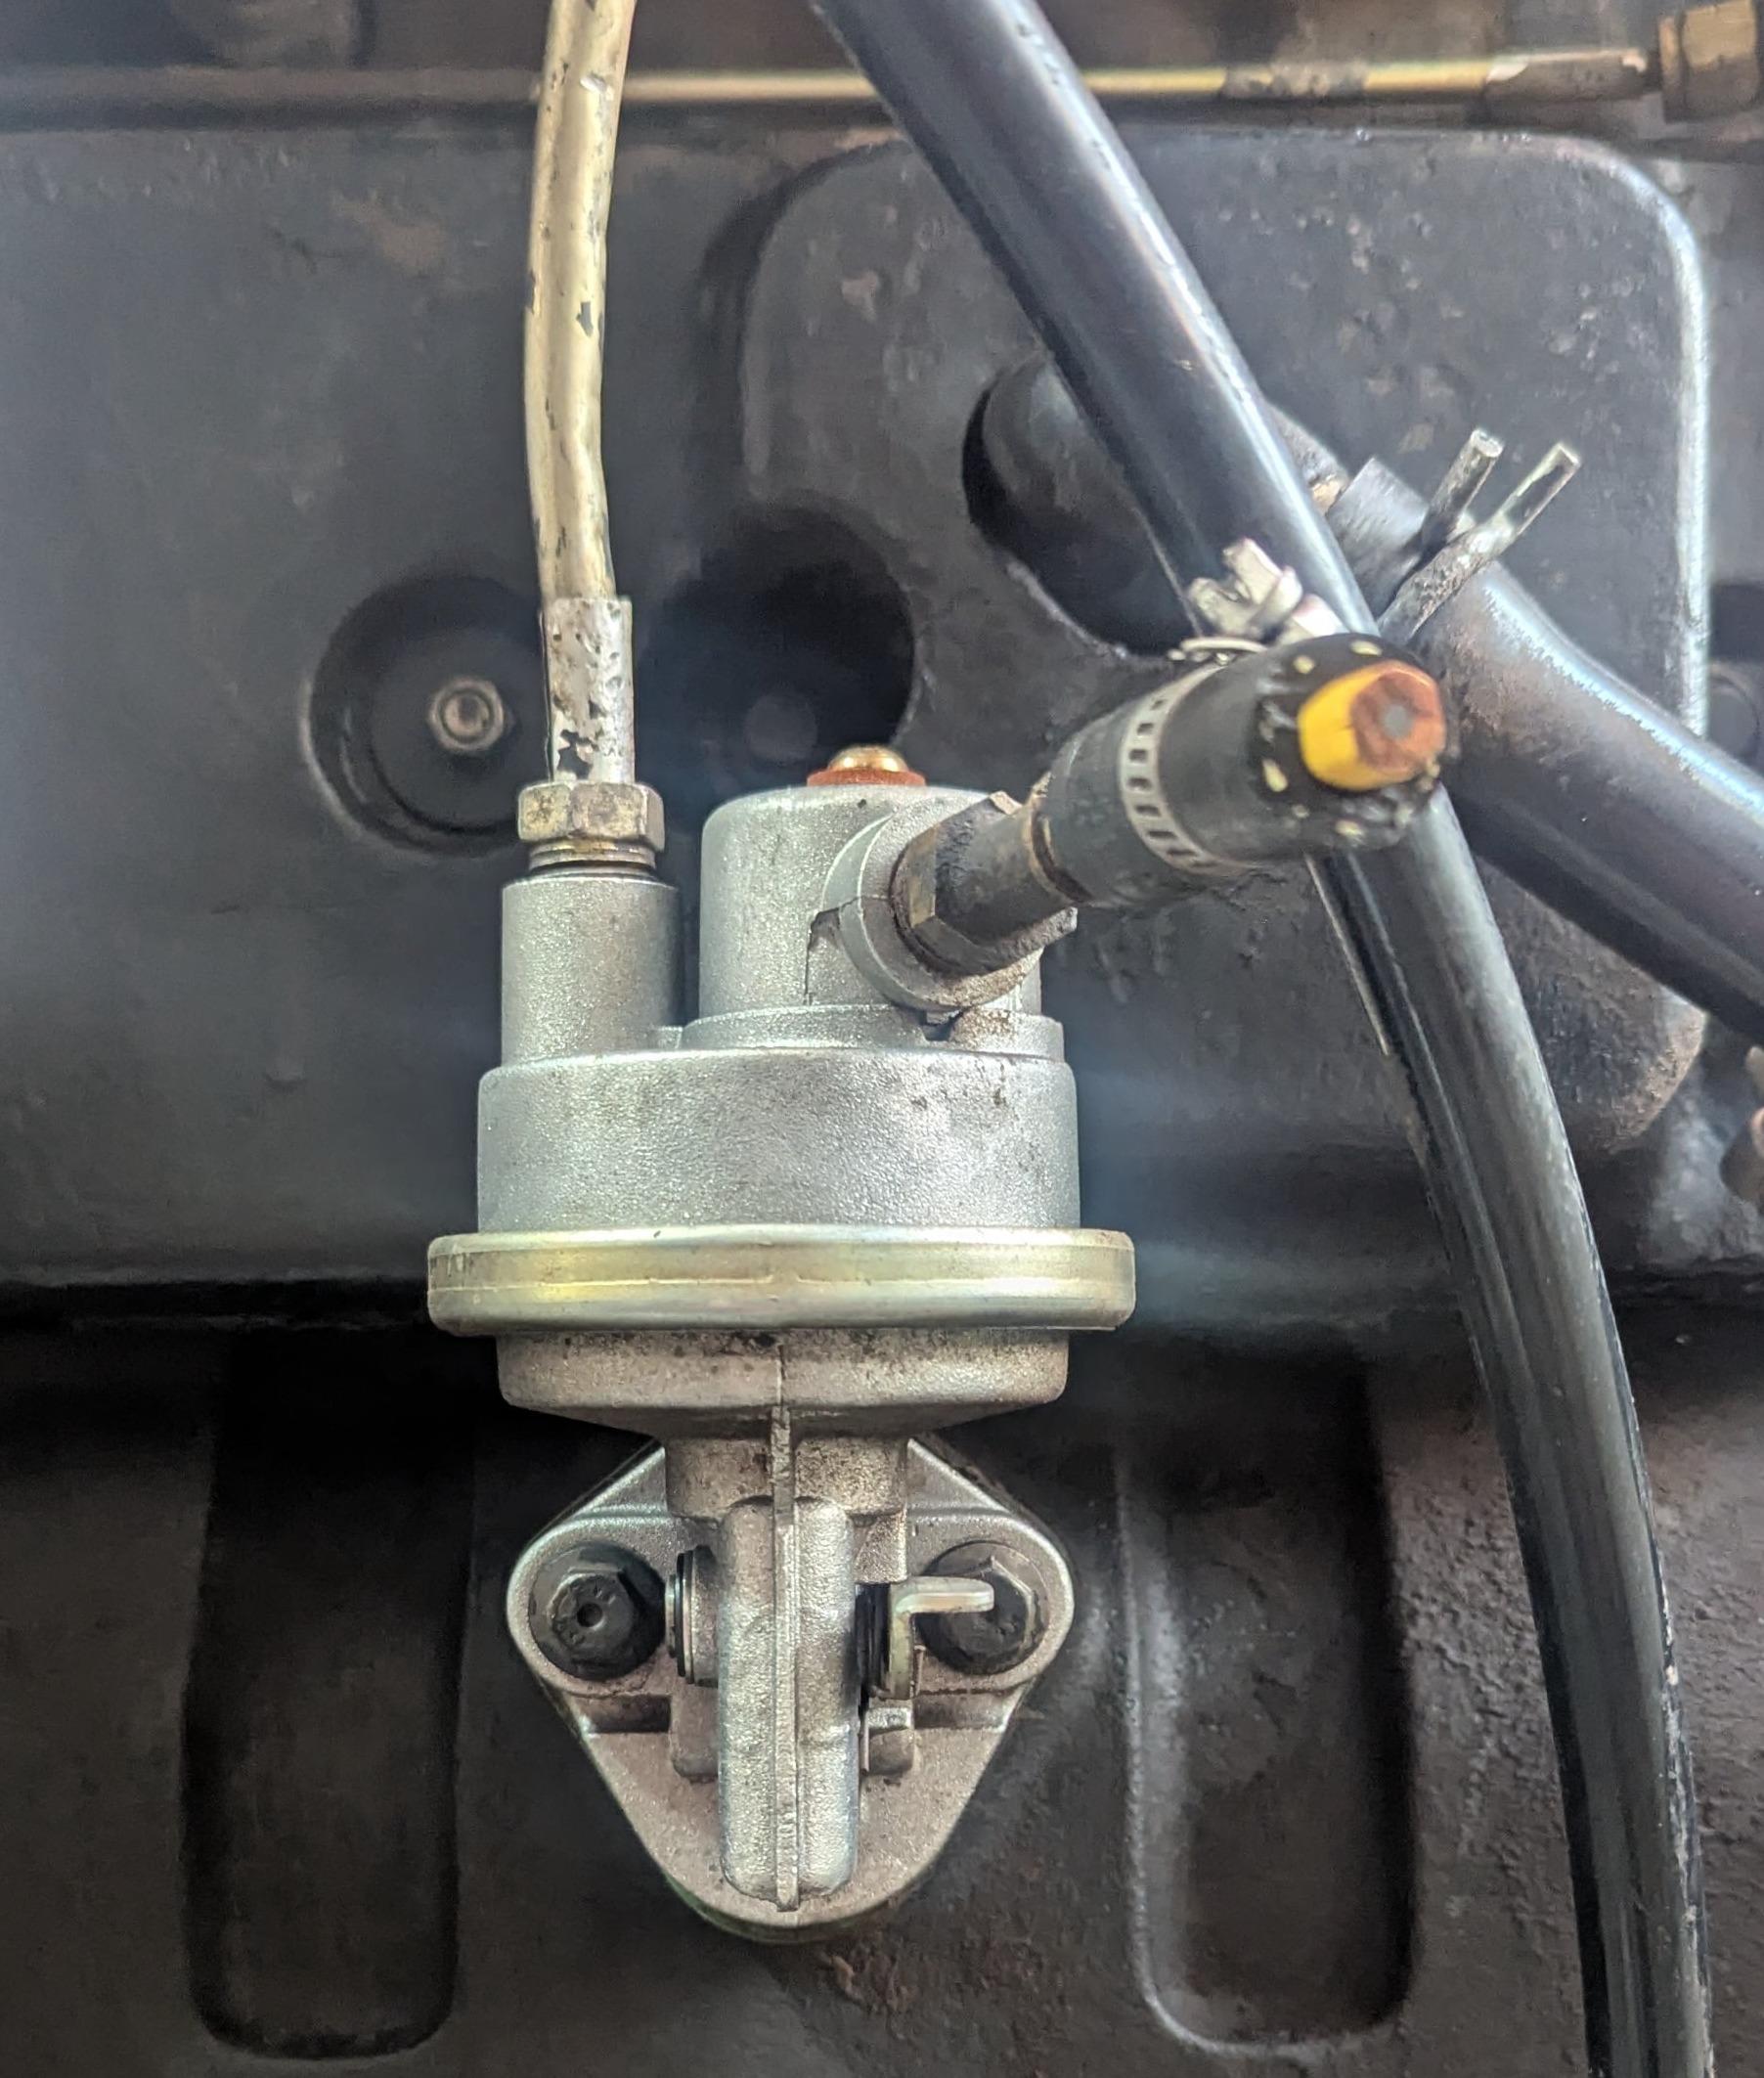
The fuel lift pump and yes, that's a #2 pensile plugging the fuel lines.  It's what was lying around that fit.
Power steering and vacuum pump, starter, and fuel lift pump.
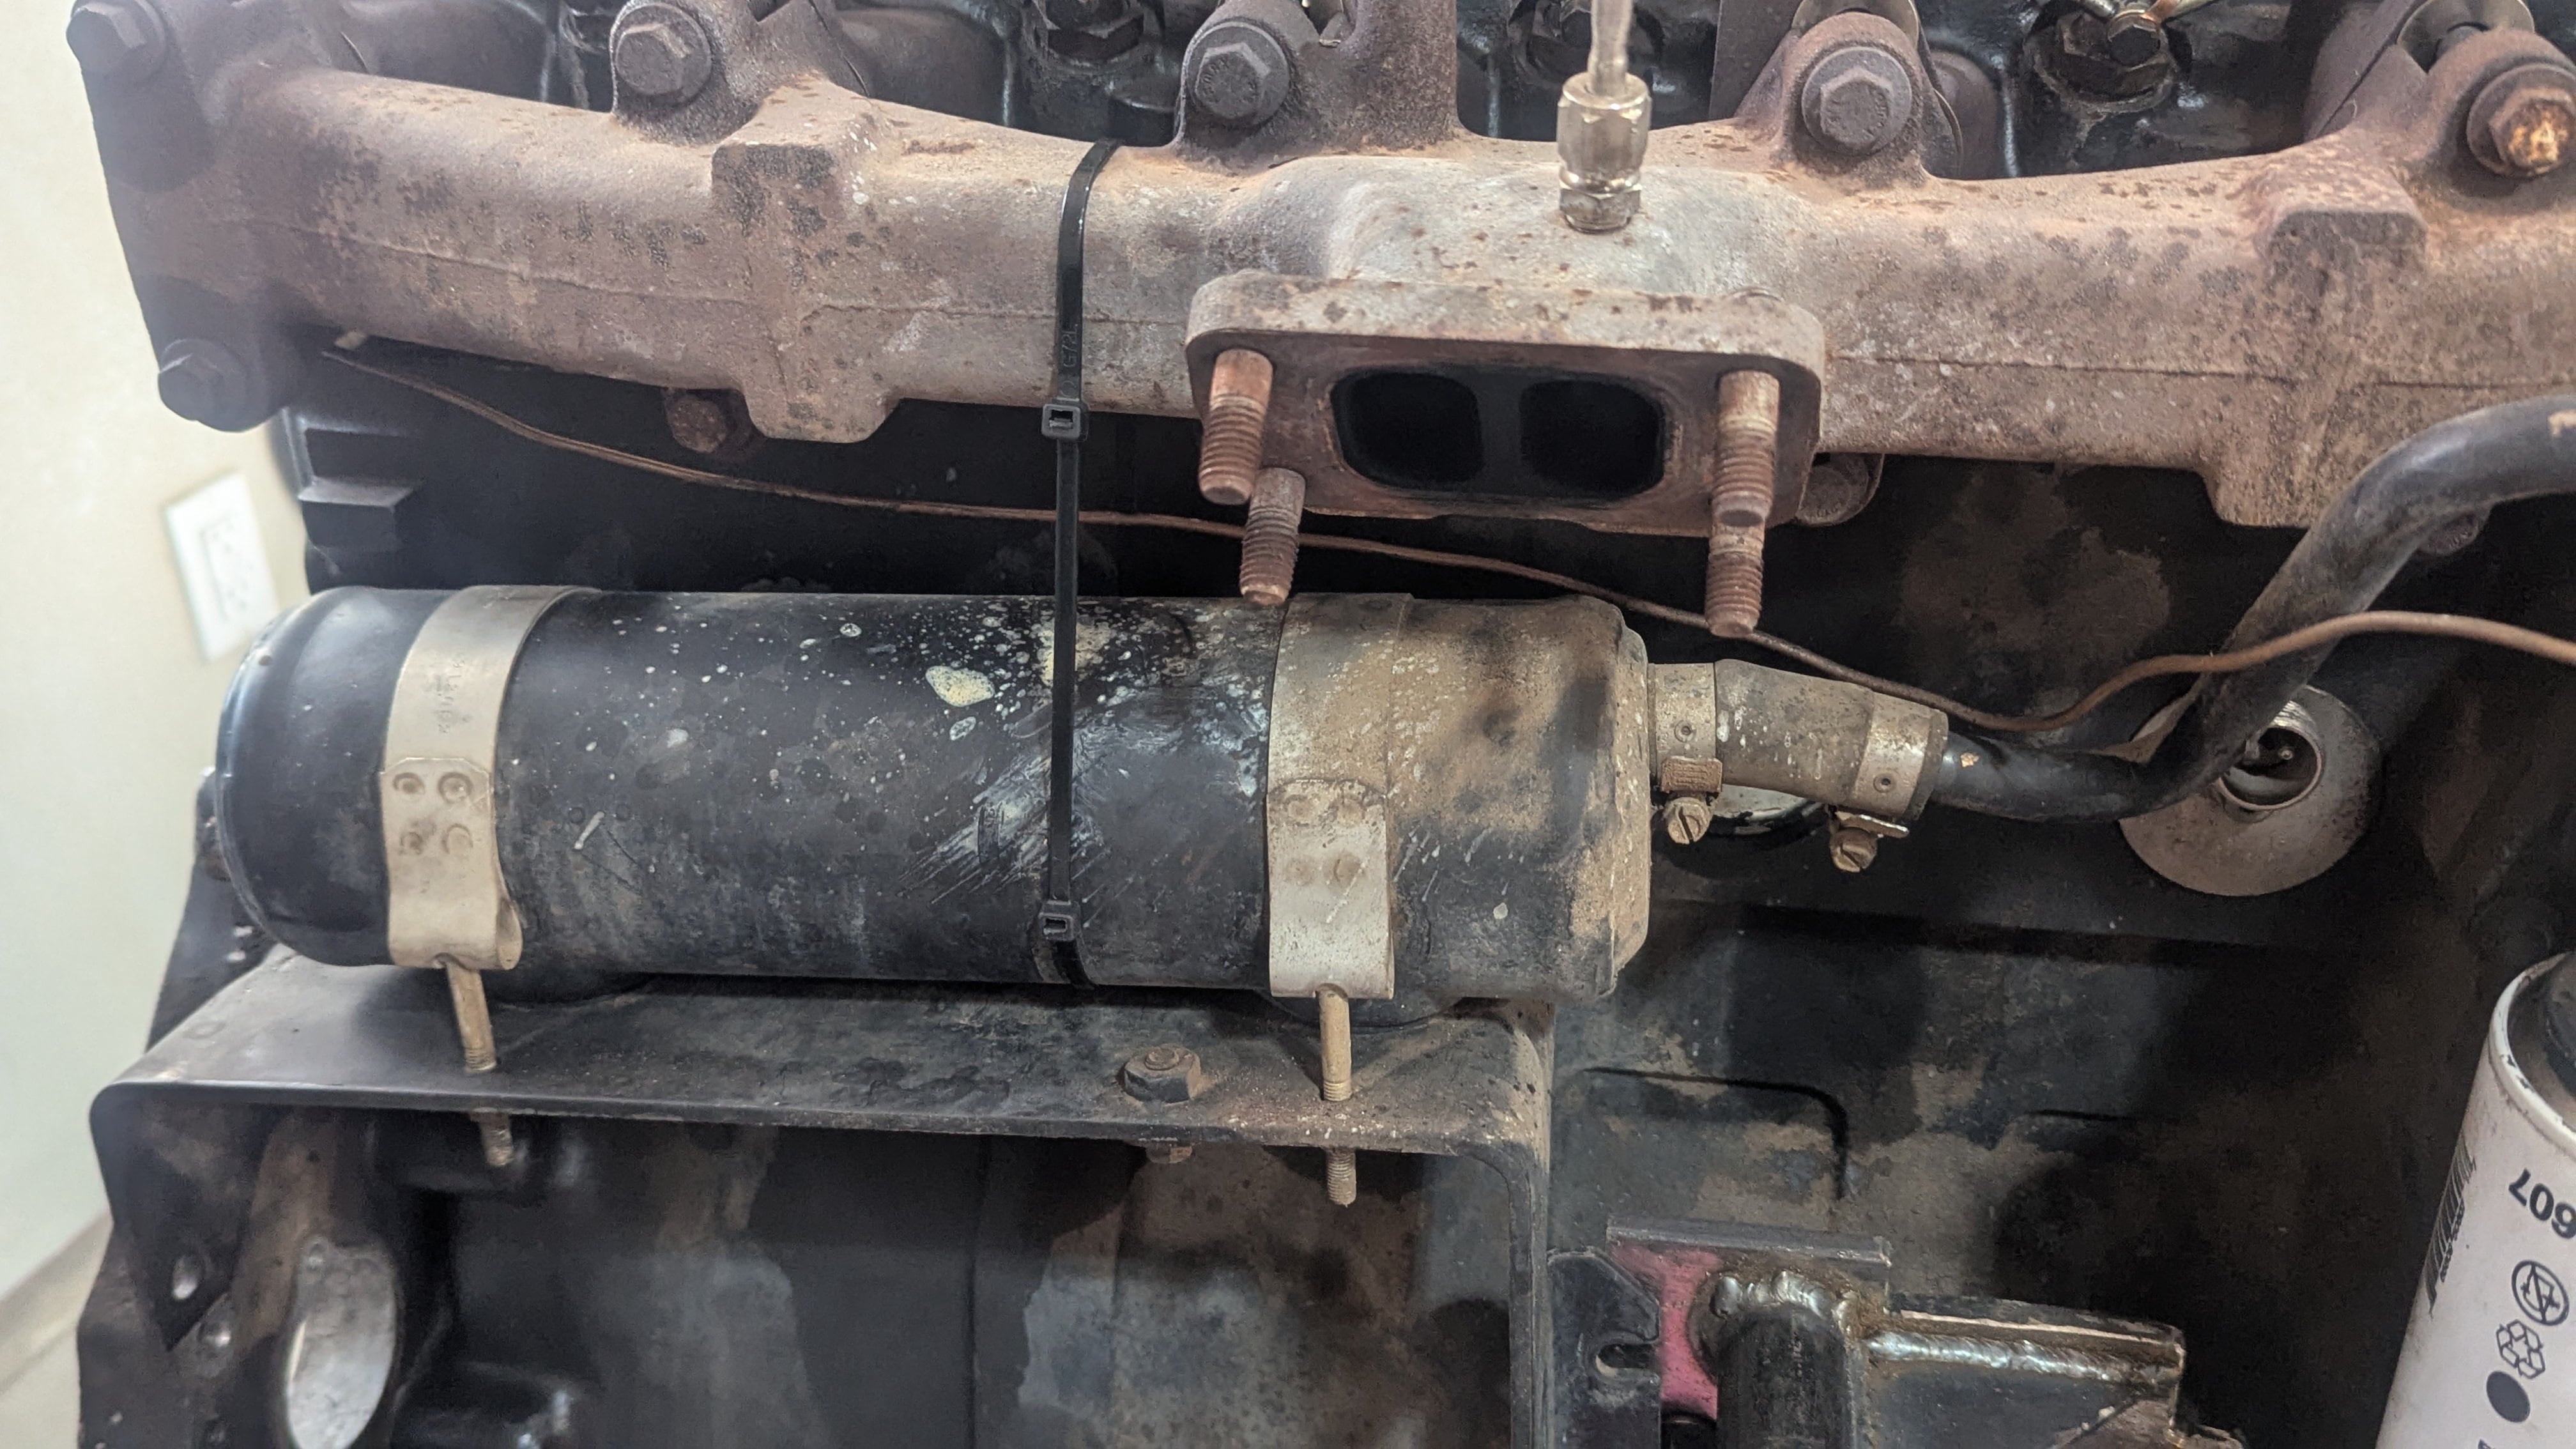
At one time the engine was mated to an automatic transmission so there was this extra heat exchanger.
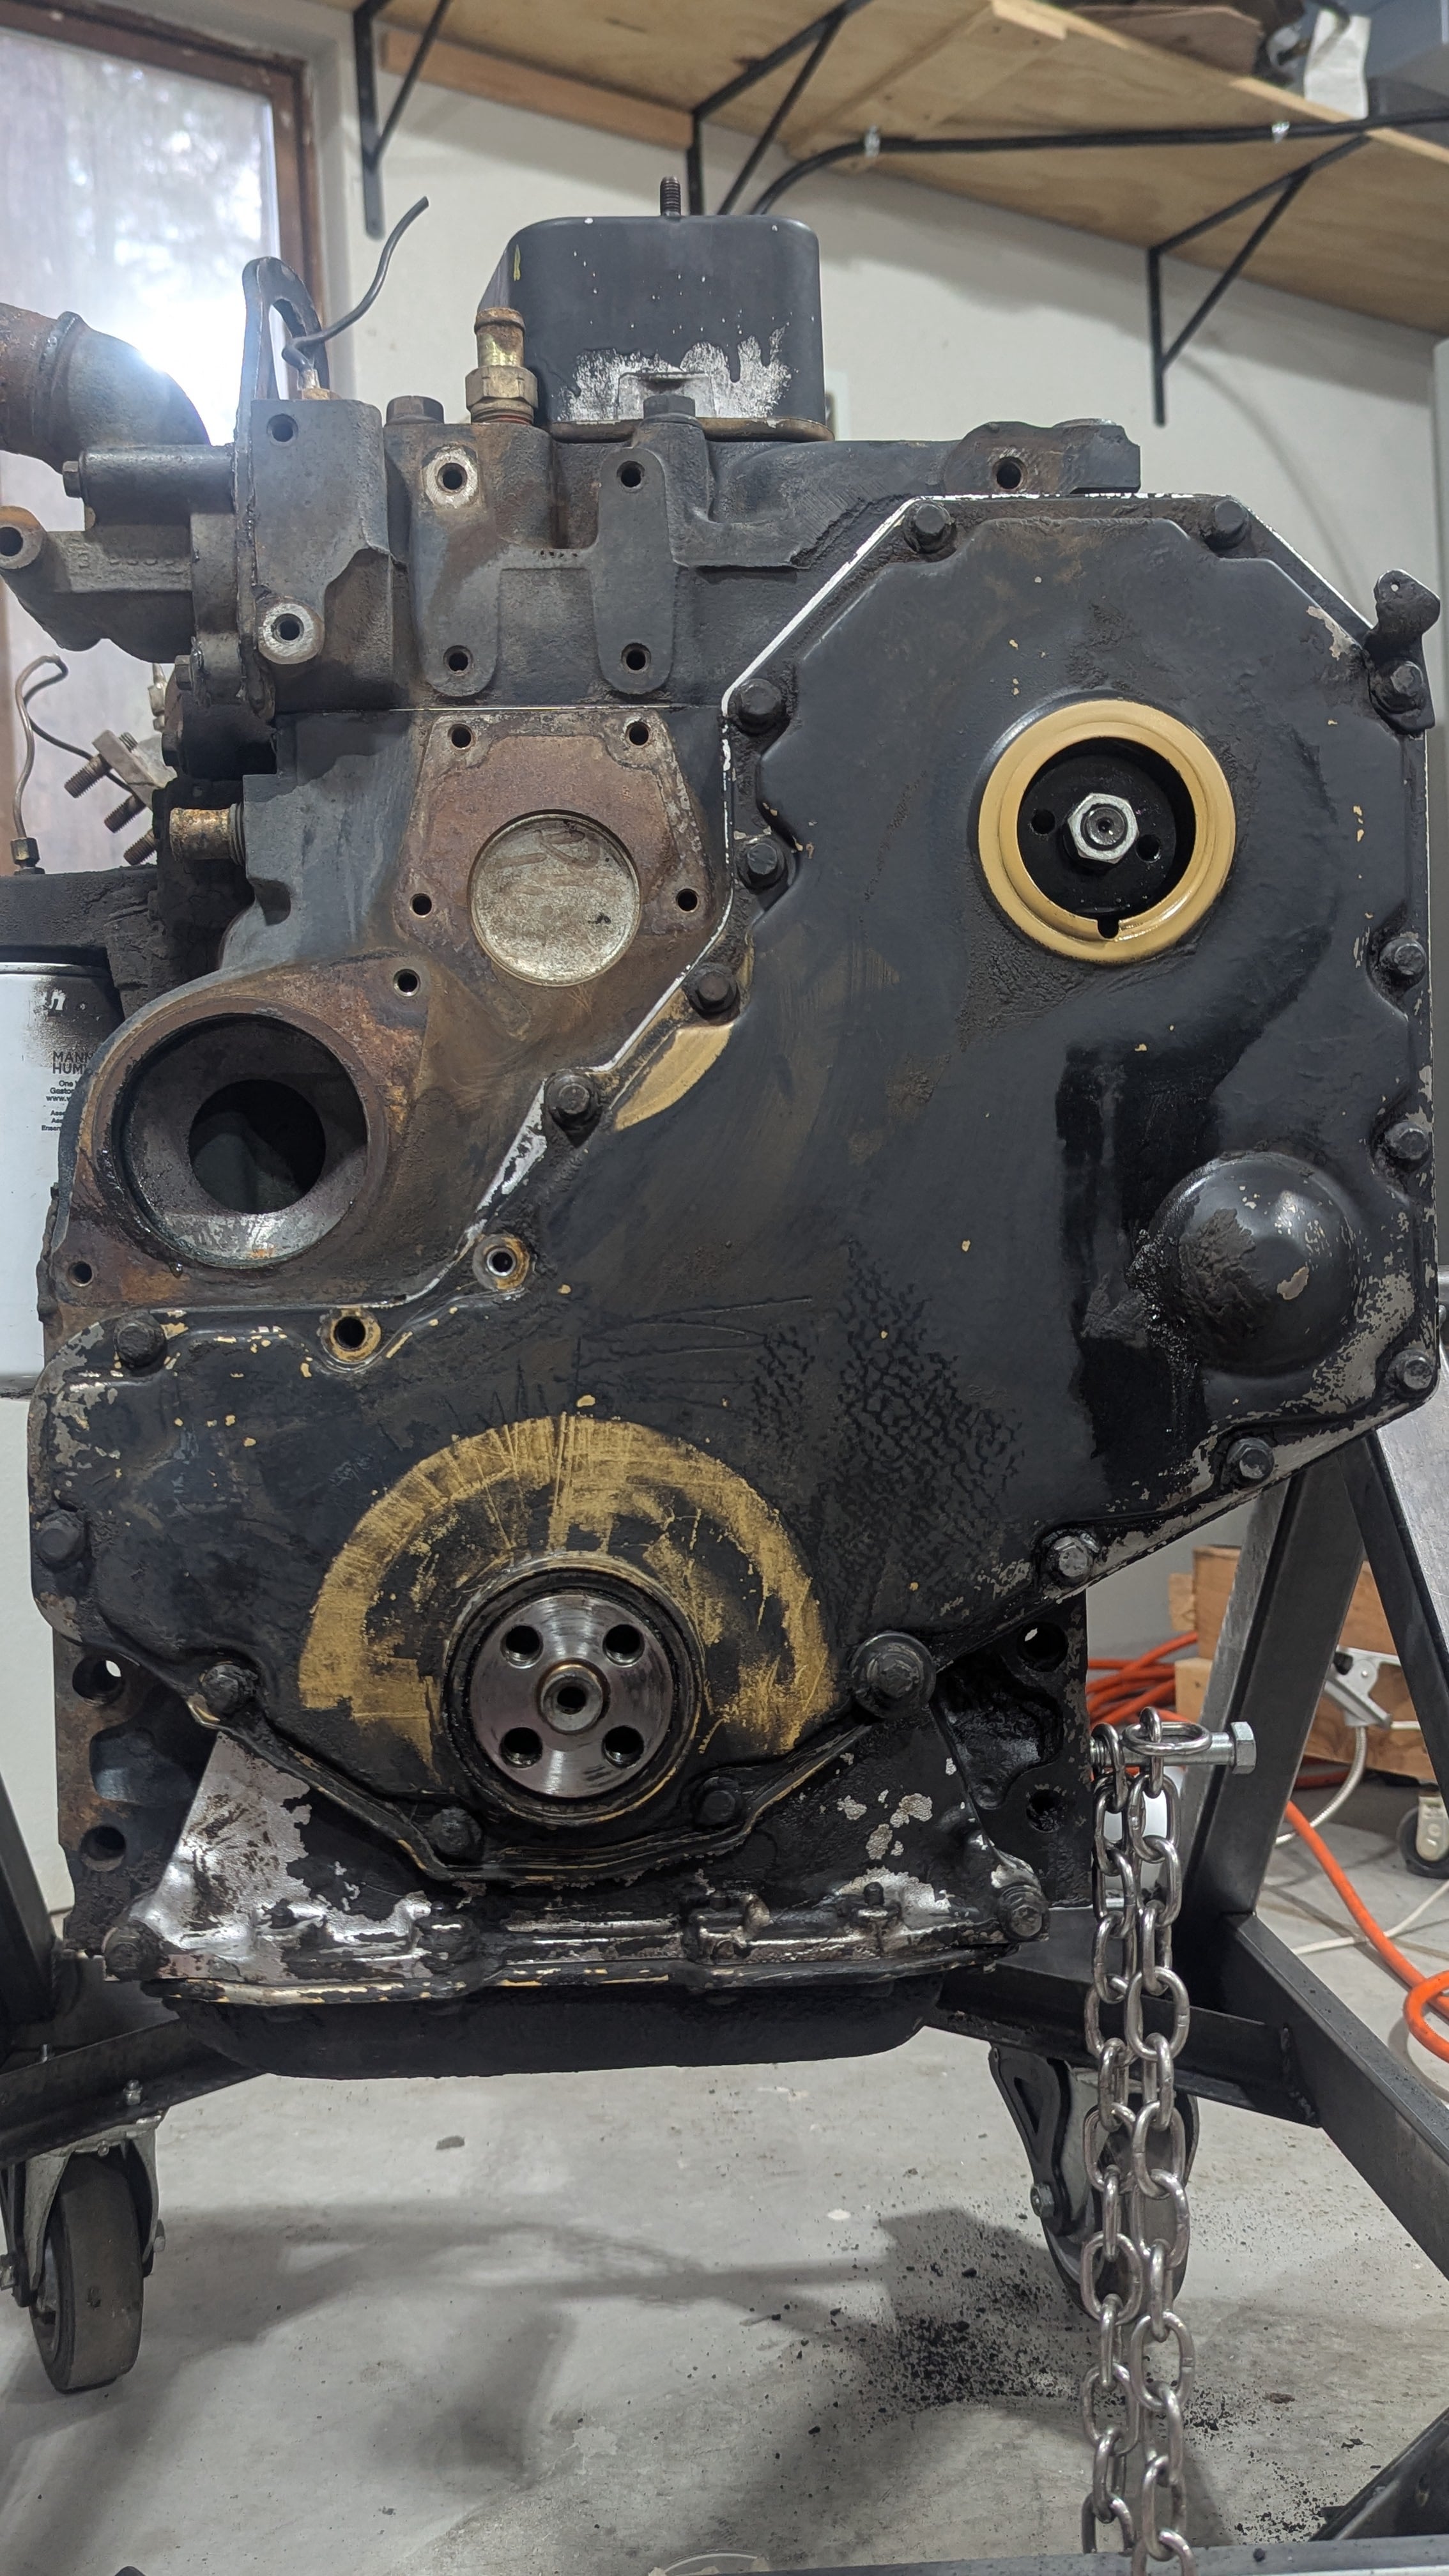
The front of the engine with most of the accessories removed.  I guess at one point, some parts of the engine were  'Cummins beige'.  I don't think that's stock for a Dodge.
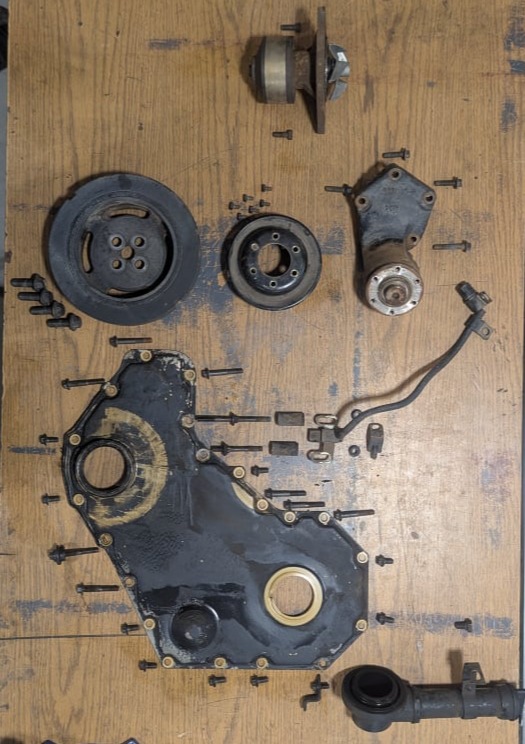
Harmonic balancer, water pump, fan bracket and cover plate.  This is where knolling helps.  At least I'll know where the long bolts go.
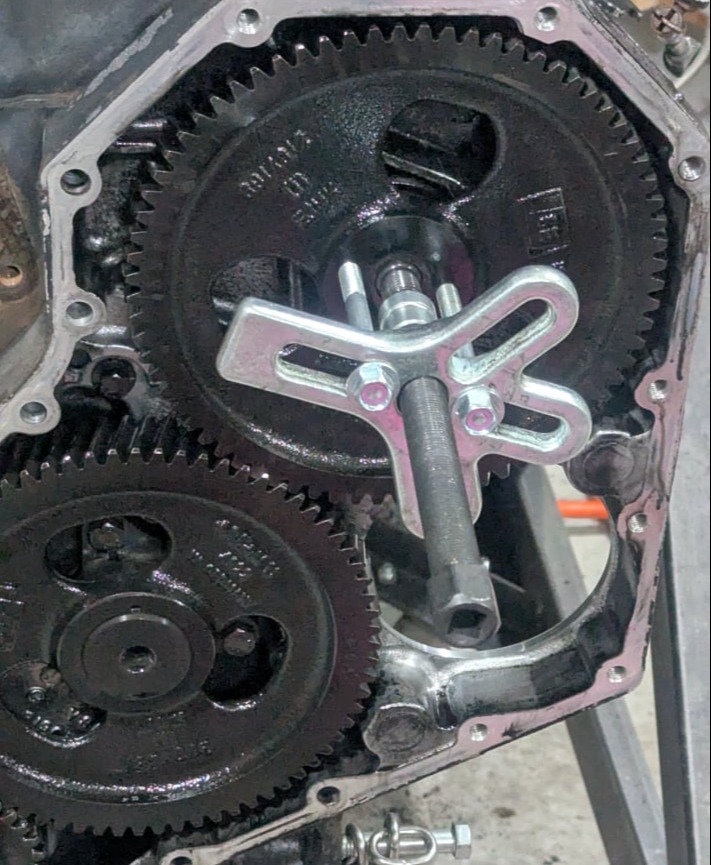
Pulling off the VE pump gear.
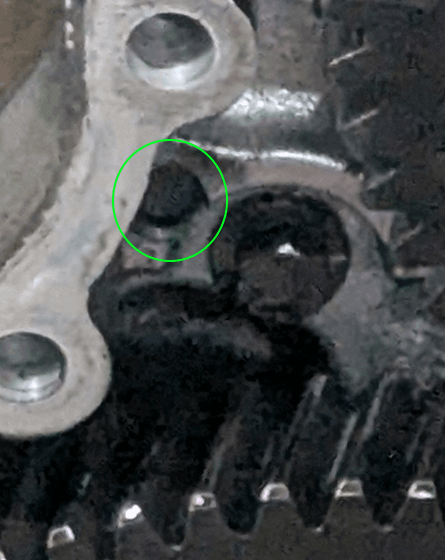
Did you notice the KDP in the previous picture?  I didn't at the time.  It's still there and it doesn't look like there are any corrections to ensure it doesn't fall out.  I'll need to do something about that.  
VE pump, fuel lines and the associated bracketry.  
Things are starting to look bare.  
Valve covers, tappet cover and noise panel.  Not sure how much noise it reduces.  These engines are loud, even at idle. 
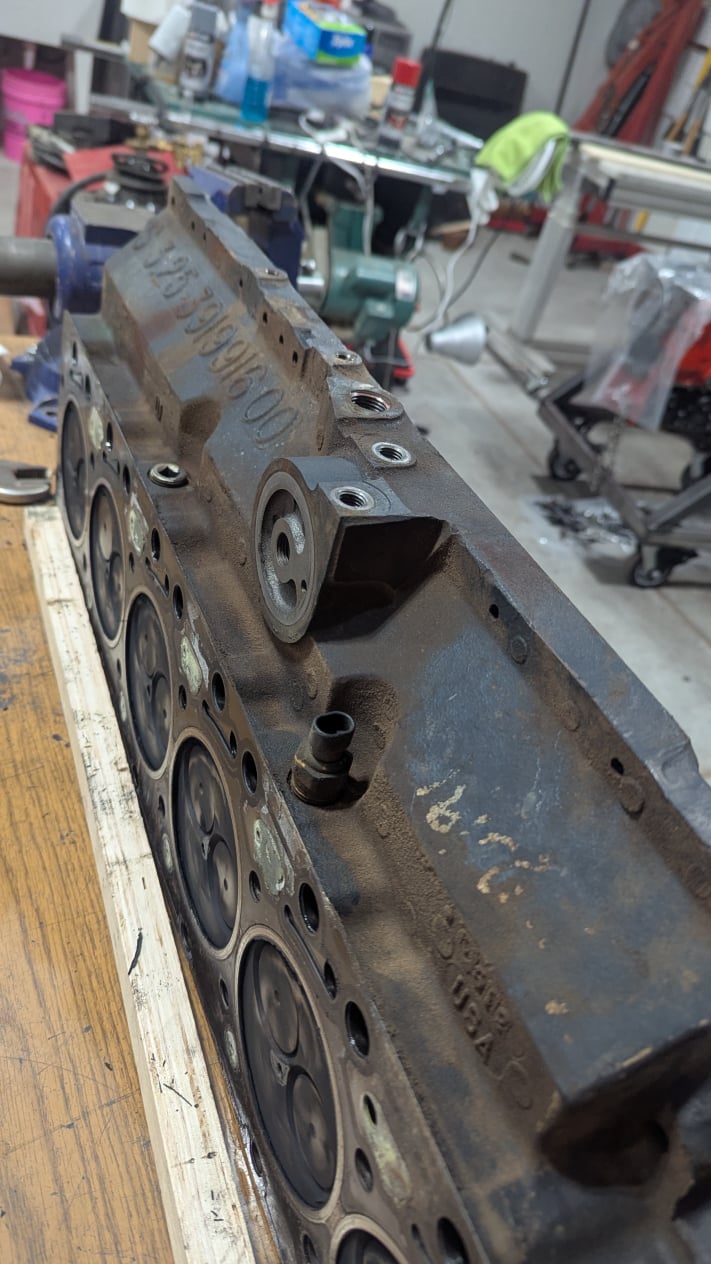
Head removed.
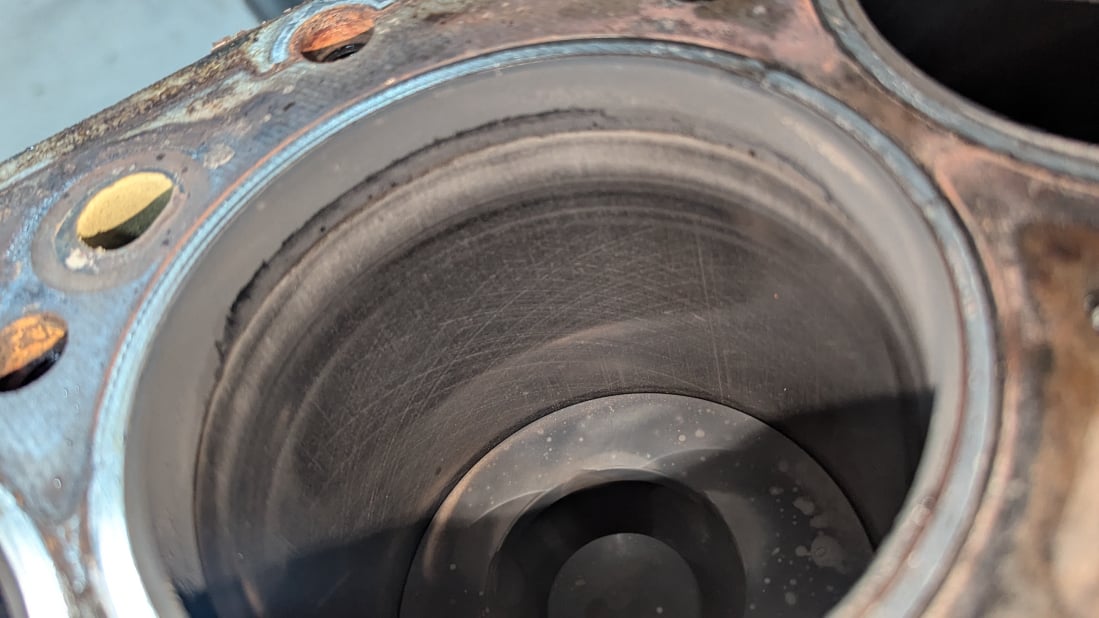
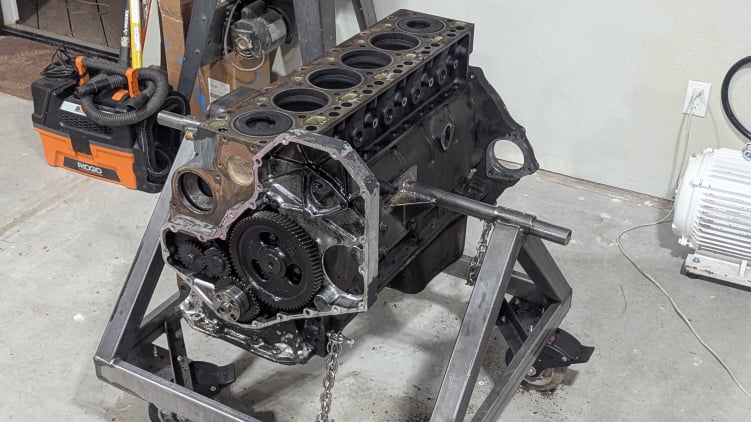
Time to look at the cylinder walls and see what shape the engine is in.  Also, I'll flip the engine over and look at the bearing and gap on one of the bearings.  If it looks good, I may not go any further.
Mobirise Website Builder

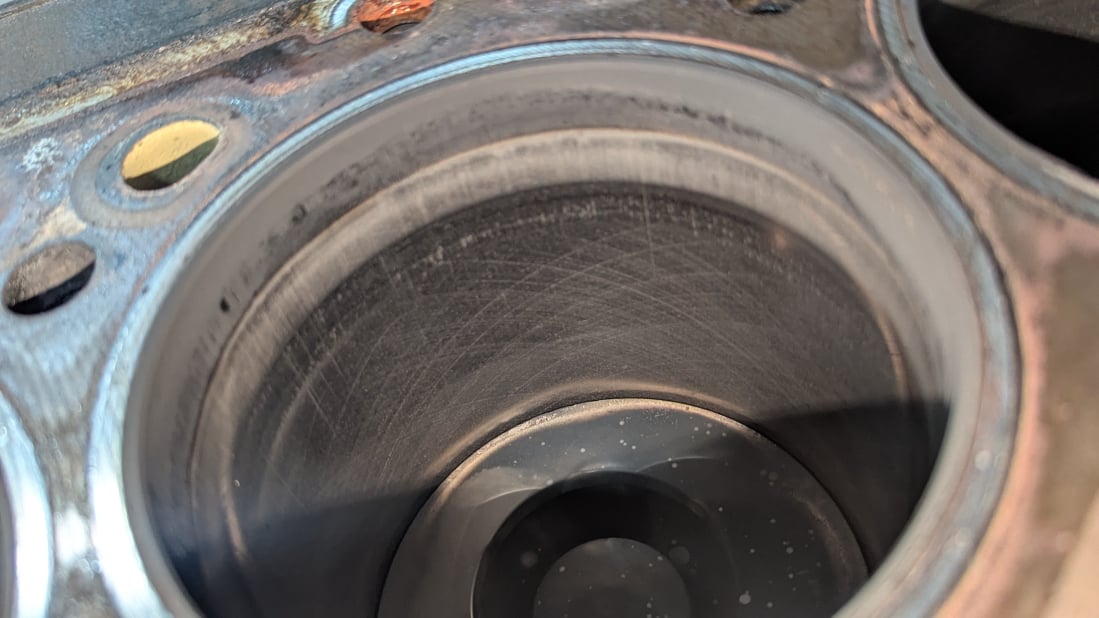
Cylinder Walls

The cylinder walls still have a fair amount of crosshatching and they look good.  I knew I wanted to replace the head gasket but this is far enough for me to to know that the engine is in great shape.  Time to get the head cleaned up and possibly decked.

Head work and Reassembly 
One of my decisions was to clean one of the parts that was exceptionally dirty. I scraped off the crud, degreased it and it cleaned up well.


Then, the bolts looked dirty so i ran those through the wire wheel.

Then the part next to it looked dirty.

Then...

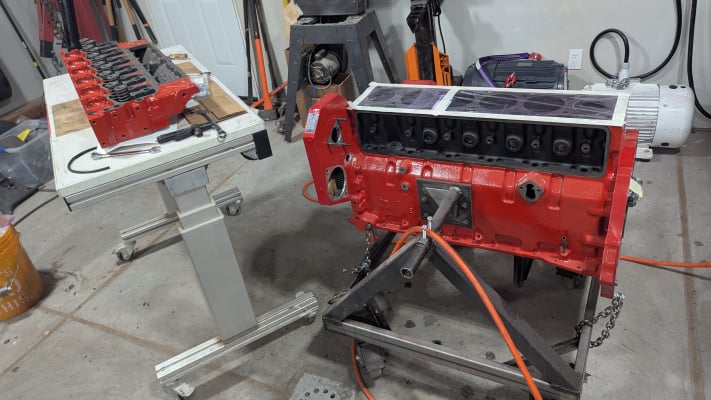
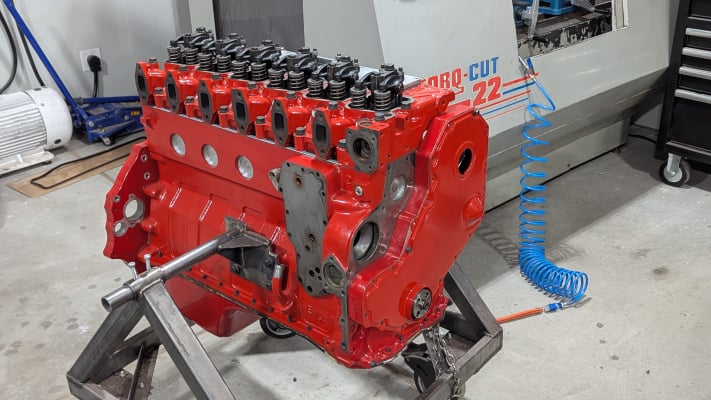
I ended up cleaning almost everything. All bolts got cleaned on the wire wheel and some parts need to be painted to protect from rust. I'm told some of the Dodge Cummins engines came in Apex Red and that makes it easy to find oil leaks and grime (I don't want it to hide), so the block, head and a few other parts got painted..

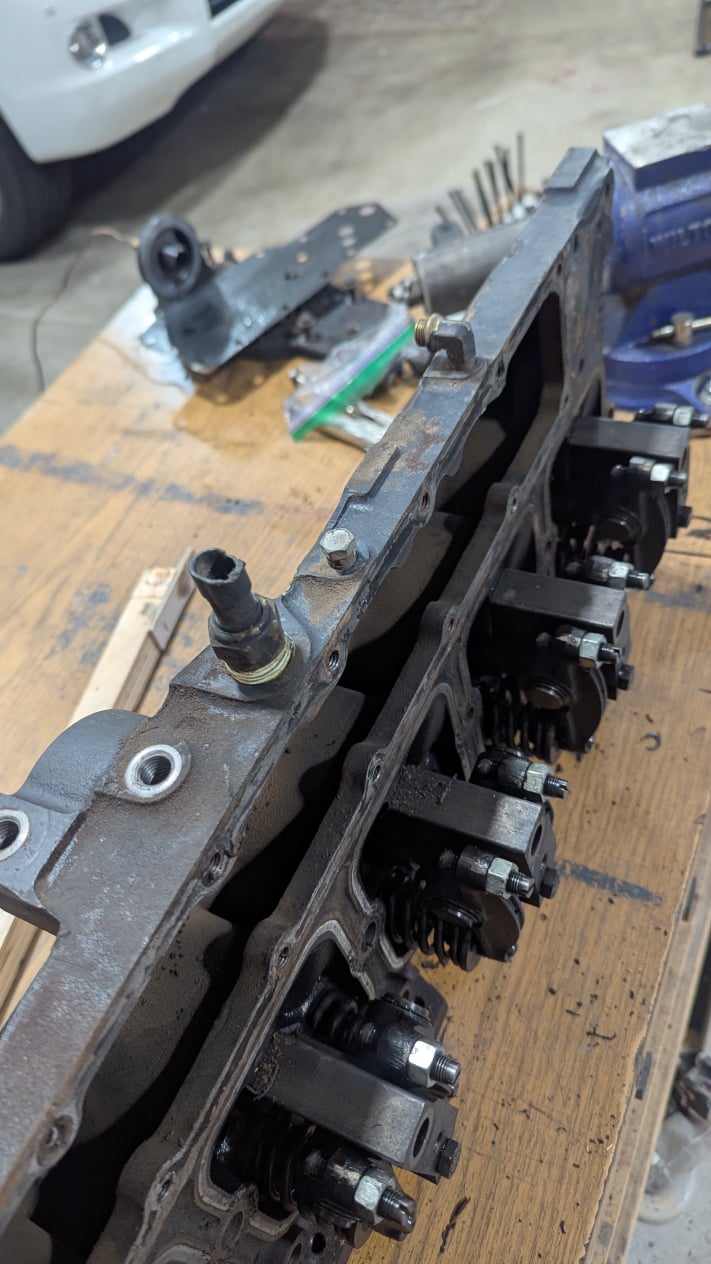
Time to strip the head of all the extra parts.
The rockers and sensors needed to be removed.
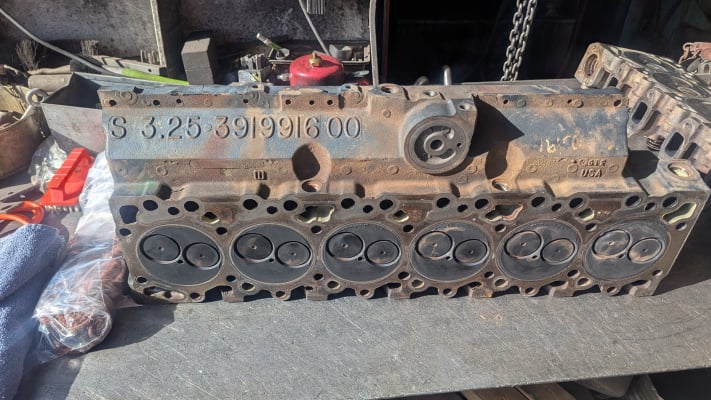
Dropped it off at the machine shop.  They called a few days later and recommended resurfacing as it was .006" off.  They checked valve seal and clearances, new valve stem seals and cleaned all the rust off.
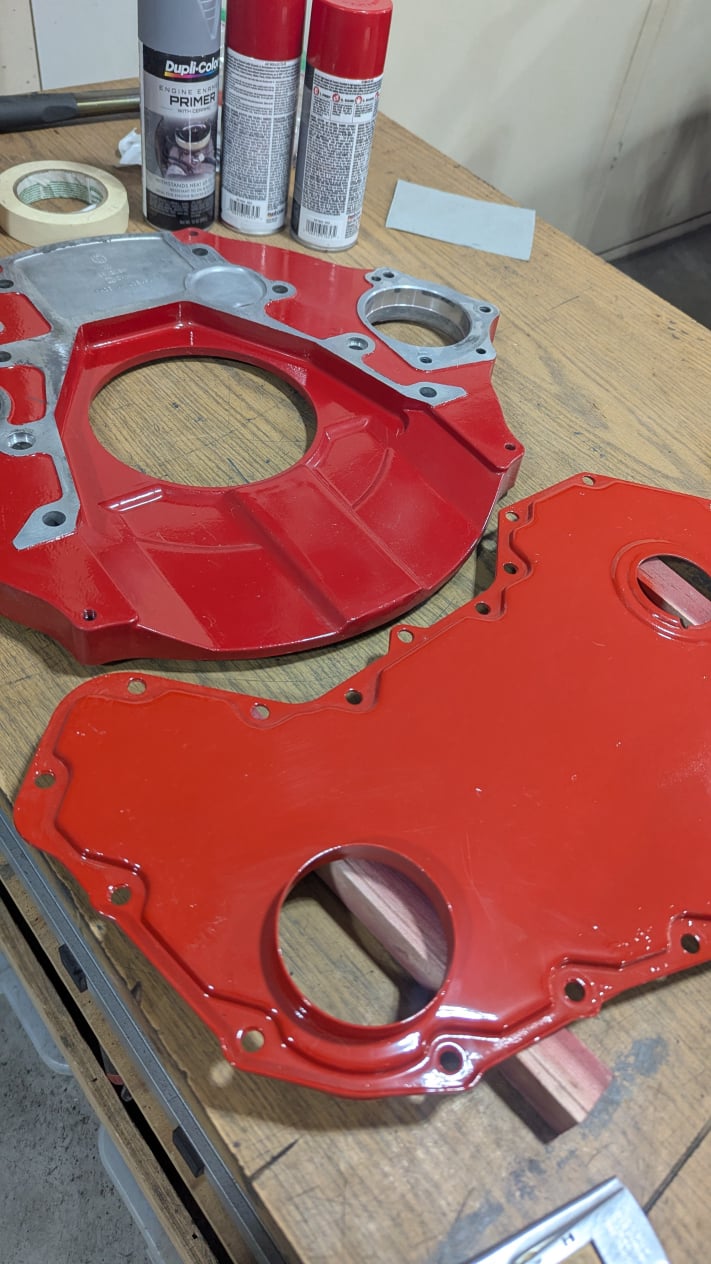
While I was waiting, I cleaned a painted a few parts.  A word of warning about Dupli-Color.  Just because you get the same paint code, doesn't mean you get the same color. See above.  All the cans need to come from the same lot!  Really?!  Dupli-Color, your quality control is poor if you think this is the same color.
Got the head back from the machine shop, cleaned it up, painted it, got it ready.
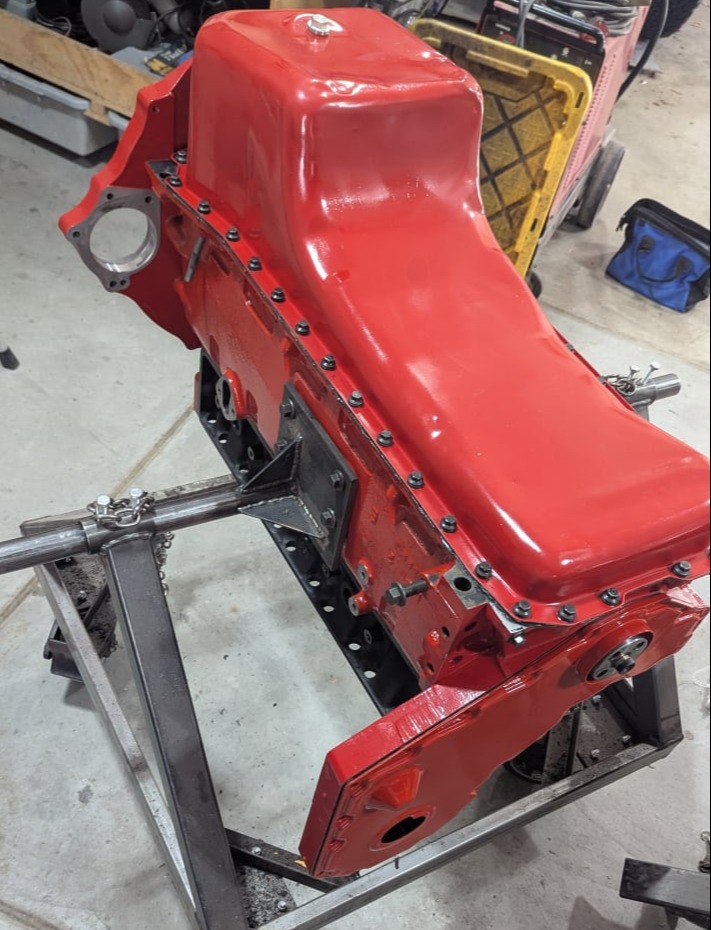
Flipped it upside down, took off the oil pan, checked gap on one bearing with Plastigauge.  It looked good so I buttoned it up, painted the oil pan and put everything back together.
When adding the timing pin for top dead center, don't tighten the screws until you can insert the pin into fuel pump pulley.  This way, it insures you can find TDC.
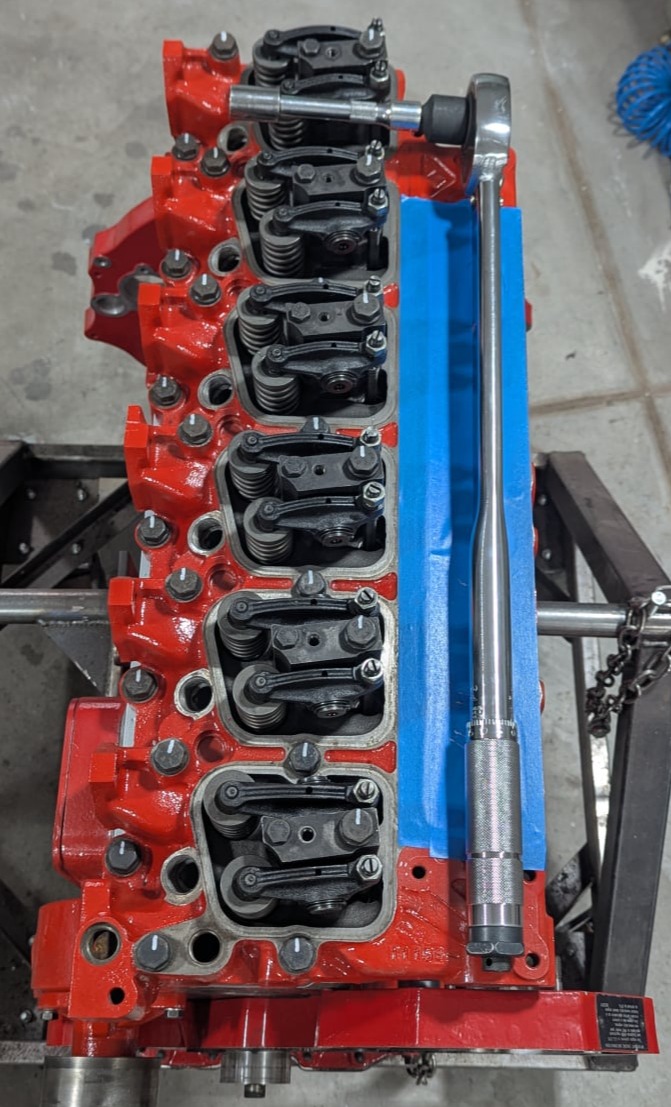
Got the head in place, added the rockers and torqued everything down.
Everything is torqued and an extra 90 degree turn.
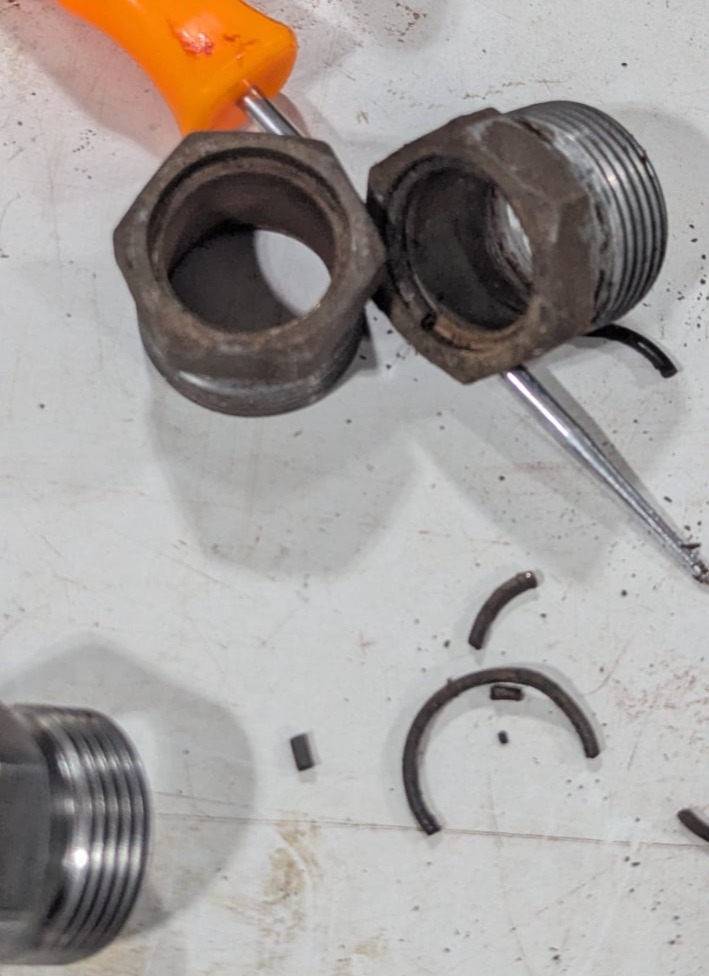
On to the fuel injectors.  There is a small o-ring used to keep the dirt out of the injector.  Mine are a bit brittle and feel more like plastic.  New 11/16" ID, 1/16" thick silicone o-rings are needed.
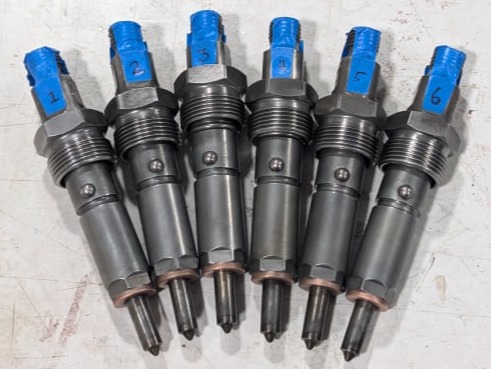
Injectors are cleaned up and ready to go in.
Adding the VE pump and setting the gears.
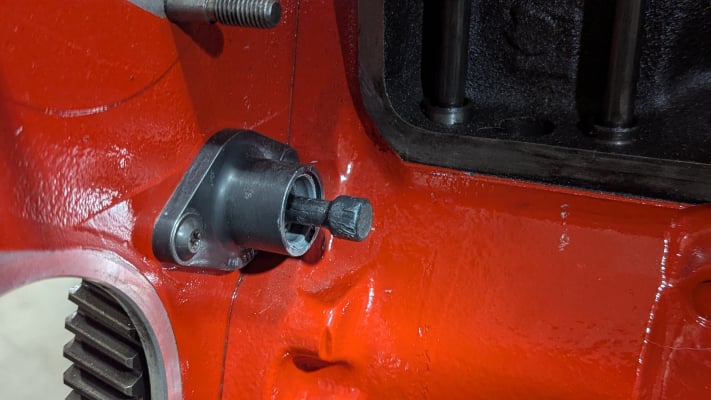
I bought a Chinessium 'KDP Repair kit' from Amazon to mitigate the KDP.  It was less then $9 and was an aluminum bracket with a SHCS.  Cheap and easy.
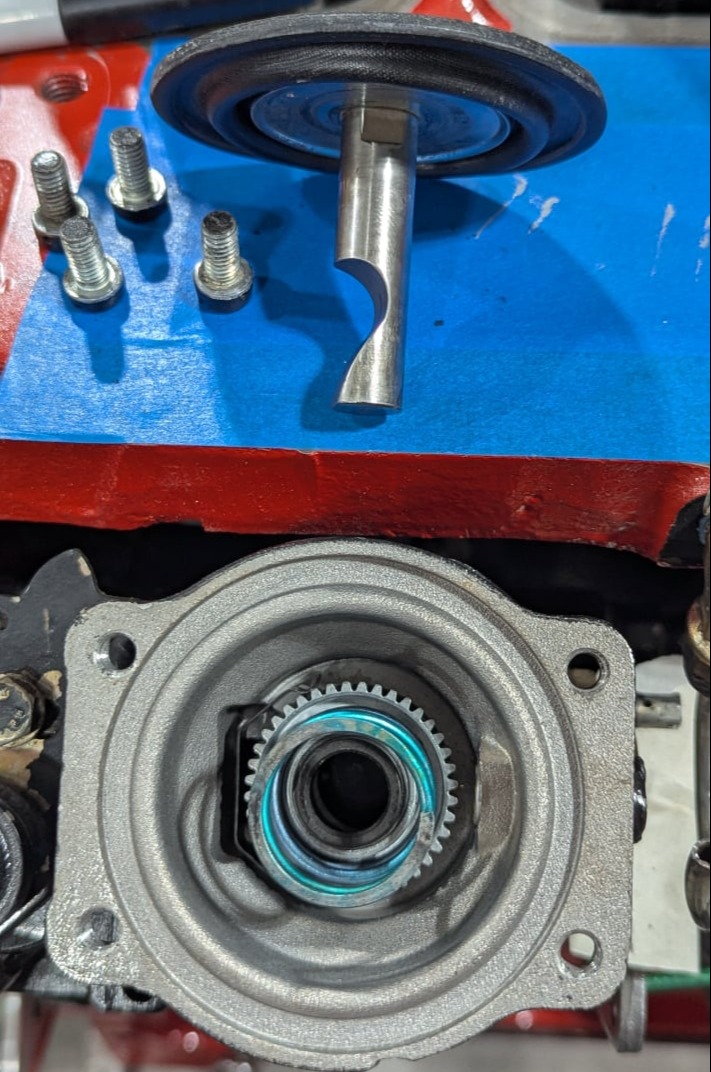
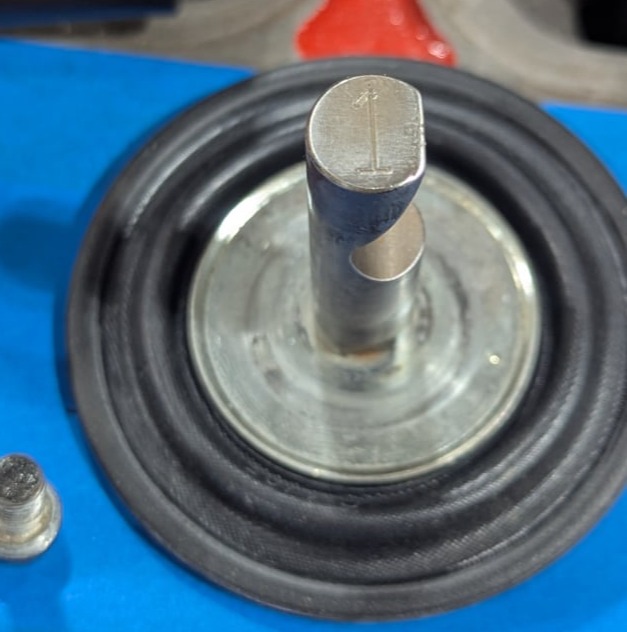
I opened up the diaphragm on the VE pump to see the fuel pin and the previous owner has an aftermarket pin that will do well.  
I don't know what brand it is but there's a #1 on the bottom.
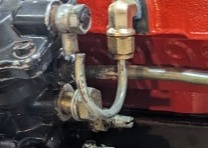
One of the problems I had was the vacuum / pressure line from the intake manifold to the fuel pump diaphragm.  It's a hard line and in need of repair.
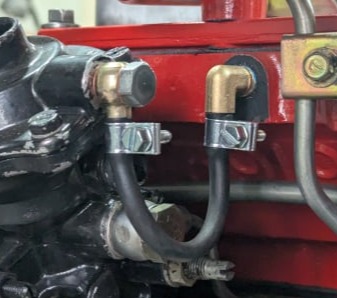
I swapped out the hard line with a rubber one.  It should handle the vacuum and pressure as I don't plan on too much boost. Maybe I'll end up doing a braided steel line with AN connections.  Not sure yet.
Cleaning the fuel lines as well.  Clean on the left and to do on the right.
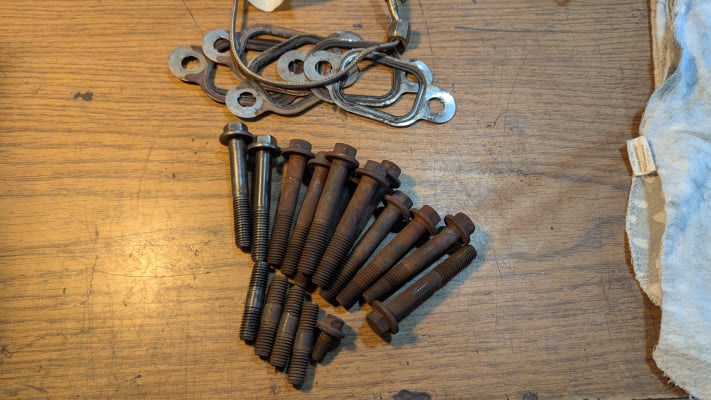
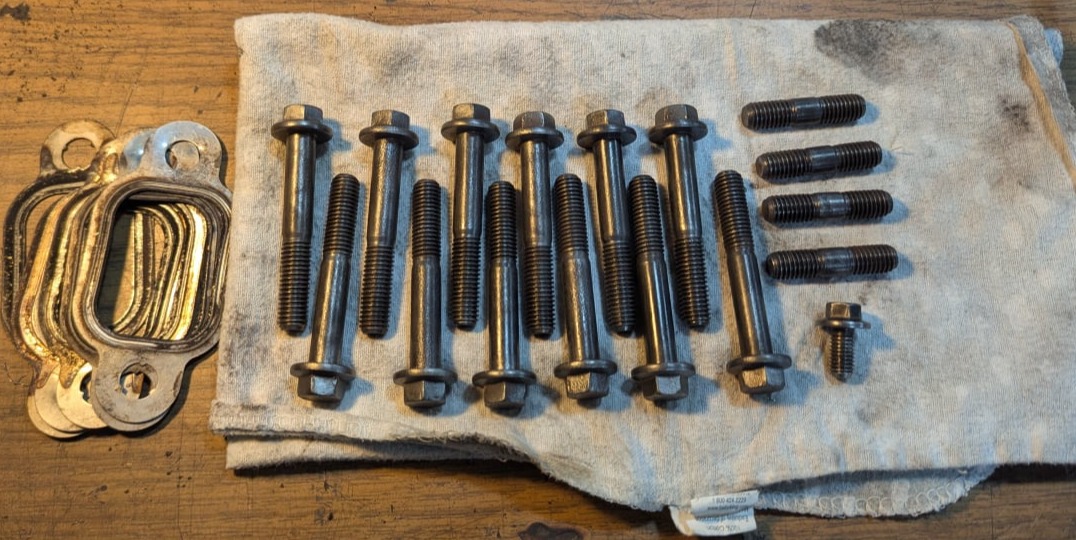
Exhaust bolts.  These looked rusty.
Much better.
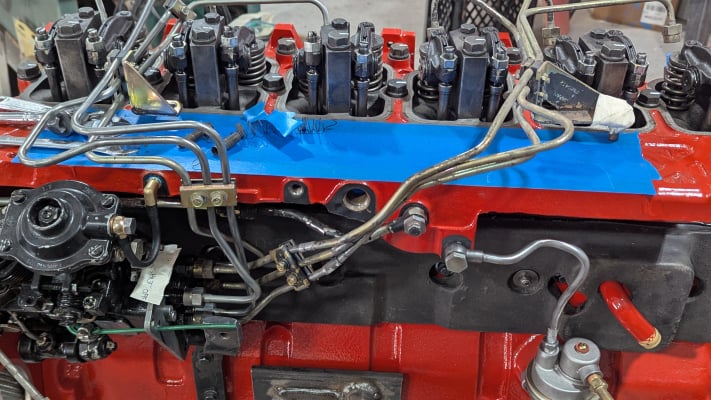
Fuel lines are in.
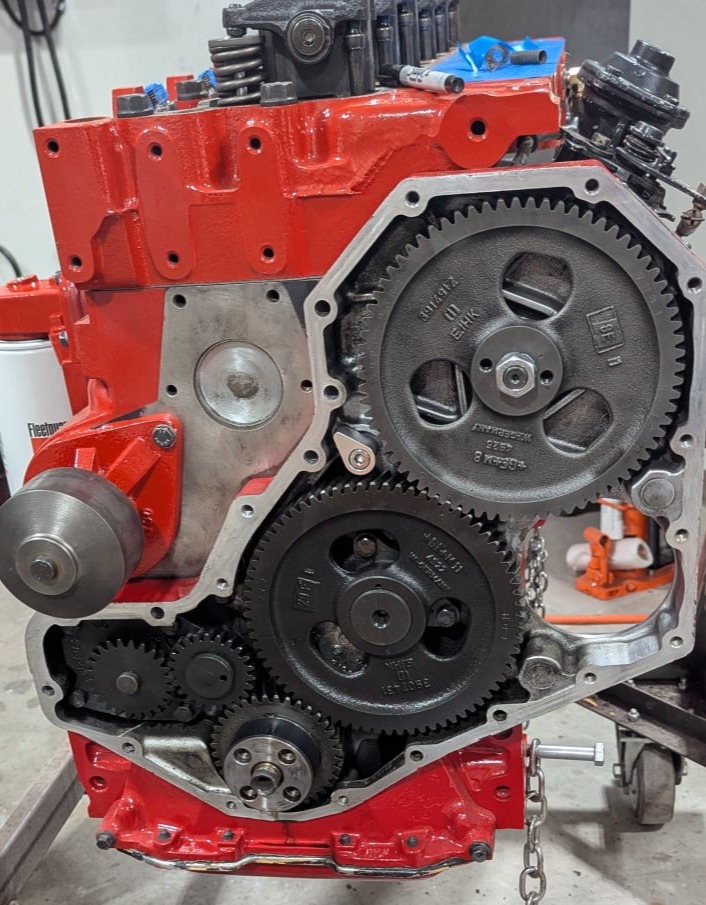
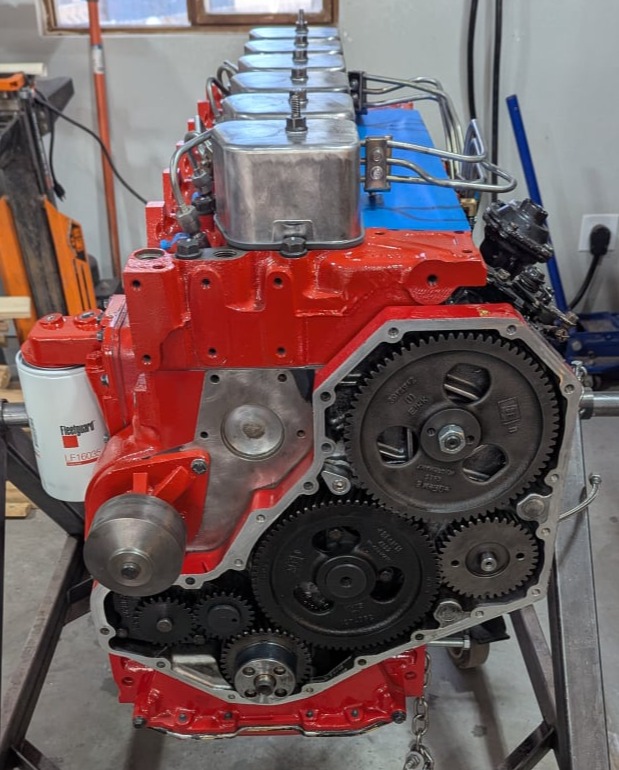
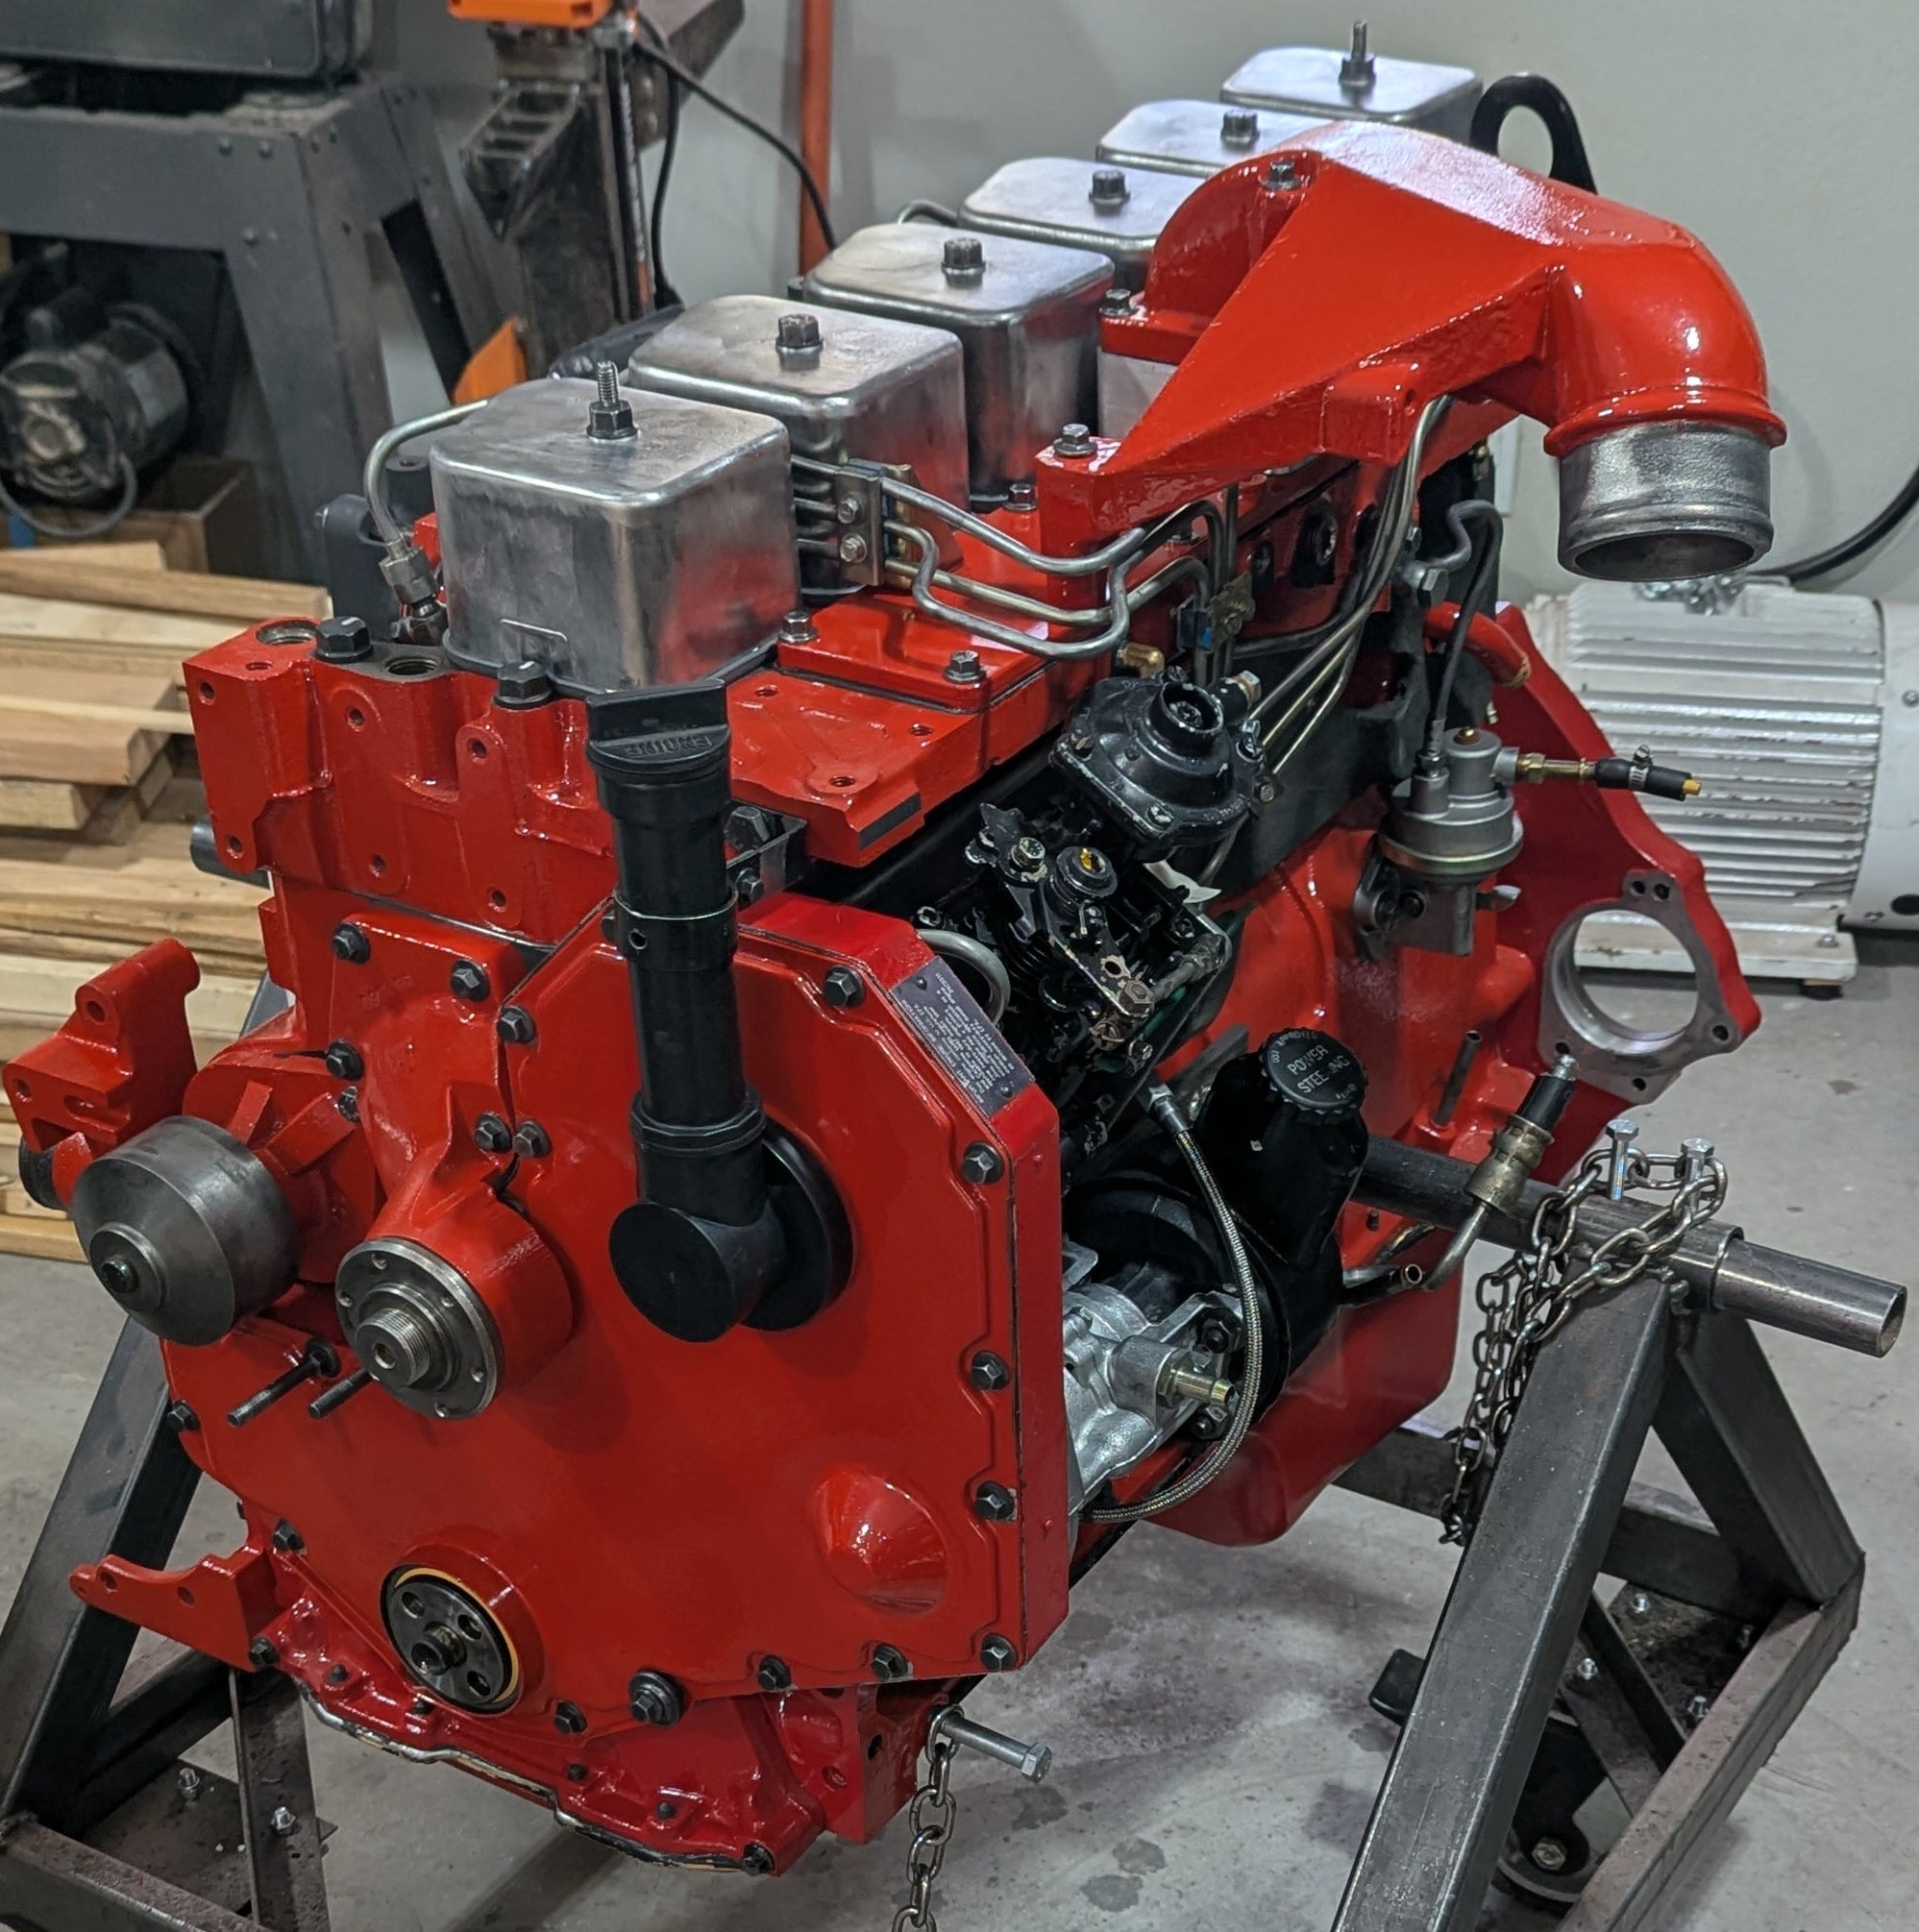
Intake plate and horn is on. Power steering and vacuum pump is in, and the front cover is on. now let's address the issue of that plate in the back.
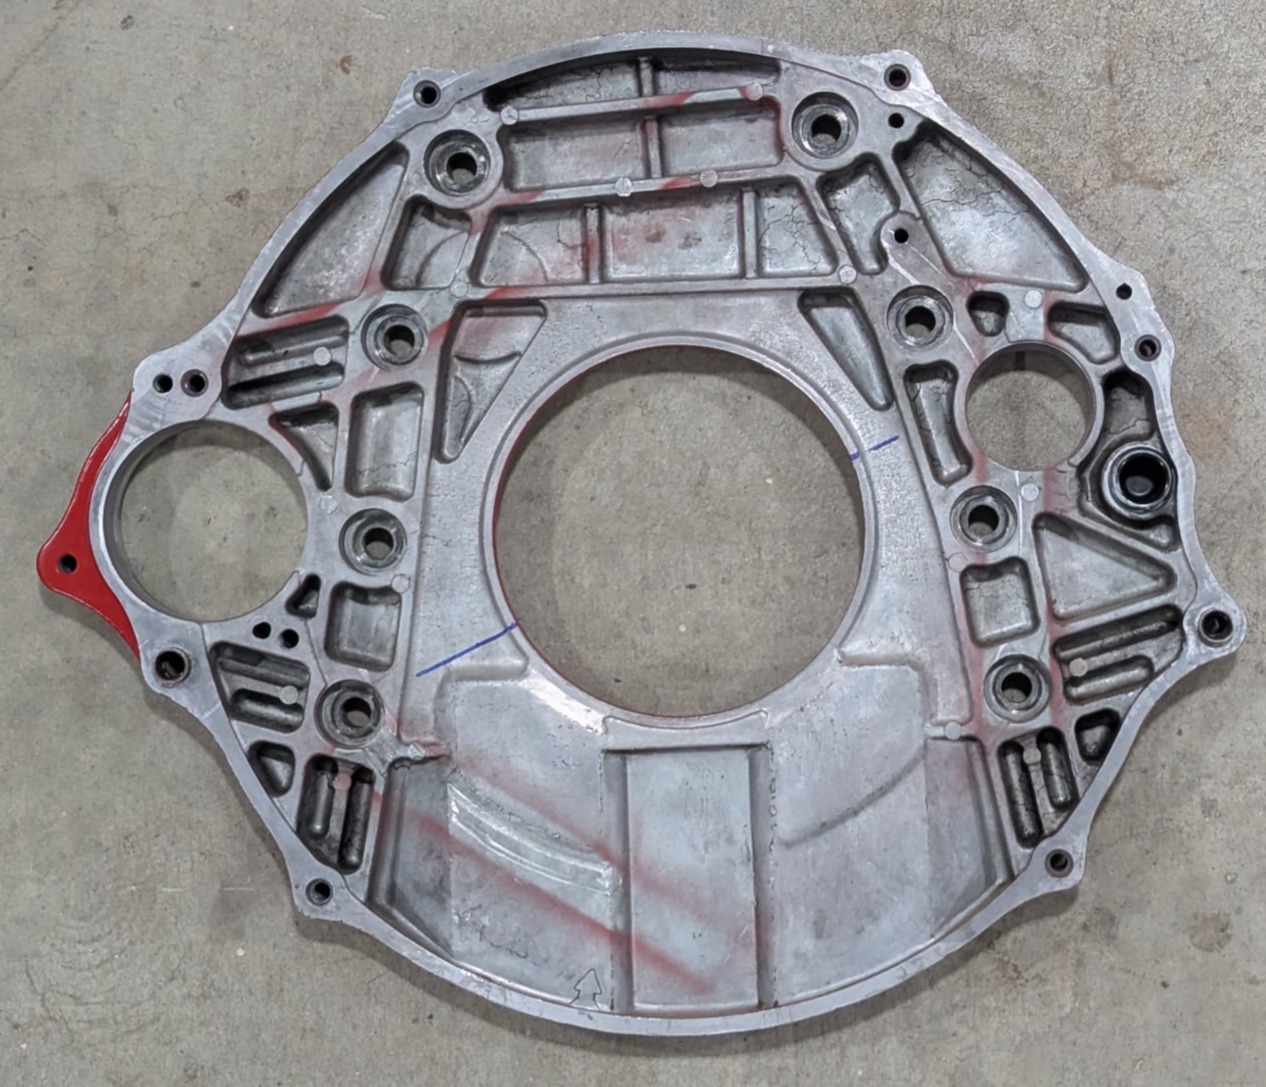
This is the wrong plate (PN 3912184).  It's too thin and will not work for a NV4500.  It's designed for a Getrag transmission.  I need a different one.
This is the correct plate (PN 3923045).  Much thicker, and now I need a different starter too.  Ugh.
Everything looks like it's going to work.  A couple things to do before bolting the two together; install the clutch slave cylinder and build a stand to hold the transmission.

Send me an email

Let me know what you think. I'm always up for some good advice or just to chat.

Michael@LandCrusherParts.com

No Code Website Builder